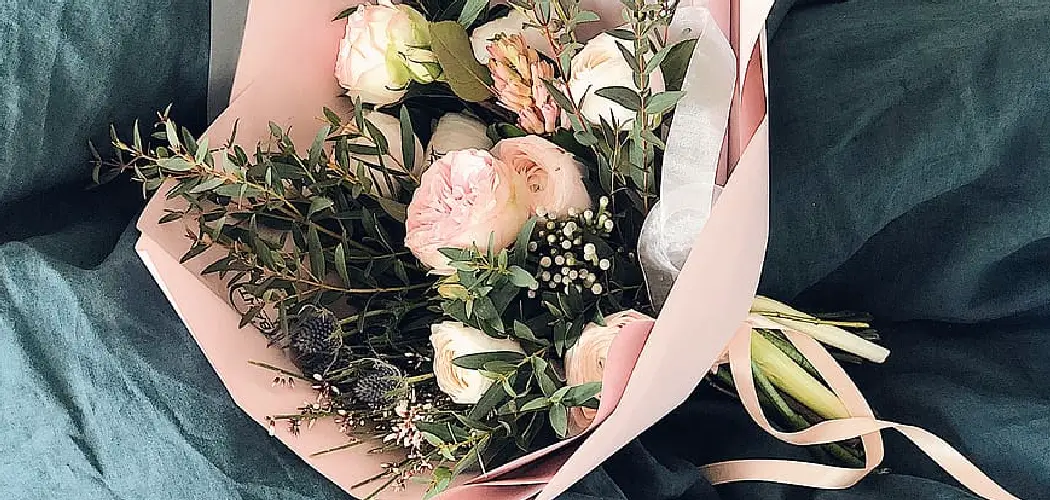
A mini bouquet is a great way to add an elegant touch to any room in your home. Whether for a special occasion or just to brighten up the room, a mini bouquet can be an inexpensive and beautiful addition. Plus, making them yourself is a fun and creative activity that you can do with friends or family members.
Making a mini bouquet can be a great way to show someone you care and add color to your home. By making your mini bouquets, you have control over the size, shape, colors, and flower types used so that they are just perfect for your occasion or space. Plus, learning to make a mini bouquet gives you a new skill and the ability to make beautiful, customized gifts in no time. In this blog post, You will learn how to make a mini bouquet.
Step-by-Step Processes for How to Make a Mini Bouquet
Step 1: Inspect Your Flowers
Before assembling your mini bouquet, inspect the flowers to ensure they are healthy and vibrant. Remove any wilted or brown petals. Once you have inspected the flowers, gather what else you will need for your project. You will need scissors and floral tape in addition to the flower stems of your choice. These will help you secure and arrange the flowers in your mini bouquet.
Step 2: Measure & Cut Your Stems
Start by measuring your flower stems to an appropriate length for the size of the bouquet that you would like to create. Once they are cut, strip off any leaves from the stem (which can be used later as filler). After you have cut and stripped, the flower stems, you must prepare them for arranging.
Dip each stem in warm water with flower food for at least 10 minutes before using. This can help make sure that your flowers are nourished and last longer.
Step 3: Arrange Your Flowers
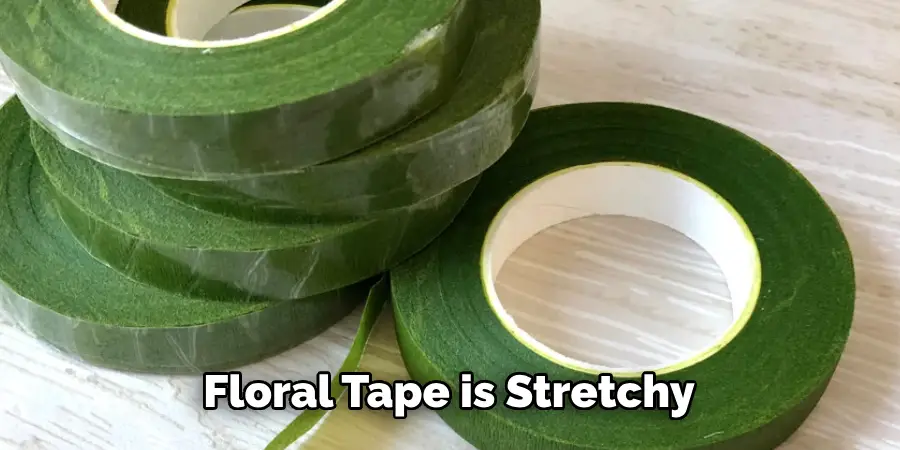
Now it’s time to start arranging your flowers. To do this, arrange the stems in a bunch and hold them together with one hand while you use your other hand to twist the stems around each other. Cut strips of floral tape that are about two inches long. Floral tape is stretchy to help secure the flower stems in place while you arrange them.
Step 4: Secure Your Flower Stems
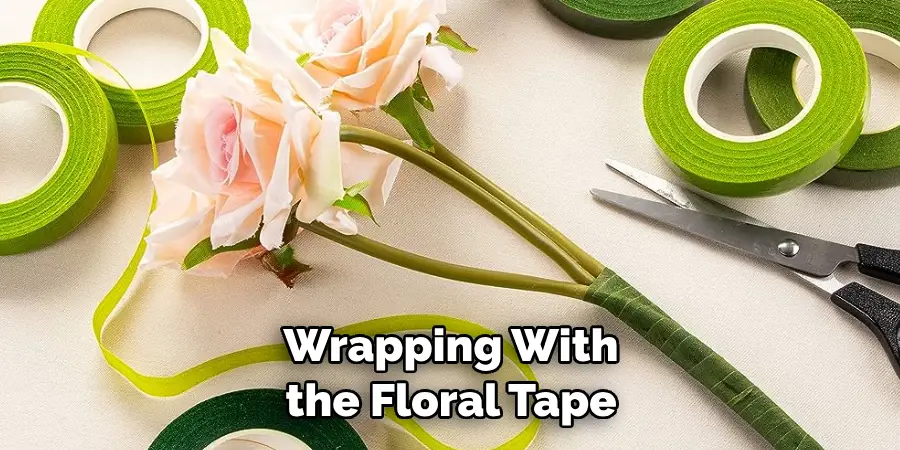
Begin to wrap the floral tape around your flower stems, starting from the base of the flowers and working up toward the top. Make sure that it is tight enough to securely hold them together but not too tight that it restricts the movement of the stems. Next, start adding filler flowers and greens to your mini bouquet. These can help add texture and depth to the arrangement.
Step 5: Wrap Floral Tape Around Entire Bouquet
Once you have finished arranging the flowers in your mini bouquet, wrap floral tape around the entire bunch. This will help keep the stems together and secure them in place. To finish off your mini bouquet and make it look even more beautiful, tie on a ribbon or bow at the base of the bouquet. Now you have a perfect little handmade bouquet.
This is an easy and fun way to add a personal touch to your gifts or decor. Not only are mini bouquets cost-effective, but they also have the potential to be creative and unique. Plus, they are sure to put a smile on someone’s face.
Safety Tips for How to Make a Mini Bouquet
- Always use sharp scissors to cut the stems of your flowers. This will help you get a clean, even cut and prevent injury.
- Make sure that the stem is completely dry before beginning to wrap it with floral tape; otherwise, it may not stick properly.
- Wear gloves when handling plants and flowers for extra protection.
- Do not use too much pressure when wrapping the floral tape around the stems, as this can restrict movement and cause them to break.
- Make sure that your workspace is well-ventilated and free of any debris or dirt to help maintain a clean environment for your flowers.
- Store cut flower stems in cold water and change the water daily to keep them fresh.
By following these safety tips, you can ensure that your mini bouquet is beautiful and safe. With a bit of creativity, you will be able to create something extraordinary.
How Do You Keep Your Hands Safe While Making a Mini Bouquet?
Taking care of your hands when making a mini bouquet is important. To keep them safe, wear protective gloves while handling flowers and plants. Additionally, as previously mentioned, always use sharp scissors for cutting flower stems in order to avoid any injury and get a clean cut.
Finally, try not to wrap the floral tape too tightly around the stems, as this can restrict movement and cause them to break. By following these safety precautions, you can make your mini bouquet without putting your hands in danger. With a bit of creative flair and careful handling, you can create something beautiful that will last for a very long time.
How Do You Package A Mini Bouquet?
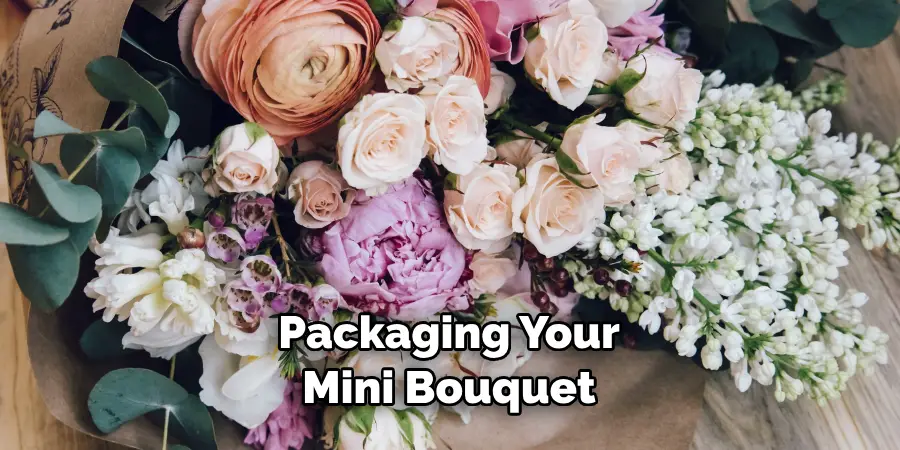
Once your mini bouquet is complete, it is important to package it properly to travel safely and arrive in perfect condition. To do this, wrap the entire bouquet in tissue or craft paper before securing it with a ribbon or string. Additionally, you can place the flowers inside a container, such as a box or a jar, to protect them during transportation.
Packaging your mini bouquet correctly will help ensure that it survives any bumps and knocks along the way. With a bit of creative packaging, you can surprise someone with a beautiful, one-of-a-kind gift that will make them feel special.
What Are Some Creative Ways To Display Your Mini Bouquet?
Once you have created and packaged your mini bouquet, it is time to think of ways to show it off. One creative way to display a mini bouquet is by hanging it up in a vase or terrarium. You can attach the stems to a board with pins for an interesting wall art piece or lean it on a decorative plate.
Other creative ways to display your mini bouquet include adding it as an accent piece to a coffee table or placing it in a mason jar and using it as a centerpiece for any special occasion. With just a bit of imagination, you can find the perfect way to showcase your beautiful creation.
What Are Some Other Flower Arranging Ideas?
If you want to try something a bit more advanced and unique than making a mini bouquet, there are plenty of other flower-arranging ideas that you can explore. For instance, you can make wreaths or centerpieces with your flowers and greens.
You could also create hanging baskets with trailing vines or make a flower garland around your home. You can also experiment with different materials, such as twigs, branches, and stones, for an interesting contrast of textures. With a bit of imagination and creativity, you can come up with some truly unique and beautiful arrangements.
What Are Some Tips For Taking Care of Cut Flowers?
Cut flowers require a bit of special care to stay looking beautiful and fresh. Here are some tips for taking good care of your flowers:
- Make sure that the stems are always submerged in water.
- Change the water daily and use flower food or preservatives to help keep them looking healthy.
- Trim the stems every few days in order to remove any dead or wilting leaves.
- Keep your flowers away from direct sunlight and heat sources, which can cause them to wilt faster.
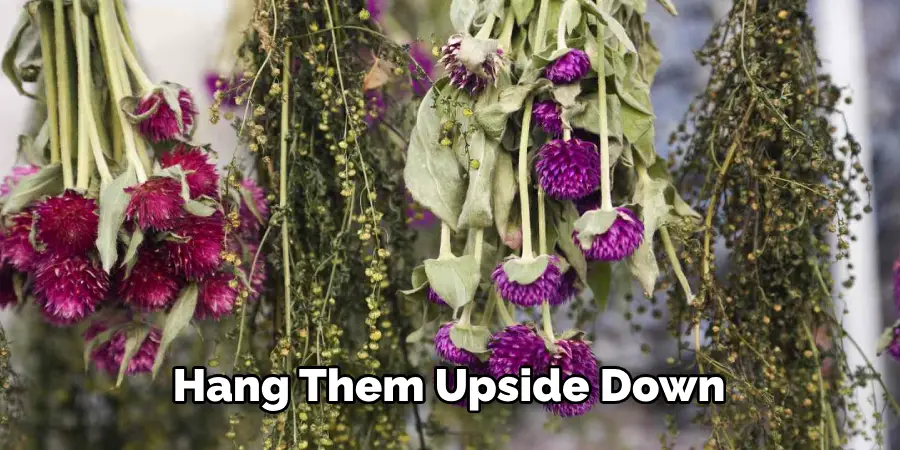
- Hang them upside down for a few hours before arranging them to remove any air bubbles that may be trapped inside the stems.
By following these tips, you can ensure your flowers remain beautiful and healthy for as long as possible. With a bit of care and attention, you can ensure that your floral creations look just as stunning on day one as on the last.
How Should You Store Your Mini Bouquet When It’s Not in Use?
When you’re not using your mini bouquet, it is important to store it properly in order to keep it looking beautiful. To do this, you should wrap the entire bouquet in tissue paper or craft paper before securing it with a ribbon or string. Additionally, you can place the flowers inside a container, such as a box or jar, for extra protection. Store your mini bouquet in a cool, dry place away from direct sunlight and heat sources.
By storing your mini bouquet properly, you can ensure it will always be ready to use whenever you need it. With just a bit of extra care, your mini bouquet will remain beautiful and vibrant for many years.
Conclusion
In conclusion, making a mini bouquet is a great way to add a touch of beauty and decoration to any room. It’s surprisingly easy to make your own, using just a few simple steps: pick out the flowers you want to use, cut the stems down to size, arrange them in an attractive composition, bind the stems together with ribbon or twine, add extra decorations if desired, and place in a small container.
With the right elements and some creativity, you can come up with various colorful and creative mini bouquets for any occasion.
Whether it’s a celebration or just to add some cheer to your home, making these miniature works of art can be fun, rewarding, and sure to bring smiles all around. I hope reading this post has helped you learn how to make a mini bouquet. Make sure the safety precautions are carried out in the order listed.

