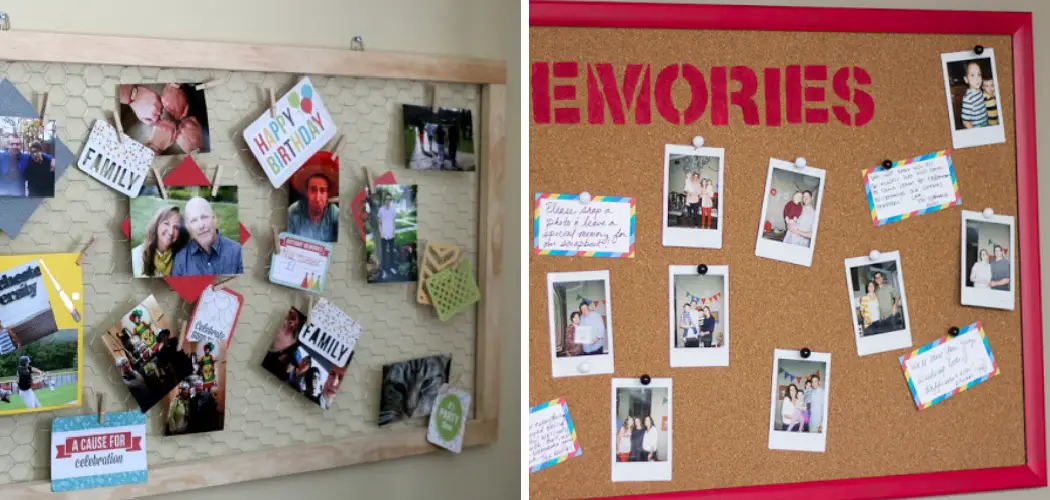
Creating a memory board can be a meaningful way to preserve and display your memories, whether it’s for yourself or as a gift for someone else. It’s an easy and low-cost project that allows you to showcase your favorite photos, mementos, and other special items in one place.
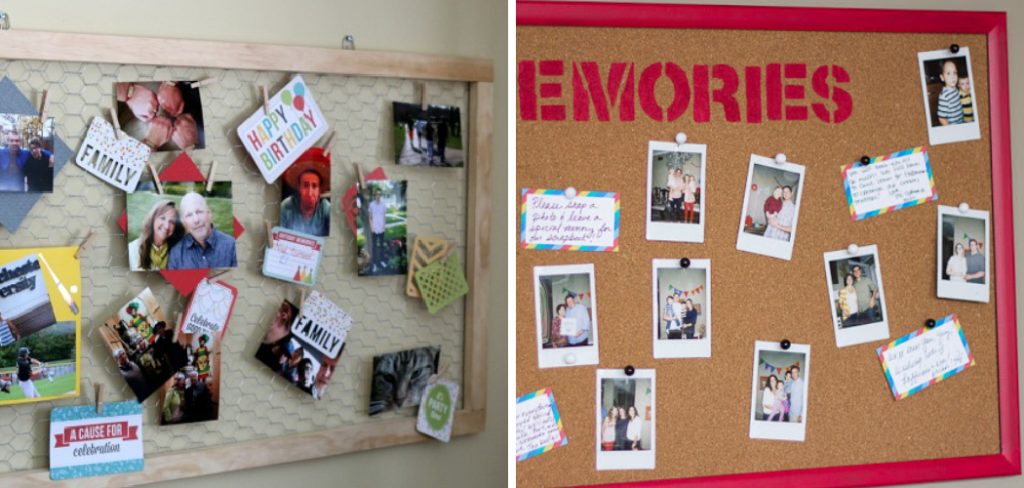
The main advantage of making a memory board is that it provides an opportunity to preserve and display cherished memories in a creative and meaningful way. By creating a personalized memory board, you can showcase special moments, milestones, and people in your life. You can find step-by-step instructions on how to make a memory board in this blog article.
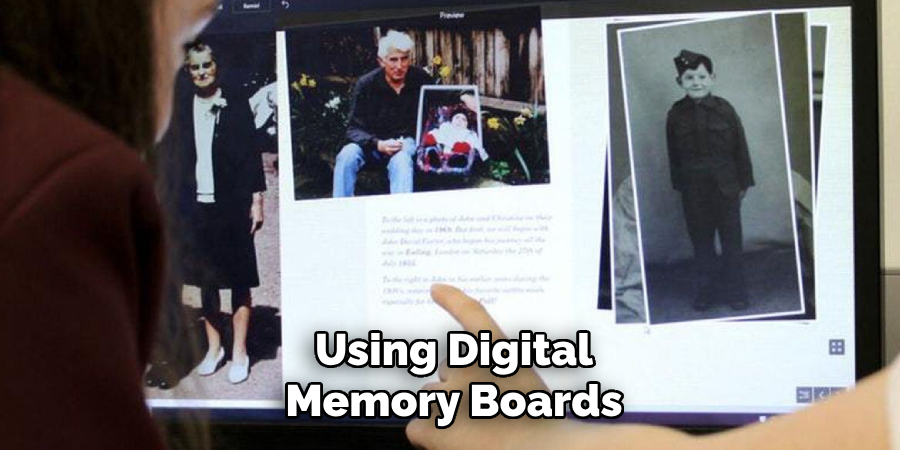
Digital Memory Boards
Digital memory boards are becoming increasingly popular as a way to organize, save and share memories in the digital age. In today’s fast-paced world, we are constantly bombarded with information and it can be difficult to keep track of everything. Digital memory boards provide an easy and efficient way to collect, display and preserve important moments.
Introduction to Digital Platforms
There are various digital platforms available for creating memory boards such as Pinterest, Trello, and Canva. These platforms provide users with a virtual space to collect images, videos, and other multimedia elements related to a specific topic or theme. They offer a user-friendly interface that allows for easy organization and customization of the board.
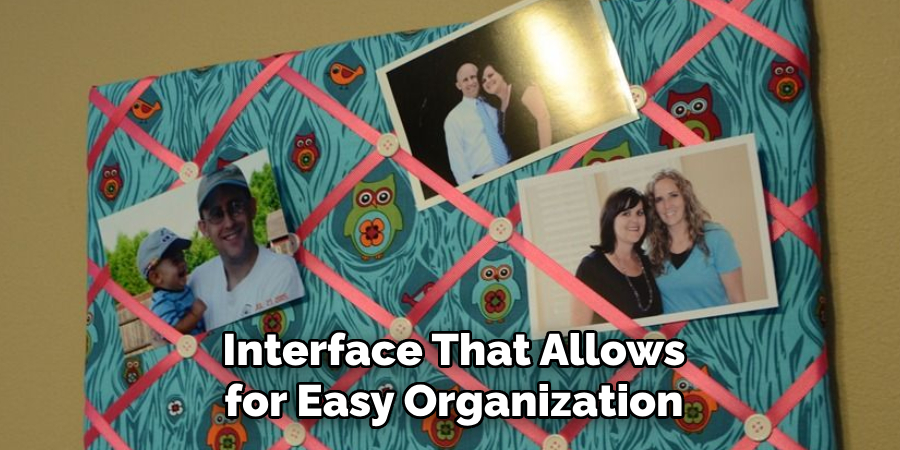
Some platforms even offer features like collaborative boards where multiple users can contribute and edit the content, making it a great tool for group projects or events. With the rise of social media, these platforms have also become a popular way to share memories with friends and family.
Online Tools and Apps
In addition to digital platforms, there are also various online tools and apps specifically designed for creating memory boards. These tools offer more specialized features such as templates, filters, and editing tools to enhance the visual appeal of the board. Some popular memory board apps include Storyboarder, PicCollage, and Moodboard.
These tools provide users with a more comprehensive and creative way to curate their memories. They also often come with cloud storage options, allowing for easy access and sharing of boards across devices.
Benefits of Digital Memory Boards
- Easy and Convenient: The first benefit of digital memory boards is their ease and convenience. With just a few clicks, you can create a board and start organizing your memories without the need for physical materials like paper, scissors, or glue.
- Accessibility: Digital memory boards can be accessed from anywhere with an internet connection. This means you can work on your board from any device and easily share it with others.
- Customization: Digital platforms and tools offer a wide range of customization options for memory boards. You can choose different layouts, fonts, and backgrounds to make your board unique and reflective of your personal style.
- Organization: With digital memory boards, you can easily categorize and organize memories by theme or event, making it easier to keep track of everything.
- Memory Preservation: Unlike traditional memory boards, digital memory boards do not deteriorate over time and can be easily saved and accessed for years to come.
- Collaboration: As mentioned earlier, some platforms and tools offer collaborative features, allowing multiple users to contribute and edit the board. This makes it a great tool for group projects or events where memories can be shared and preserved together.
- Environmentally Friendly: By using digital memory boards, you are reducing the need for physical materials and therefore contributing to a more sustainable environment.
With their ease of use, accessibility, customization options, and other benefits, it’s no wonder that digital memory boards are gaining popularity. Whether you’re planning a trip, organizing an event, or simply wanting to preserve special memories, these digital tools and platforms provide a modern and efficient way to do so.
Materials You Will Need
- Measuring tape
- Hammer
- Screwdriver set
- Nails and screws
- Level
- Power drill
- Stud finder
- Paint brushes/rollers
- Drop cloth/tarp
- Ladder
Step-by-step Instructions for How to Make a Memory Board
Step 1: Gather Your Supplies
To make a (digital) memory board, you will need the following supplies:
- A digital platform or software (such as Canva or Adobe Photoshop)
- Images and photos that hold special memories
- Decorative elements such as stickers, illustrations, and clipart
- Text boxes for adding captions or personal messages
- Optional: background templates or patterns for a cohesive look
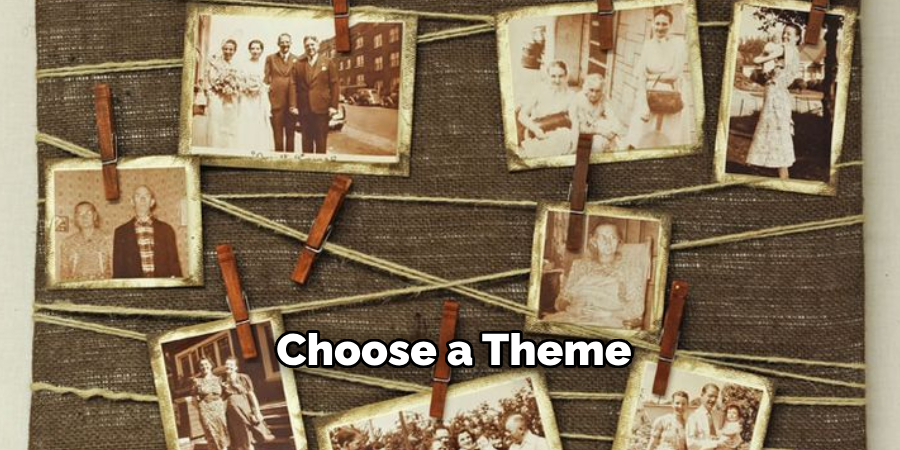
Step 2: Choose a Theme
Before you start creating your memory board, it’s important to choose a theme. This will help guide the design and layout of your board. Some popular themes include:
- Family memories
- Travel adventures
- Milestone celebrations (birthdays, graduations, weddings)
- Pet memories
Choose a theme that holds special meaning to you and will help bring your memories to life.
Step 3: Select and Edit Your Images
Now that you have a theme in mind, it’s time to select the images and photos you want to include on your memory board. You can either use physical copies of your photos or scan them onto your computer for digital use. Remember to crop or edit your photos if needed and adjust the color or brightness to enhance their appearance.
Step 4: Create Your Layout
Once you have your images ready, it’s time to create a layout for your memory board. You can start by arranging the photos in a cohesive manner, such as in a grid or collage style. You can also add decorative elements as you see fit, such as borders, frames or background patterns.
To make your memory board more personalized, consider adding text boxes with captions or personal messages next to each photo. This will add a narrative element to your board and help tell the story behind each memory.
Step 5: Customize with Decorative Elements
Now it’s time to get creative! Add decorative elements such as stickers, illustrations, and clipart to enhance the overall look of your memory board. These elements can also help tie in your theme or add pops of color.
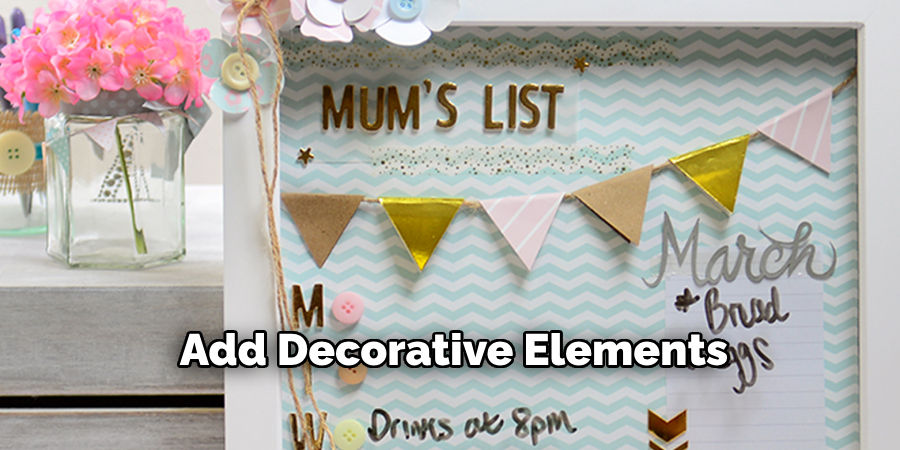
Using different fonts for your text can add visual interest and enhance the design of your memory board. Play around with different font styles and sizes to find the perfect combination for your board.
Step 6: Use a Variety of Colors
Similar to fonts, using a variety of colors can add depth and personality to your memory board. Consider using a color scheme that complements your theme or mix and match different shades for a more eclectic look.
Once you are happy with your design, save your memory board and make sure to keep a digital copy for future reference. You can also print it out on high-quality paper or canvas to display in your home.
Step 7: Share and Cherish
Now that you have created a beautiful (digital) memory board, don’t forget to share it with your loved ones! It’s a great way to reminisce together and cherish the special memories you have captured. You can also make multiple copies to give as gifts to family and friends. Enjoy!
By following these step-by-step instructions, you can easily create a (digital) memory board that will not only showcase your cherished memories but also serve as a beautiful piece of decor in your home.
Tips for How to Make a Memory Board
- Back Up Your Digital Files – It’s important to always have a backup of your digital files, especially when creating something as precious as a memory board. This will ensure that you don’t lose any important images or designs.
- Use Reputable Platforms or Software – When choosing a digital platform or software, make sure to use reputable sources to avoid any potential viruses or malware that can harm your computer.
- Be Mindful of Personal Information – When sharing your memory board online, be mindful of any personal information that may be included in the images or text. Consider blurring or covering up sensitive information before posting.
- Protect Against Plagiarism – If you are using images from the internet, make sure to give credit to the original source or use royalty-free images to avoid copyright infringement.
- Be Cautious When Using Physical Photos – When creating a digital memory board, make sure to handle any physical photos with care to avoid damage or loss. Consider using copies instead of original prints.
- Keep Track of Your Design Elements – It’s important to keep track of where you source your design elements (such as fonts and images) in case you need to make future changes or updates to your memory board.
- Don’t Share Personal Information – When sharing your memory board online, avoid sharing any personal information such as addresses or phone numbers. Stick to sharing the memories and stories behind each photo instead.
These tips will not only protect you and your digital files but also ensure that you can enjoy your memory board for years to come.
DIY Techniques & Advanced Techniques for Making a Memory Board
Memory boards are a great way to preserve and display memories in a creative and personalized way. They can be used for various occasions such as weddings, birthdays, anniversaries, or simply as home decor.

With the rise of digital media, memory boards have also evolved into digital formats that can be easily shared and accessed. In this guide, we will explore both DIY techniques for creating physical memory boards as well as advanced techniques for making digital memory boards.
DIY Techniques:
Creating a physical memory board is a fun and creative project that allows you to personalize it according to your style and preferences. Here are some simple DIY techniques for making a traditional memory board:
1. Choose a Base
The first step is to choose a base for your memory board. This could be a corkboard, foam board, or even an old picture frame with the glass removed.
2. Gather Materials
Next, gather materials such as photos, ticket stubs, notes, and other memorabilia that you want to include on your memory board. You can also add decorative elements like washi tape, stickers, and quotes.
3. Plan Layout
Before you start attaching items to your base, plan out the layout of your memory board. You can arrange the items in a chronological order or create a collage-style design.
4. Attach Items
Using pins, clips, or glue, attach the items onto your memory board. Be creative and add layers for a textured and dimensional look.
5. Personalize
Add personal touches to your memory board such as handwritten notes, drawings, or even small trinkets that hold special meaning to you.
6. Hang and Display
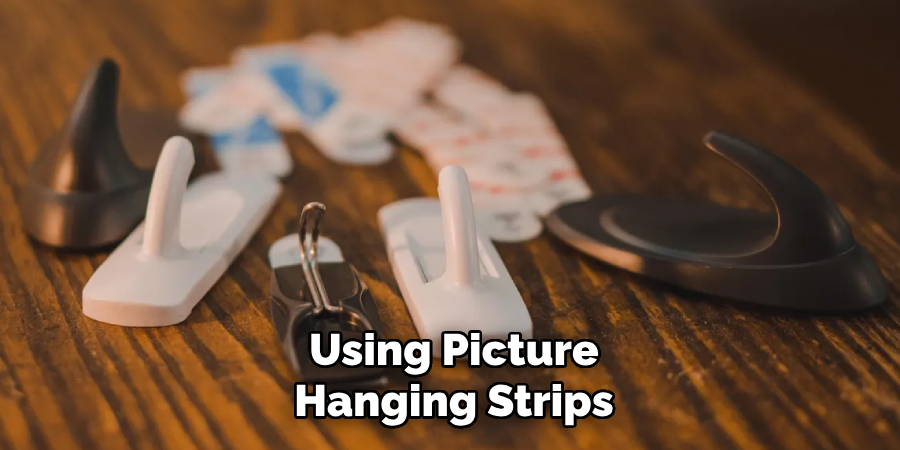
Once your memory board is complete, hang it up using picture hanging strips or hooks. You can also display it on a shelf or table using an easel stand.
Advanced Techniques:
For those looking for a more modern and digital approach to memory boards, here are some advanced techniques to consider:
1. Digital Scrapbooking
Digital scrapbooking allows you to create beautiful memory boards using software or online platforms. You can easily add photos, text, and graphics to create a personalized and professional-looking memory board.
2. Interactive Memory Boards
Interactive memory boards combine the traditional scrapbooking concept with technology, allowing you to add videos, music, and other digital elements to your memory board. This is perfect for creating dynamic and engaging displays for events or parties.
3. 3D Printing
Using a 3D printer, you can turn your digital memory board designs into physical objects. This is a great option for those who want to create unique and one-of-a-kind memory boards.
4. Virtual Reality Memory Boards
With the advancement of virtual reality technology, it is now possible to create fully immersive and interactive memory boards. You can explore your memories in a whole new way and even share them with others remotely.
No matter which technique you choose, memory boards are a wonderful way to preserve and display your cherished memories. Whether you prefer a traditional physical board or a modern digital one, the possibilities are endless.
The Emotional Aspect of Memory Boards
Memory boards, also known as memory walls or memory collages, are a creative way to display and preserve cherished memories. They typically consist of photos, notes, trinkets, and other mementos arranged on a board or canvas in a visually appealing way.
While the main purpose of memory boards is to capture and showcase memories, they can also serve as powerful tools for emotional expression. In this section, we will delve into the emotional aspect of memory boards and how they can help us process our feelings.
1. Processing Emotions Through Memory Boards
Memories are not just static recollections of events, but they are also intertwined with our emotions. Memory boards provide a physical outlet for these emotions to be expressed and processed. Whether it’s happy memories that bring a smile to our faces or painful memories that evoke tears, memory boards allow us to acknowledge and honor these emotions.
Creating a memory board can also be a therapeutic process. As we carefully select and arrange items on the board, we are essentially curating our memories and choosing which ones hold significance for us. This act of control can help us cope with difficult emotions and find a sense of closure.
2. Remembering the Past, Embracing the Present
Memory boards are not just about preserving the past; they also serve as a reminder to live in the moment. As we reflect on our memories while creating a memory board, we are reminded of how far we have come and all that we have experienced. It can be a bittersweet experience, but it also allows us to appreciate the present and look forward to creating new memories.
3. Connecting with Others Through Shared Memories
Memory boards can also serve as a tool for connecting with others. By sharing our memories with loved ones, we not only strengthen our relationships but also create new memories together. Memory boards can be a great conversation starter and provide a platform for storytelling and reminiscing.
In summary, memory boards are more than just a decorative display of memories. They serve as a medium for emotional expression, a tool for processing difficult emotions, a reminder to live in the present, and a way to connect with others through shared memories.
Real-life Inspirations and Success Stories for Making a Memory Board
If you’re looking for inspiration to create your own memory board, look no further than real-life success stories. Here are a few examples of how people have used memory boards in their lives:
- A grieving mother created a memory board for her son who passed away, using his favorite photos and items to honor his memory and keep him close.
- A couple celebrating their 50th wedding anniversary created a memory board to showcase their journey together, from their first date to present-day photos and mementos.
- A group of friends on a trip created a memory wall in their hotel room, adding new memories each day and reflecting on the ones they had already made.
- An artist used memory boards as inspiration for her work, incorporating photos and items from various boards into her paintings and sculptures.
These are just a few examples of how memory boards can be used in personal or creative ways. The possibilities are endless, and the end result is always a unique representation of one’s memories and emotions.
Conclusion
In conclusion, making a memory board is not only a fun DIY project, but it also serves as a meaningful way to preserve and showcase your memories. By following the steps outlined in this blog post, you can create a unique and personalized memory board that will be a special addition to any room. Moreover, creating a memory board allows you to reflect on cherished moments, both big and small.
Not only that, but making a memory board also allows you to get creative and express yourself through various design elements. Whether it’s using colorful photos, decorative items, or inspirational quotes, you can make your memory board truly unique and reflective of your personality. I hope this article has been beneficial for learning how to make a memory board. Make Sure the precautionary measures are followed chronologically.

