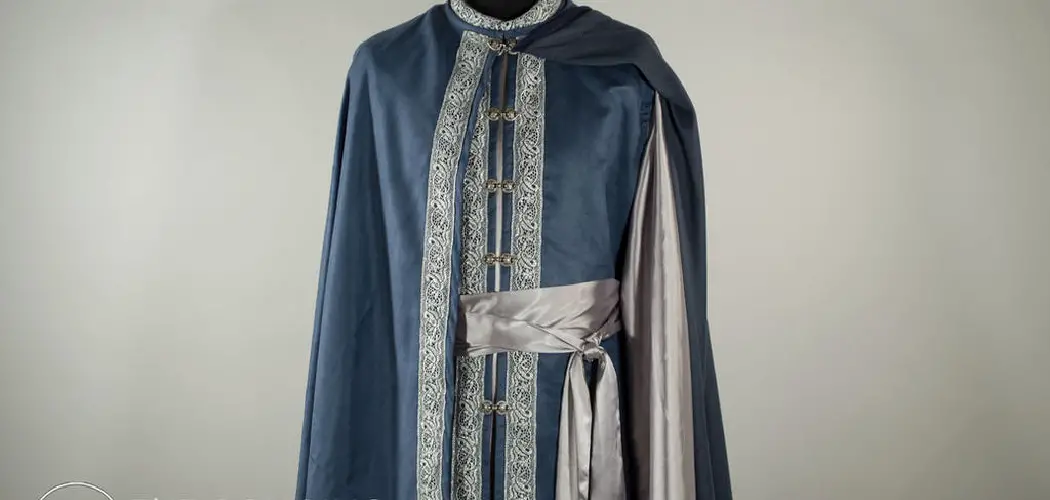
Are you a fan of J.R.R. Tolkien’s World of Middle-earth and always wanted to have your very own hobbit cloak? Look no further because, in this guide, we will teach you how to make a hobbit cloak!
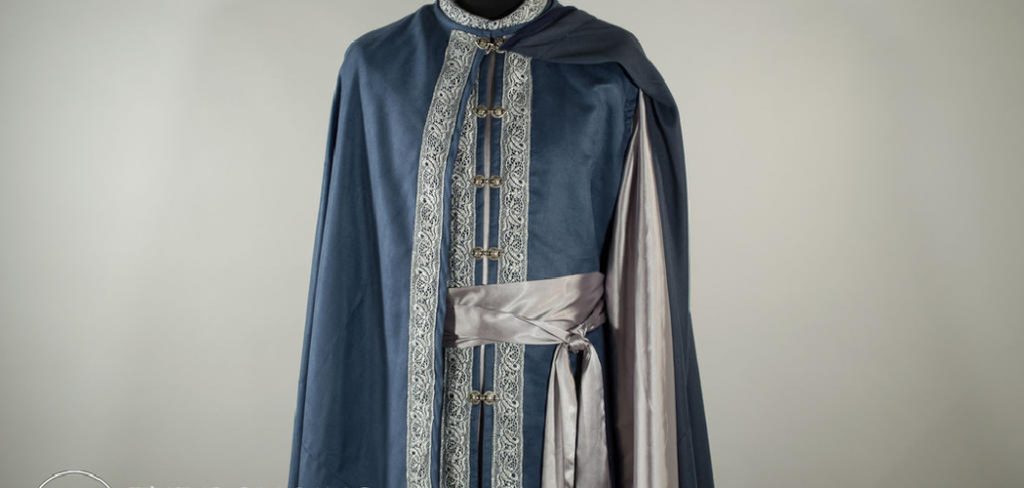
If you’ve ever dreamed of being a hobbit, now is your chance to live out that fantasy – with the help of this guide! In this post, we’ll show you how to craft your Hobbit Cloak. This project requires little experience or specific tools, so grab some fabric, and let’s get started! With clear instructions and helpful tips, we can help make your dream come true. Whether it be for cosplay conventions, fancy dress events, or just because- who doesn’t want their own cloak?
So, let’s start getting creative and make yourself an enchanted garment fit for any hobbit on Middle Earth!
What Will You Need?
Before we can start crafting, let’s make sure you have all the necessary materials. You will need:
- Approximately 3 yards of a sturdy fabric such as wool or tweed (depending on your size)
- Measuring tape and scissors
- Sewing machine (or hand sewing supplies if preferred)
- Thread in the same color as your chosen fabric
- Pins and needles
- An iron and ironing board
- A hooded cloak pattern (which you can find online or create your own)
With these materials on hand, we can begin creating a hobbit cloak!
9 Easy Steps on How to Make a Hobbit Cloak
Step 1: Choose Your Fabric
The first step is to select your fabric. As mentioned before, it’s best to choose a sturdy material such as wool or tweed. These fabrics not only provide the rustic look that is characteristic of a hobbit cloak but also offer the necessary durability to withstand your adventures.
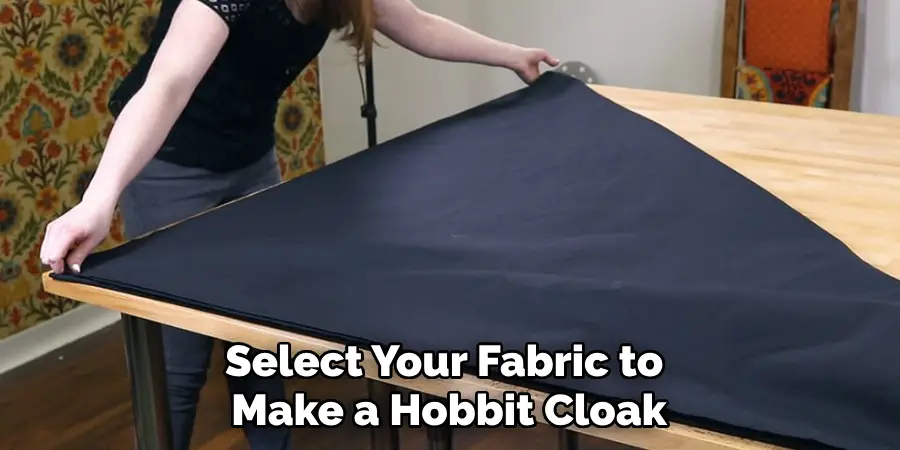
The fabric color can vary, but earth tones such as green, brown, or gray will help maintain the authenticity of your cloak. Remember, you’ll need approximately 3 yards of fabric, depending on your size, so make sure to purchase enough to stay within the crafting process.
Step 2: Measure and Cut the Fabric
Now that you’ve chosen your fabric, it’s time to measure and cut to the appropriate size. Using the measuring tape, measure from your shoulder to where you want the cloak to end, usually around the ankles, for an authentic hobbit style. Add an extra 2 inches to account for the seam allowance.
This will be the length of your cloak. Next, measure across your shoulders to determine the width of your cloak. Again, add two extra inches for the seam allowance. After you’ve marked these measurements on your fabric, use your scissors to cut out the cloak shape. Remember to check twice before cutting, as errors in this step can be difficult to rectify later.
Step 3: Hem the Edges
Once the fabric is cut, it’s time to prepare the edges. Start by folding a half-inch of the fabric’s edge towards the wrong side, which is the side that will be on the inside of the cloak when you’re wearing it. Iron this folded edge to create a crease. Fold the edge in again and iron again to create a tight hem. Secure this double-folded hem with pins.
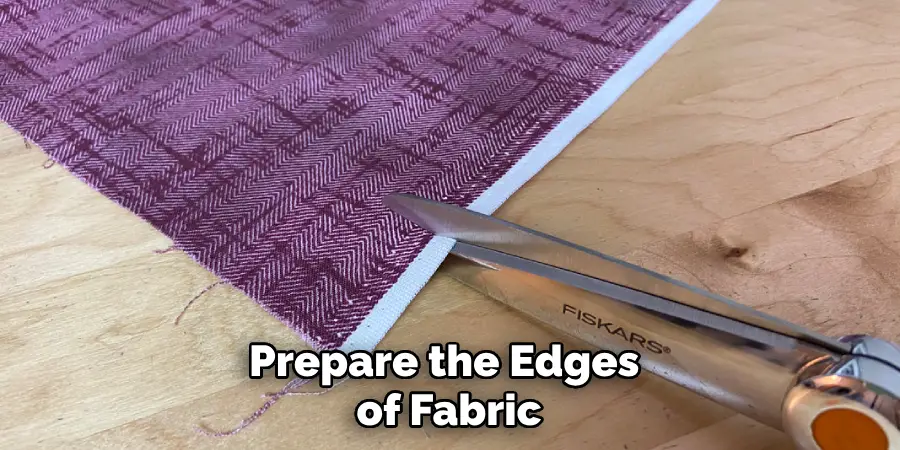
Using your sewing machine or needle and thread, sew along the hem. Repeat this process for all the edges of your cloak, making sure to remove the pins as you sew. Hemming the edges will give your hobbit cloak a polished look and prevent the fabric from fraying.
Step 4: Creating the Hood
Now it’s time to create the hood for your hobbit cloak. Using your hooded cloak pattern, trace and cut out two pieces of fabric. This will form the inner and outer parts of your hood. Place the two pieces of fabric together with the right sides facing each other. Sew along the curved edge of the hood, leaving the bottom and the front edges open.
Turn the hood right-side out and iron the seams for a crisp finish. Make sure to hem the front edge of the hood just like you did with the edges of the cloak.
Step 5: Attaching the Hood to the Cloak
Now that the hood is prepared, it’s time to attach it to the cloak. First, find the center point of the cloak’s collar area by folding the cloak in half. Then, match this point with the center seam of the hood. Pin the hood onto the cloak, ensuring that the right sides of the fabric are together.
Sew along the pinned area, removing the pins as you go. Once the hood is securely attached, iron the seam for a neat finish. Your hobbit cloak now has a hood, bringing you one step closer to completing your Middle Earth attire!
Step 6: Adding a Closure
The final step in creating your hobbit cloak is to add a closure. This can be a simple button and loop, a traditional cloak clasp, or a decorative brooch. For the button and loop closure, sew a button onto one side of the cloak at your chest level. On the opposite side, create a loop from a small piece of fabric or cord that is large enough to fit around the button. For a cloak clasp or brooch, simply fasten it to the cloak, where it naturally falls closed at your chest level.
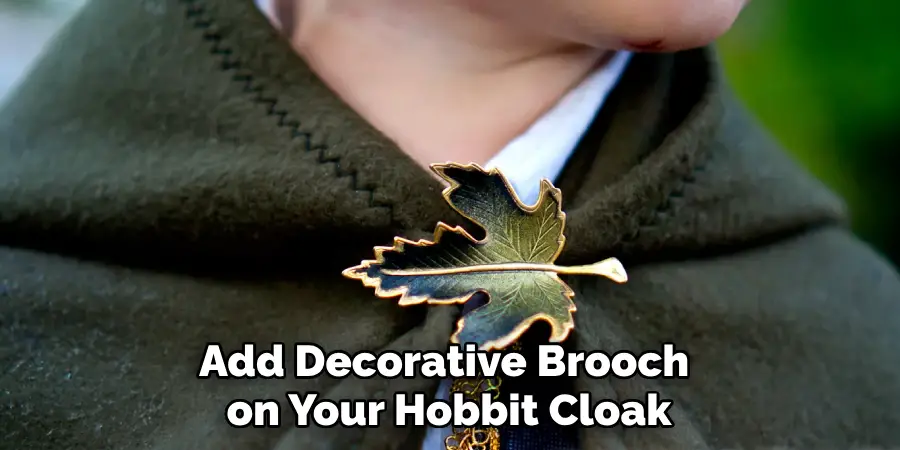
This not only keeps your cloak secure but also adds a decorative touch that enhances the overall authenticity of your Middle Earth attire. Now, your hobbit cloak is ready for any adventures that may come your way!
Step 7: Final Adjustments and Try On
With the closure added, your hobbit cloak is nearly complete. But before you journey through Middle Earth, it’s important to ensure your cloak fits you well. Try on your cloak and check if it falls to the desired length and if the hood comfortably fits your head. Look in the mirror to make sure the cloak hangs evenly, and the closure works effectively.
If any adjustments are needed, such as shortening the length or tightening the hood, make them now. Remember, a well-fitted cloak not only looks good but also increases your comfort and freedom of movement on your adventures. Once you’re satisfied with the fit, your hobbit cloak is ready to wear!
Step 8: Care and Maintenance of Your Hobbit Cloak
Keeping your hobbit cloak in good condition is crucial for its longevity and continued performance. Start by spot cleaning any dirt or stains using a damp cloth and mild soap. For deep cleaning, it’s best to hand wash your cloak in cold water to preserve the fabric and color.
Avoid twisting or wringing the fabric; instead, gently squeeze the water out and lay it flat to dry. Ironing is not usually necessary because wool or tweed fabrics can often resist wrinkles naturally. However, if needed, use a cool iron to smooth out any creases.
Step 9: Enjoy Your Hobbit Cloak
Congratulations! You’ve crafted your very own hobbit cloak. Whether you’re attending a themed event, a cosplay, or embarking on your adventure, your cloak is sure to be a hit. Remember, a hobbit’s journey is filled with unexpected turns and thrilling moments, so wear your cloak with pride and embrace the spirit of Middle Earth. After all, as Bilbo Baggins said, “It’s a dangerous business, Frodo, going out your door.
You step onto the road, and if you don’t keep your feet, there’s no knowing where you might be swept off to.” So, put on your hobbit cloak and let the adventure begin!
By following these steps, you can create a unique and authentic hobbit cloak that will not only bring out your inner hobbit but also keep you warm and stylish on your journeys.
5 Additional Tips and Tricks
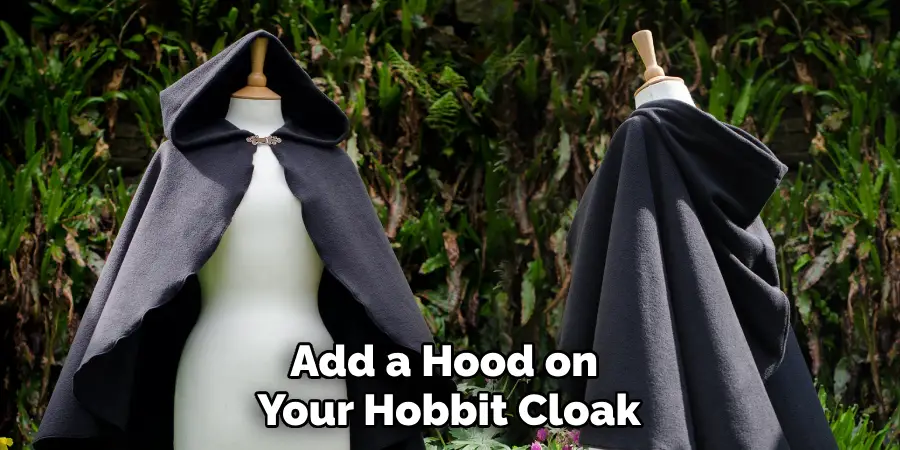
- Pay attention to the length: The cloak should reach your calves. Hobbits are small creatures, so a cloak of this length will give you the desired look.
- Add a hood for authenticity: Most hobbit cloaks come with hoods. Add a large, loose-fitting hood to your cloak for added authenticity.
- Secure with a brooch: Hobbit cloaks are typically fastened at the neck with a distinctive brooch. Scour vintage stores or online marketplaces to find a brooch that suits your cloak.
- Weather the cloak: Hobbits spend a lot of time outdoors. To make your cloak look well-loved and worn, consider weathering it. This could involve rubbing it with sandpaper, leaving it out in the sun, or even dragging it through the grass.
- Check if it’s allowed: Some conventions or events may have rules about wearing cloaks. Make sure to check beforehand so you can be satisfied with the event.
With these additional tips and tricks, you’ll be well on making the perfect hobbit cloak. Now go forth and embrace your inner hobbit!
5 Things You Should Avoid
- Avoid bright colors: Hobbits are earthy creatures, and their attire reflects that. Stick to muted greens, browns, and grays for your cloak for an authentic hobbit look.
- Don’t make it too flashy: Hobbits are simple folk who prefer practicality over ostentation. Avoid adding unnecessary accessories or embellishments to your cloak.
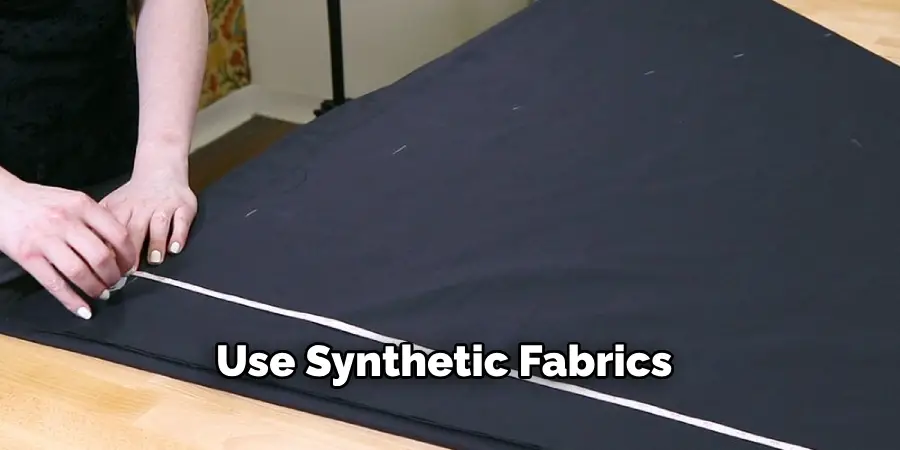
- Steer clear of synthetic fabrics: Hobbits live in harmony with nature. Choose natural, breathable fabrics like cotton or wool for your cloak rather than synthetic materials.
- Pay attention to the fit: While hobbit cloaks are loose and flowing, they should not impede movement. Make sure your cloak fits well and is manageable and manageable.
- Avoid modern fasteners: Hobbits wouldn’t have access to zippers or Velcro. Stick to traditional fasteners like buttons, ties, or the brooch, as mentioned earlier.
By avoiding these pitfalls, you can ensure your hobbit cloak stays true to its roots and looks like it belongs in Middle Earth. Now, go forth and create your perfect hobbit attire!
Is Wool Good for a Cloak?
Yes, wool is an excellent choice for a hobbit cloak. Not only does it have that rustic, earthy feel that is perfect for hobbit attire, but it also has practical benefits. Wool is warm and insulating, making it great for chilly outdoor wear. It’s water-resistant and can hold up well in damp or drizzly weather. Plus, wool is a durable fabric that can withstand wear and tear, making it perfect for a cloak worn outdoors.
Additionally, wool is a natural and sustainable material that aligns with the hobbit’s simple and eco-friendly lifestyle. It’s also readily available in various shades of earthy colors, making it easy to find the perfect hue for your hobbit cloak. So, if you want to make an authentic hobbit cloak, wool should be at the top of your fabric list.
Conclusion
After going through the steps of making a hobbit cloak, you will feel inspired and get to work on crafting the perfect cloak for yourself. And if all else fails, well, then at least you know where to find help – amongst your friendly Tolkien fanatics! It’s not difficult to create something from such a beloved universe, but it can be tricky.
Hopefully, the article on how to make a hobbit cloak has provided you with all the information and inspiration you need to create your own piece of Middle Earth. Remember, attention to detail and adhering to the simple hobbit lifestyle are key to creating an authentic cloak.
So make sure to take your time when assembling the different pieces, or else you might end up with an unattractive cloak instead of an eye-catching one. Go out there, have some fun, and make something magical!

