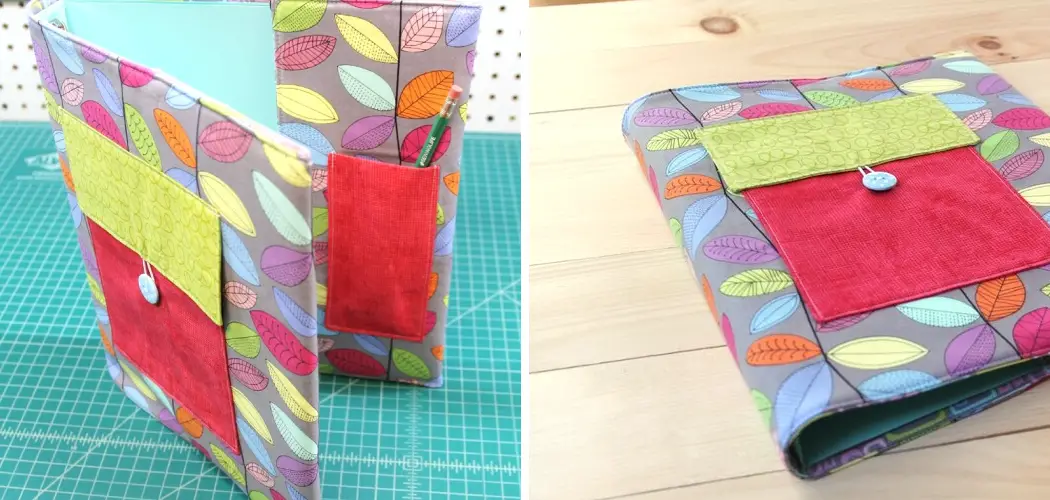
Are you tired of boring, plain binders that all look the same? Do you want to add a touch of personalization and creativity to your organization game? Look no further because in this blog post, we will be sharing an easy and fun tutorial on how to make a cover for a binder.
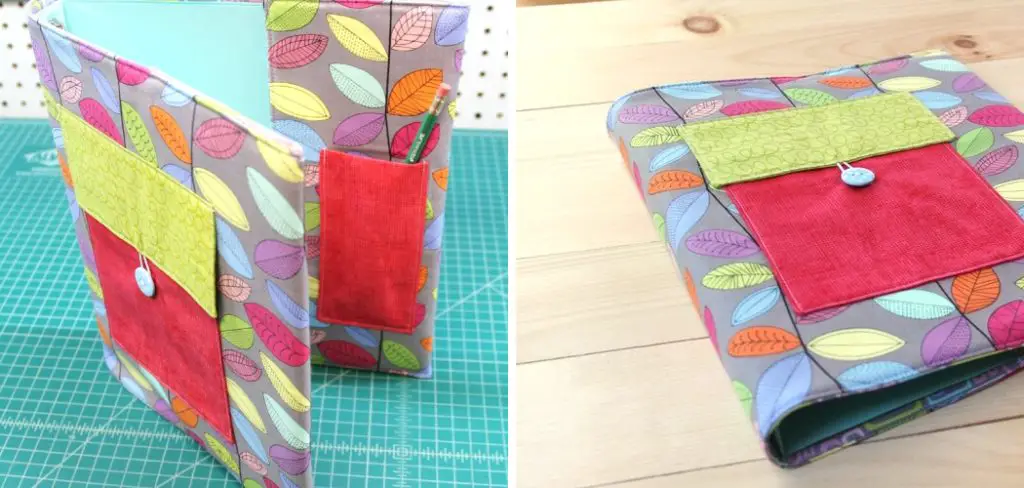
Whether it’s for school, work, or just keeping your important documents organized at home, customizing your binder cover is not only practical but also adds some personality and style. Get ready to unleash your inner artist as we dive into different ways to make unique covers for your trusty binder!
Why May You Want to Make a Cover for a Binder?
1 . To Keep Your Binder Organized
A well-made cover for a binder can help you stay organized. You can use the cover to label the contents of your binder, making it easier to find what you need quickly. Additionally, a cover can also protect the binder’s edges and corners from getting damaged or frayed, which in turn can make it last longer.
2 . To Personalize Your Binder
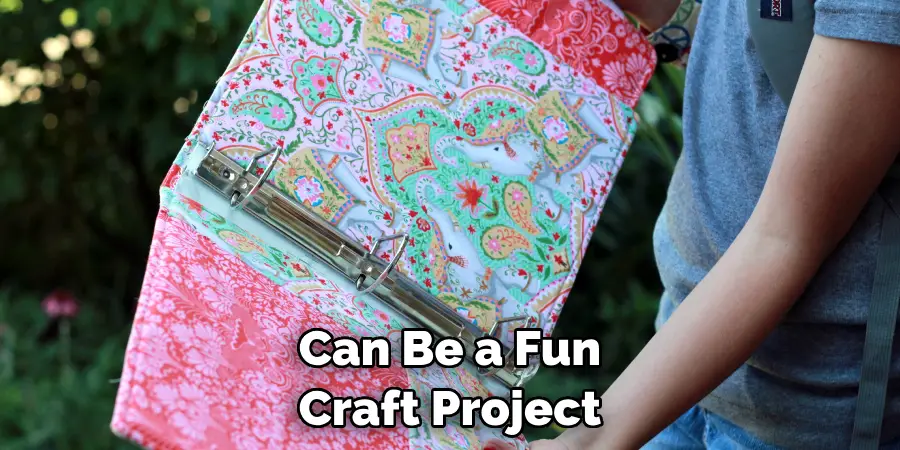
Making a cover for your binder can be a fun craft project that allows you to personalize your binder. You can choose from various materials, colors, and designs to create a cover that reflects your personality or interests. This not only makes the binder more visually appealing but also helps you easily identify it among other binders.
3 . To Keep Your Documents Private
If you have sensitive documents in your binder, a cover can provide an extra layer of security by keeping them hidden from view. This is especially useful when carrying the binder in public or sharing it with others.
4 . To Save Money
Buying a pre-made cover for your binder can be expensive, but making one at home can save you money. With a few basic supplies and some creativity, you can create a unique and functional cover for your binder at a fraction of the cost.
5 . To Protect Your Binder from Wear and Tear
Binders are often used frequently and subjected to wear and tear over time. A cover can help protect the binder’s exterior from scratches, spills, or general wear and tear. This can help keep your binder looking new for longer.
6 . To Add Personality to Your Workspace
A plain, dull binder can make your workspace feel boring and uninspired. Adding a cover to your binder can instantly add some personality and color to your desk or office space. You can change the cover design whenever you want, giving you the flexibility to switch up your workspace’s look and feel.
How to Make a Cover for a Binder in 6 Easy Steps
Step 1: Gather Materials
To make a cover for a binder, you will need the following materials:
- A piece of sturdy paper or cardstock in your desired size and color
- Scissors
- Ruler
- Pencil
- Glue or double-sided tape
Step 2: Measure the Binder Size
Use a ruler to measure the width and length of your binder. Add an extra 1 inch to the width and length measurements to ensure that the cover will fit comfortably over the binder. Also, make sure to measure the spine’s width as this will determine how wide your cover needs to be.
Step 3: Cut Out the Cover
Using the measurements from step 2, cut out a piece of paper or cardstock in the desired size. Also, cut a slit in the middle of the paper to accommodate the binder’s spine.
Step 4: Decorate Your Cover
This is where you can get creative and personalize your cover. You can use markers, stickers, photographs, or magazine cutouts to decorate your cover. Make sure to leave enough space at the top and bottom of the cover for labeling and personalization.
Step 5: Attach the Cover to Your Binder
Once your cover is decorated, use hot glue gun or double-sided tape to attach it to the binder. Make sure to align the spine with the binder’s spine and smooth out any wrinkles or bubbles. Also, fold the extra 1 inch of paper or cardstock over the edges of the binder to create flaps that will hold the cover in place.
Step 6: Label Your Cover
To make it easier to identify your binder’s contents, label the cover with a title or category. You can use markers, labels, or print out a label and glue it onto the cover. This will help you keep your binder organized and easily accessible.
Some Extra Tips to Make a Cover for a Binder
1 . Do Not Forget to Measure
Before beginning the process of making a cover for your binder, it is important to measure the size of your binder. This will ensure that your cover fits perfectly and does not become too loose or tight when placed on the binder.
2 . Use Durable Materials
Since binders are used frequently, it is essential to use durable materials to make their covers. This will ensure that the cover does not tear or get damaged easily, making the binder last longer.
3 . Be Creative
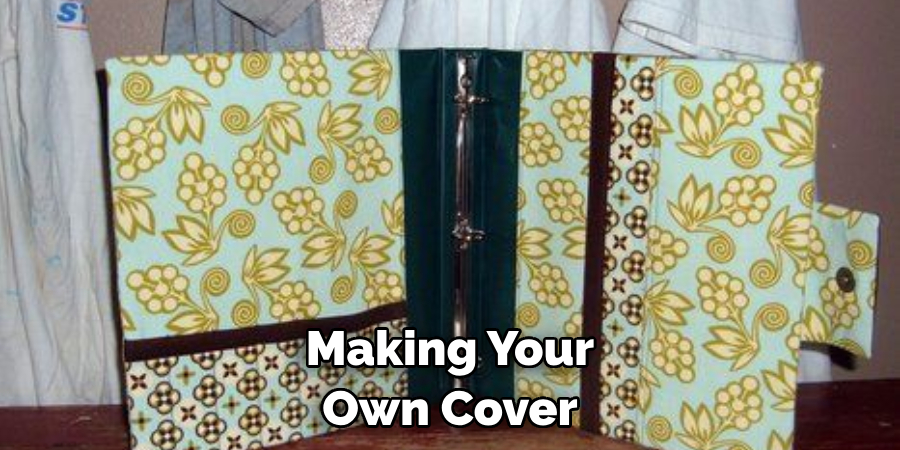
Making your own cover for a binder allows you to be creative and add a personal touch to it. You can use different colored papers, stickers, fabrics, or even personalize it with your name or favorite quote.
4 . Customize for Different Purposes
You can also customize your binder cover for different purposes such as school, work, or personal use. For school, you can add a subject label or decorate it with images related to your favorite subject. For work, you can use professional colors and designs, and for personal use, you can let your creativity flow.
5 . Protect Your Binder
Not only does a cover add a personal touch, but it also protects your binder from wear and tear. By using durable materials and creating a sturdy cover, you can ensure that your binder stays in good condition for a longer period of time.
6 . Reuse Old Materials
Instead of buying new materials to make a binder cover, you can reuse old materials such as old wrapping paper, magazines, or even fabric scraps. This not only helps you save money but also reduces waste and promotes sustainability.
7 . Get Inspired
If you are feeling stuck or unsure about how to design your binder cover, take some time to get inspired. You can browse online for ideas, look through magazines or even ask friends and family for suggestions. With a little inspiration, you can create a one-of-a-kind cover for your binder.
Frequently Asked Questions
What Precautions Should I Take While Making a Cover for My Binder?
Creating a cover for your binder is not as simple as just throwing on some paper and calling it a day. There are certain precautions that you should keep in mind to ensure that your cover is sturdy, durable, and looks good. Here are some tips to help you out:
- Use Thick Paper or Cardstock: The material you use for your cover should be thick enough to withstand normal wear and tear. Use a heavy paper or cardstock that will not easily rip or bend.
- Measure the Binder Accurately: It’s important to measure the binder exactly to ensure that your cover fits perfectly. Don’t rely on guesswork, take precise measurements so that your cover doesn’t end up being too loose or too tight.
- Leave Extra Margin for the Binding: When designing your cover, make sure to leave an extra inch or so on the side where the binder rings go through. This will prevent the cover from getting torn when you open and close the binder.
Can I Use Any Type of Paper for My Binder Cover?
While you can technically use any type of paper for your binder cover, it is best to choose a thick, sturdy material that will hold up over time. Regular printer paper may be too thin and flimsy, making your cover prone to tearing or ripping. Consider using cardstock or heavy-weight paper for the best results. You can also get creative and use materials like fabric or contact paper for a unique and durable cover.
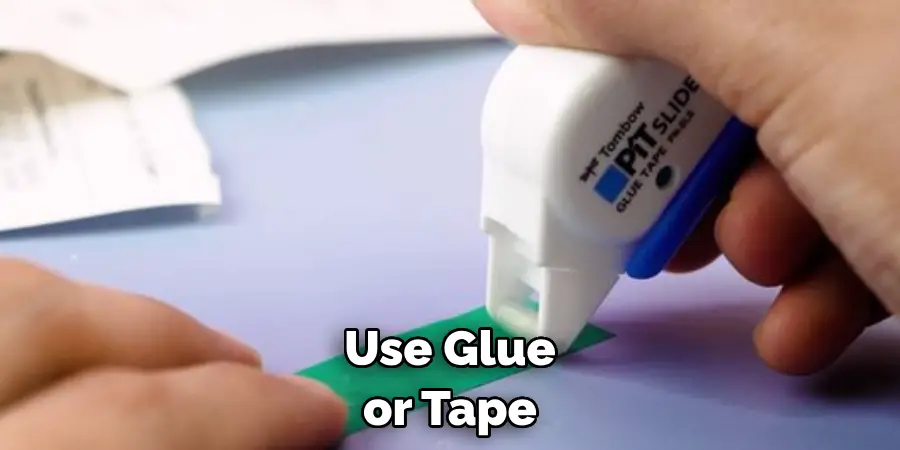
Do I Need to Use Glue or Tape to Secure My Cover?
It is not necessary to use glue or tape to secure your binder cover, as the rings on the binder will hold it in place. However, if you want added security, you can apply a small amount of glue or tape to the edges of the cover before sliding it onto the binder. Just be careful not to use too much, as it may make it difficult to remove and replace your cover in the future.
Conclusion
Now you know how to make a cover for a binder. Making a cover for a binder is an easy and fun DIY project that allows you to personalize and protect your binders. By following these extra tips, you can elevate the look of your binder while also making it last longer. So go ahead and get creative with your binder covers!

