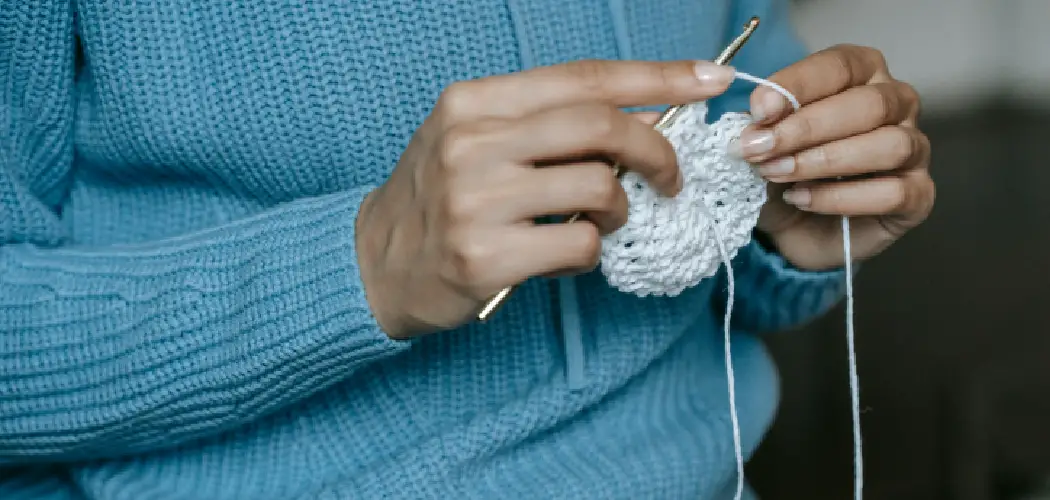
Do you want to take your home decorations up a notch this fall? If so, look no further than chunky yarn pumpkins! This fun and creative craft project is sure to make a statement in any room—and best of all, it’s easy to do.
In this blog post, we’ll walk you through the steps on how to make a chunky yarn pumpkin. From choosing the perfect color combination for the exterior to stuffing it with fluffiness inside, we will cover everything you need to know about creating an amazing pumpkin that can be used as decor year after year. So get your supplies ready and let’s get crafting!
Supplies You Will Need to Make a Chunky Yarn Pumpkin
- Chunky yarn in various colors (orange, green, and brown are classic choices)
- Cardboard
- Scissors
- Hot glue gun and glue sticks
- Stuffing or pillow filling
- Twine or ribbon (optional)
Step-by-step Guidelines on How to Make a Chunky Yarn Pumpkin
Step 1: Choose Your Yarn Colors
To start, choose the yarn colors you want to use for your pumpkin. Orange and green are classic choices for a traditional pumpkin look but feel free to get creative with different shades and textures. You will need about 50-60 yards of chunky yarn in total. Choosing different shades of the same color can add dimension to your pumpkin.
Step 2: Create a Simple Cardboard Template
Next, create a simple cardboard template to use as a guide for shaping your pumpkin. Draw a large circle on the cardboard using a pencil and cut it out with scissors. You can also use a bowl or any circular object as a template. For a bigger pumpkin, use a larger circular template. Creating a small pumpkin? Use a smaller circular template.
Step 3: Start Wrapping the Yarn
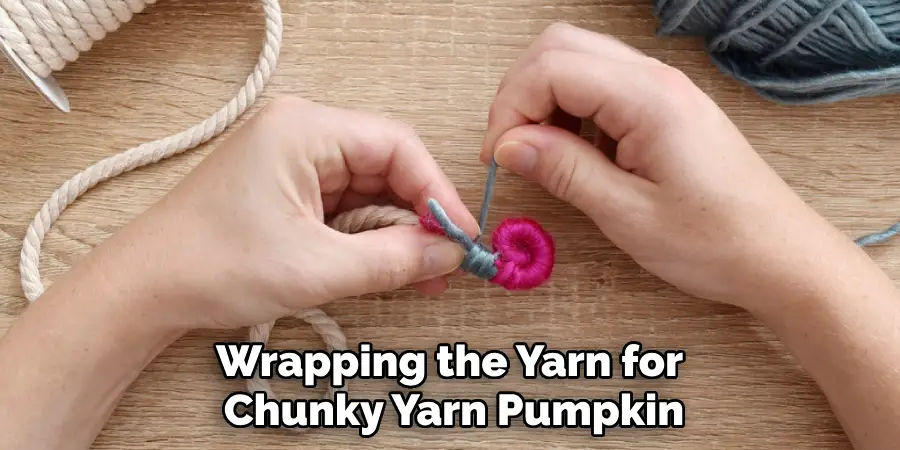
Take one end of your yarn and tie it to the cardboard circle using a knot. Make sure to leave a long tail to use for tying later. Begin wrapping the yarn around the cardboard circle, making sure to cover the entire surface. You can wrap it tightly or loosely depending on the desired look. For a fuller pumpkin, wrap it more tightly.
Step 4: Switch Up Yarn Colors
As you continue wrapping the yarn, switch up colors to add variety and texture to your pumpkin. You can create thick stripes or random patches of color—it’s completely up to your personal preference! Just make sure that each new color is tied to the previous one using a knot, and leave a long tail that can be used for tying later. This will ensure that your pumpkin stays securely wrapped with no loose yarn edges.
Step 5: Cut and Tie Ends
Once you have completely covered your cardboard circle with yarn, cut the end of the yarn and tie it to the beginning tail using a double knot. Repeat this step for any additional color changes. Once all ends are securely tied, remove the cardboard template from the center of your pumpkin. While the pumpkin may look a little misshapen at this point, don’t worry—it will take shape once it’s stuffed.
Step 6: Stuff Your Pumpkin
Using stuffing or pillow filling, stuff your pumpkin through the small opening in the center. You can use as much or as little stuffing as you like depending on how plush you want your pumpkin to be. Once it’s stuffed to your liking, tie the remaining long tail tightly to create a stem for your pumpkin. Make sure to double-knot it for extra security.
Step 7: Add Finishing Touches
To complete your chunky yarn pumpkin, you can add some finishing touches like twine or ribbon around the stem or even hot glue on some faux leaves and vines. Get creative and have fun with it! Your pumpkin is now ready to be displayed in your home as a cozy and unique fall decoration.
Make as many pumpkins as you like in different sizes and color combinations to add some festive charm to your living space.Following these simple steps, you can create your own chunky yarn pumpkin in no time.
This creative project is perfect for all ages and skill levels, making it a fun activity for the whole family to enjoy. So gather your supplies and get ready to impress your friends and family with your homemade chunky yarn pumpkins this fall season! Happy crafting!
Additional Tips and Tricks to Make a Chunky Yarn Pumpkin
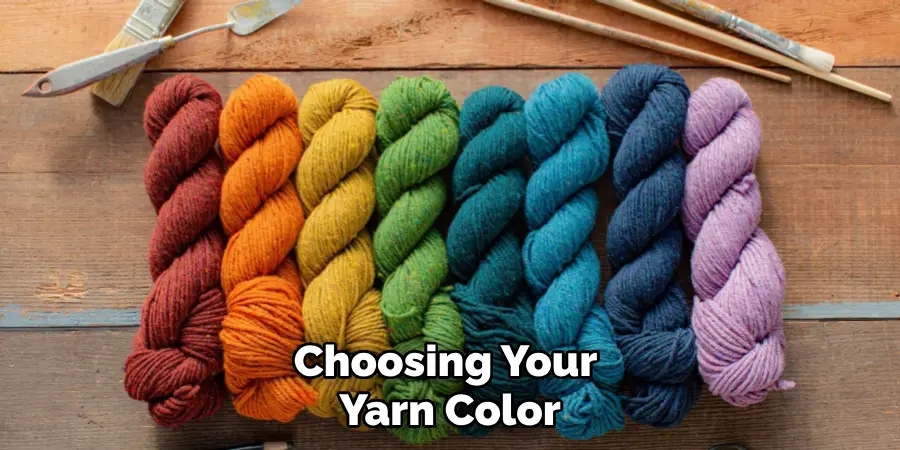
1. When choosing your yarn color, consider using shades of orange, rust, and brown to give your pumpkin a more realistic look. You could also add in some green or yellow yarn for the stem.
2. For a larger pumpkin, use thicker yarn or multiple strands of regular-weight yarn to create a chunkier appearance.
3. Instead of using twine for the pumpkin’s ribs, try using thinner strips of brown felt. This will give your pumpkin a more textured and dimensional look.
4. Add some character to your pumpkin by gluing on small leaves or acorns made from felt or fabric.
5. Create a fun fall centerpiece by making multiple-sized pumpkins in different colors and displaying them together.
6. If you want to make a smaller pumpkin, use thinner yarn and a smaller balloon. This way, you can have a variety of sizes for your pumpkin patch.
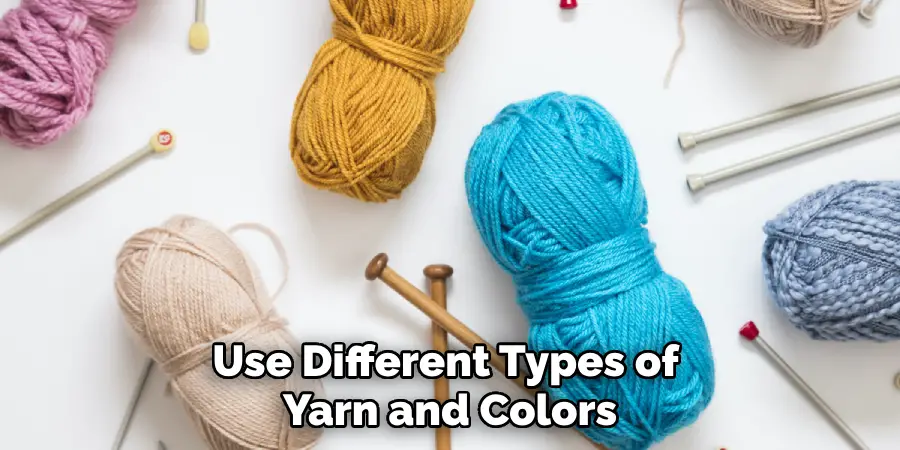
7. Experiment with different types of yarn, such as variegated or glitter yarn, to give your pumpkins a unique look.
8. Use a hot glue gun to secure the twine or felt strips to the balloon. This will ensure that they stay in place and give your pumpkin a more polished look.
9. If you’re feeling adventurous, try making a white or black yarn pumpkin and adding some spooky details for a Halloween decoration.
Following these additional tips and tricks will help you create a beautiful and unique chunky yarn pumpkin. Get creative and have fun with different yarn colors, textures, and decorations to make your pumpkin truly stand out! Happy crafting!
Precautions Need to Be Followed for Making a Chunky Yarn Pumpkin:
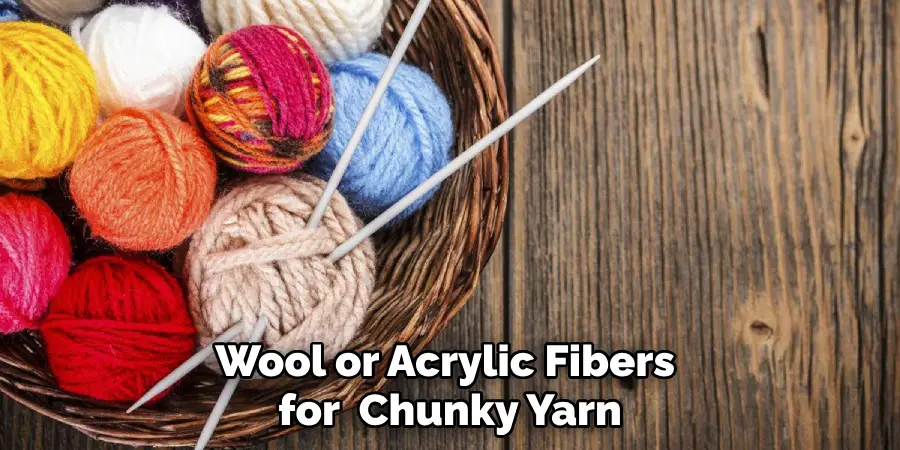
1. First and foremost, you should always make sure that you are using the right type of yarn for this project. Chunky yarn is typically made from wool and acrylic fibers and it has a thickness between 5-8 mm.
2. It is important to choose the right color of yarn for your pumpkin. Orange is the most obvious choice, but don’t be afraid to experiment with other colors like white, black, or even multicolored yarn.
3. Before starting the project, be sure to measure and cut your yarn into equal-length pieces. This will ensure consistency in the size of your pumpkin.
4. When making a chunky yarn pumpkin, you should also have a pair of scissors, a hot glue gun, and some twine or ribbon on hand for the finishing touches.
5. It is important to work in a well-ventilated area when using hot glue. The fumes can be strong and it’s always better to be safe than sorry.
6. If you plan on displaying your yarn pumpkin outdoors, make sure to use waterproof materials such as acrylic yarn and glue that can withstand moisture.
7. When gluing the yarn to the pumpkin, make sure to hold it in place for a few seconds until the glue dries and secures the yarn.
8. Be careful when wrapping the yarn around the pumpkin as it can be easy to overlap or bunch up in certain areas. Take your time and make sure each piece of yarn is neatly placed before gluing it down.
Following these precautions will ensure that your chunky yarn pumpkin turns out beautifully and safely. Now, let’s move on to the steps for actually making the pumpkin.
Let your creativity run wild and have fun with this festive craft project! From choosing different sizes and colors of yarn to adding embellishments like leaves or a stem, there are endless possibilities to make your pumpkin unique. Don’t be afraid to experiment and make it your own. Happy crafting!
Frequently Asked Questions
What is a Chunky Yarn Pumpkin?
A chunky yarn pumpkin is a fun, easy, and stylish craft for fall. It is made by wrapping chunky yarn around a foam or paper mache base to create a pumpkin shape. It can be used as a decoration for your home or given as a gift. This craft is popular among crafters of all ages and skill levels.
How Long Does It Take to Make a Chunky Yarn Pumpkin?
The time it takes to make a chunky yarn pumpkin will vary depending on your skill level and the size of the base. On average, it can take anywhere from 30 minutes to an hour or more to complete.
Can I Make a Chunky Yarn Pumpkin with Kids?
Absolutely! This craft is perfect for children as it is easy and doesn’t require any sharp objects. It’s also a great activity to do together as a family during the fall season. Just make sure to supervise young children when using hot glue.
Can I Use Different Materials?
Yes, you can use different materials to make a chunky yarn pumpkin. While most people use foam or paper mache as the base, you can also use a real pumpkin, a plastic pumpkin, or even a balloon. You can also experiment with different types of yarn and colors to create unique pumpkins.
Conclusion
With the above outlined you can easily learn how to make a chunky yarn pumpkin and have fun creating your own unique decorations for the fall season. Have fun and get creative with different materials and colors to make your chunky yarn pumpkins stand out! Happy crafting!

