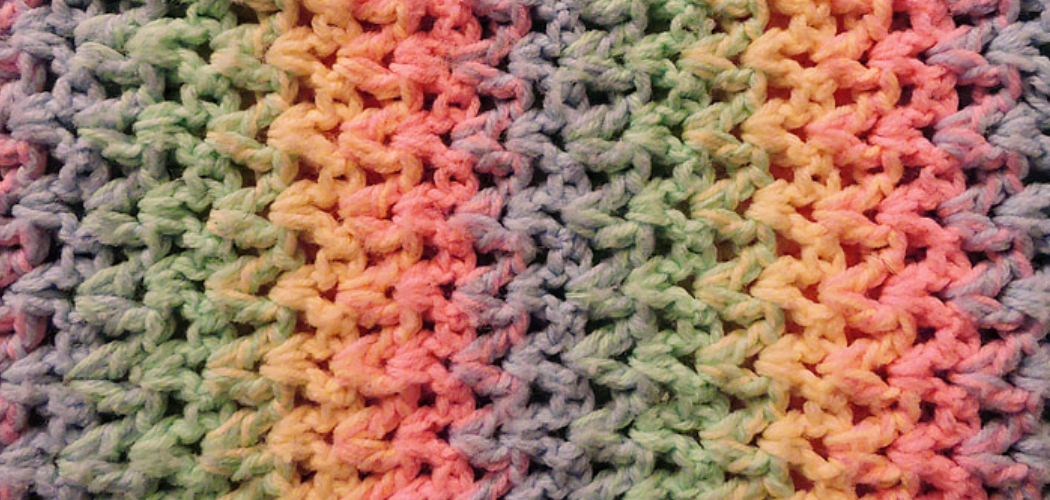
Are you looking for a fun, easy-to-make craft that adds warmth and coziness to your home? Chenille blankets are the perfect project! With just a few basic materials, a little time, and some patience – it’s possible to make a unique, beautiful blanket that is tailored to your tastes.
Whether you’re an experienced crafter or new to sewing altogether, this guide will take you step by step through all of the necessary techniques needed to create your chenille blanket.
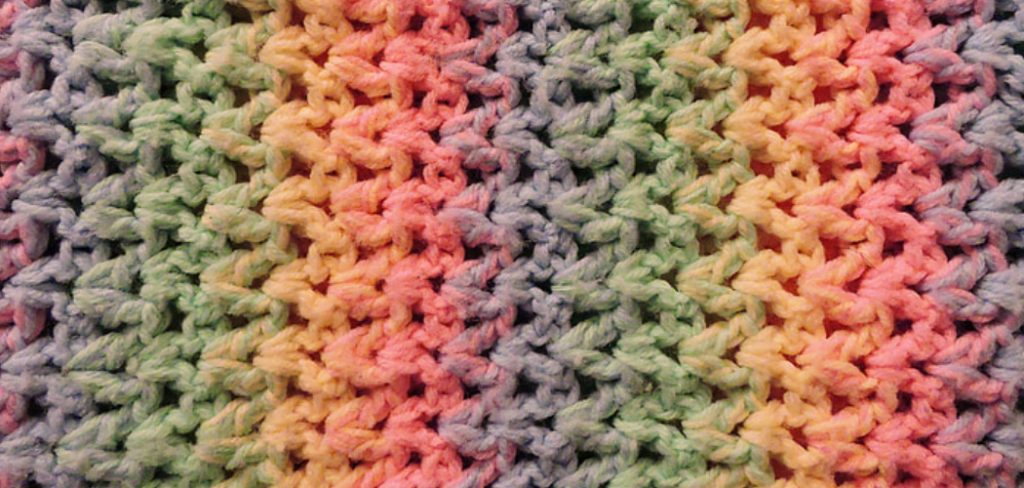
Making your chenille blankets can be an easy and rewarding project, perfect for whenever you need extra comfort. It takes only basic sewing skills and materials, which will keep the bank intact. In this guide, we’ll go through all of the steps necessary for how to make a chenille blanket in no time!
What Are the Uses of a Chenille Blanket?
Chenille blankets are great for adding extra warmth and coziness to your living space. They’re also perfect for snuggling up with on the couch or draping over furniture for a homey touch. You can even use them as a decorative piece in any room of the house – they’re equally as beautiful as they are practical!
Another great use for chenille blankets is as a gift. Whether you’re making it for yourself or someone special, they are sure to appreciate the thought and effort that’s gone into creating something so unique and handmade.
Overall, there are plenty of uses (and ways to customize!) for chenille blankets.
Materials Needed to Make a Chenille Blanket
Before you begin, gather the following materials:
- Two yards of chenille fabric
- One yard of backing fabric
- Scissors or rotary cutter and cutting mat
- Sewing machine and thread
Once you have all the materials, it’s time to start!

10 Easy Steps on How to Make a Chenille Blanket
Step 1. Cut the Chenille Fabric:
Start by cutting the chenille fabric into two yard-long strips. You can use either scissors or a rotary cutter for this step. You can use either method, but a rotary cutter may be easier and more accurate. Be careful when cutting, as chenille fabric can be tricky to handle.
Step 2. Sew the Strips Together:
Once you’ve cut the strips, it’s time to sew them together. Lay the two strips down side-by-side, and use a sewing machine to stitch along one side of each strip. Make sure you backstitch at the beginning and end for extra reinforcement.
Step 3. Trim Seams:
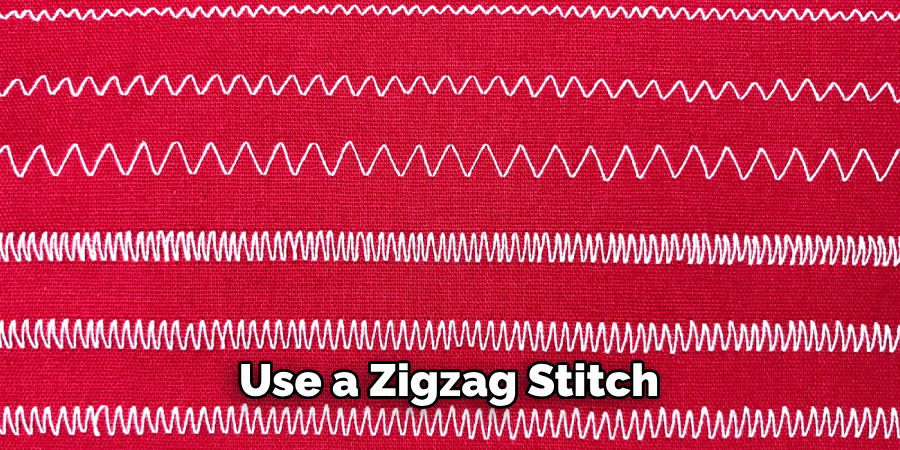
Once you have sewn the strips, trim any excess fabric from your seams. This will help make your blanket look tidy and professional when finished! If your fabric is fraying, you can use a zigzag stitch to prevent additional unraveling.
Step 4. Cut Backing Fabric:
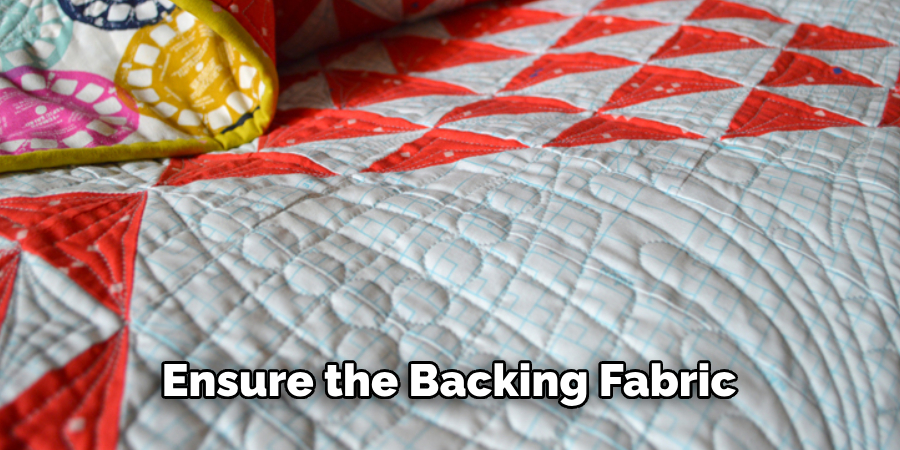
Now it’s time to cut a piece of backing fabric the same size as your chenille blanket top. Use either scissors or a rotary cutter for this step. Ensure the backing fabric is cut as accurately as possible to fit your blanket top perfectly.
Step 5. Sandwich Fabric:
After cutting the backing fabric, you must “sandwich” it between the two strips of chenille fabric you have already sewn together. Lay the chenille blanket flat and place the backing fabric on top. Make sure all edges are even and lined up properly.
Step 6. Pin Edges:
Once your fabrics are in place, use pins to secure them together along all four sides of the blanket. This will make it easier when sewing everything together later! Alternatively, you can also use fabric glue or basting spray to secure the fabrics together.
Step 7. Sew Seams:
Next, sew around all four sides of your blanket, using a 3/8-inch seam allowance. Make sure to backstitch at the beginning and end of each seam for added reinforcement! Remember to remove the pins as you go.
Step 8. Trim Seams:
Once you have finished sewing, trim any excess fabric from your seams. This will help make your blanket look neater and more professional when finished! Additionally, if your fabric is fraying, you can use a zigzag stitch to prevent any additional unraveling.
Step 9. Clip Edges:
Clip into all four corners of the blanket, being careful not to clip through any of the stitching. This will help reduce bulk when turning it right side out later on. Remember that the corners are where most of the chenille texture will be concentrated, so you don’t want to clip too deeply or close to the edge.
Step 10. Turn Blanket Right Side Out:
Finally, turn the blanket right side out, and you’re ready to enjoy! Flatten it with an iron if needed. Now your chenille blanket is ready to be used and enjoyed!
Making a chenille blanket may seem intimidating, but it’s easy once you understand the basics. With just some basic materials and a little time, you can make a unique, beautiful blanket that will last for years! So grab your supplies and get started on making your cozy chenille blanket today. You won’t regret it!
5 Additional Tips and Tricks
1. Use two pieces of fabric to make your chenille blanket even more luxurious. Cut the fabric into equal strips, sew them together, and then brush the top layer until it’s fluffy and soft.
2. Use high-quality acrylic or wool yarn as an extra layer for a brighter color in your chenille blanket. The thicker yarn will add warmth and texture to your project.
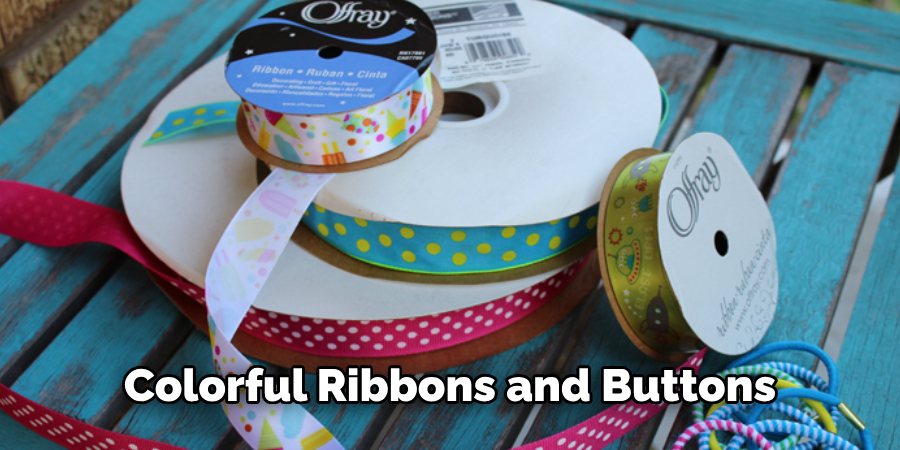
3. Try adding some decorative elements to the middle of the blanket for a unique touch — colorful ribbons, buttons, or fabric flowers. Have fun with it!
4. Don’t overbrush the material — too much brushing can damage the threads and create loose areas in the blanket.
5. Use a mild detergent to hand wash the chenille blanket. This will help keep it looking new and fluffy for years.
With these tips and tricks, you can create a beautiful chenille blanket. Have fun, and enjoy the process!
5 Things You Should Avoid
1. Avoid Using a Washer: The agitation from the washer can damage the fibers of your chenille blanket. Instead, use a mild detergent and hand wash it.
2. Avoid Using a Dryer: High temperatures in the dryer will also damage the fabric and cause it to shrink or become misshapen. If you must dry your chenille blanket, use the lowest heat setting and remove it immediately after it’s finished.
3. Avoid Harsh Detergents When Washing: Strong detergents will break down the delicate fibers, so use a mild soap or shampoo instead. Try to find a product that specifically says it’s designed for sensitive fabrics.
4. Don’t Use Bleach: Bleach can cause discoloration and other damage to your chenille blanket, so it’s best to avoid using this cleaning product at all.
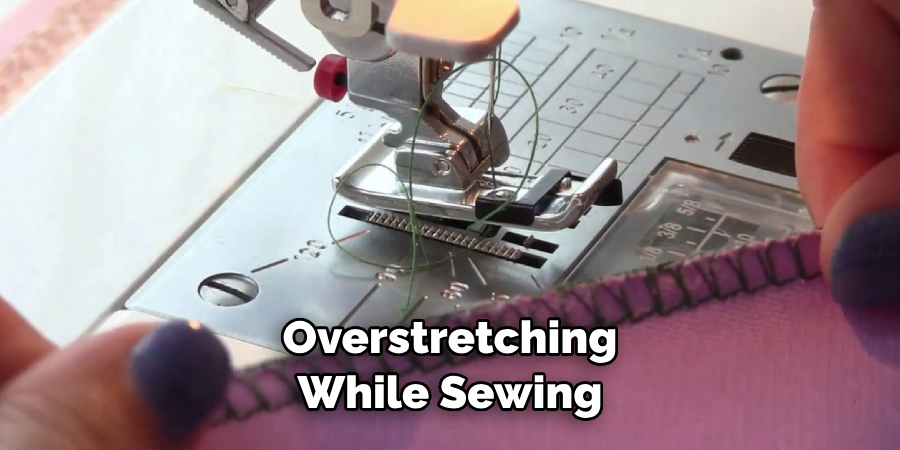
5. Avoid Stretching or Pulling When Sewing: Overstretching while sewing will create uneven edges and make it hard for you to get an even finish on your final product. Take your time and be mindful of the tension in your stitching.
With these tips, you’ll be well on your way to making a stunning chenille blanket.
6 Different Style Ideas
1. Embellishments: Add some pizzazz to your chenille blanket with decorative elements such as sequins, buttons, and ribbon.
2. Stripes: Create a chevron or striped pattern for a classic, timeless look with bright colors — like reds and blues — or pastels for a more subtle approach.
3. Fringe: Get creative and add fringe to the edges of your blanket for a fun, playful look.
4. Patchwork: Patchwork chenille blankets create a unique texture that’s sure to be eye-catching. Try using different fabric types with contrasting colors and textures for an interesting effect.
5. Appliqué: Cut out shapes from felt or other fabrics and sew them onto the middle of your blanket — this is a great way to showcase your creativity!
6. Marled: Try marling two different colors of yarn together for a cool marbled effect. This is perfect for those looking to make a unique statement piece.
Whatever style you choose, make sure it reflects your personality and makes you happy when you wrap up in your cozy chenille blanket. With these ideas, you’re sure to make something beautiful!
How Do You Hand Knit a Chenille Blanket?
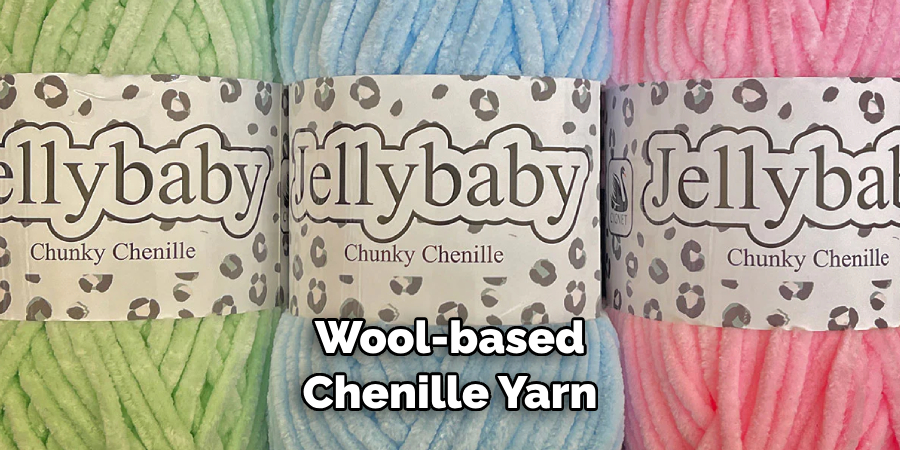
1. Choose the Yarn: Look for a soft, wool-based chenille yarn — this will help your project look and feel luxurious.
2. Learn the sStitches: To make a basic chenille blanket, you’ll need to learn how to knit in stockinette stitch and purl back loops. You can find tutorials online or from books at your local yarn store.
3. Start Knitting: Cast on enough stitches to create your desired width, then knit until you reach the length you want. Make sure to switch between stockinette stitch and purling back loops throughout the process for a nice texture variation.
4. Finish off: When you’ve reached your desired length, cast off the stitches and weave in any loose ends.
5. Brushing: Finally, it’s time to brush your knitted chenille blanket! Use a soft-bristled brush to lightly comb the yarn until it begins to fluff up and look like chenille.
Now you have all the skills you need to make a beautiful hand knit chenille blanket. Enjoy your cozy creation!
Is Chenille Good for Blanket?
Yes, chenille is an excellent choice for making blankets. It’s soft and luxurious yet durable enough to last for years. The fabric is also highly absorbent, so it will keep you warm and dry on cold nights. Chenille is also easy to clean — all you need is a mild detergent and hand wash in the sink.
Additionally, chenille is a versatile fabric — you can use it to make anything from a plush throw to a stylish bedspread. You can also experiment with different style ideas, such as embellishments, stripes, and patchwork, for an extra creative touch.
Chenille is definitely the perfect choice for your next blanket-making project! With its luxurious feel and easy care, you’ll be sure to enjoy snuggling up in your handcrafted creation for years to come.
What Are the Disadvantages of Chenille?
The biggest disadvantage of chenille is that it’s not as durable as some other fabrics. It can be prone to snagging and piling if handled too roughly. Additionally, because it’s made up of many small threads woven together, the fabric can easily pull apart over time.
Chenille is also difficult to sew with — the thick texture makes it hard to handle and maneuver around a sewing machine. If you don’t have much experience working with this type of fabric, we recommend seeking help from an experienced tailor or seamstress who can provide guidance on how best to work with Chenille.
Finally, because of its delicate nature, chenille may require more care when washing and drying — this means that you’ll need to be extra cautious when handling it.
Overall, chenille can make a great choice for blankets and other home decor items, but it’s important to consider the potential drawbacks before committing to this fabric. With proper care, your chenille items will remain looking new and beautiful for years.
Conclusion
Making a chenille blanket is a very rewarding and enjoyable experience. It’s important to remember that patience is key when working on this type of project; it’ll take time and dedication to finish your masterpiece!
After you’ve given your chenille blanket the love and attention it deserves, you’ll have something beautiful to show off or give as a gift. With the right tools and plenty of creativity, there is no limit to what you can make out of chenille fabric!
Hopefully, the article on how to make a chenille blanket has given you the basic knowledge and inspiration to get started. Remember, even if your Chenille project doesn’t turn out perfectly at first, don’t be discouraged — practice makes perfect!
Thank you for learning about chenille; we hope you enjoy creating beautiful blankets and other projects with this unique fabric. So put on some music, grab supplies, and prepare to make something special! Thanks for reading!

