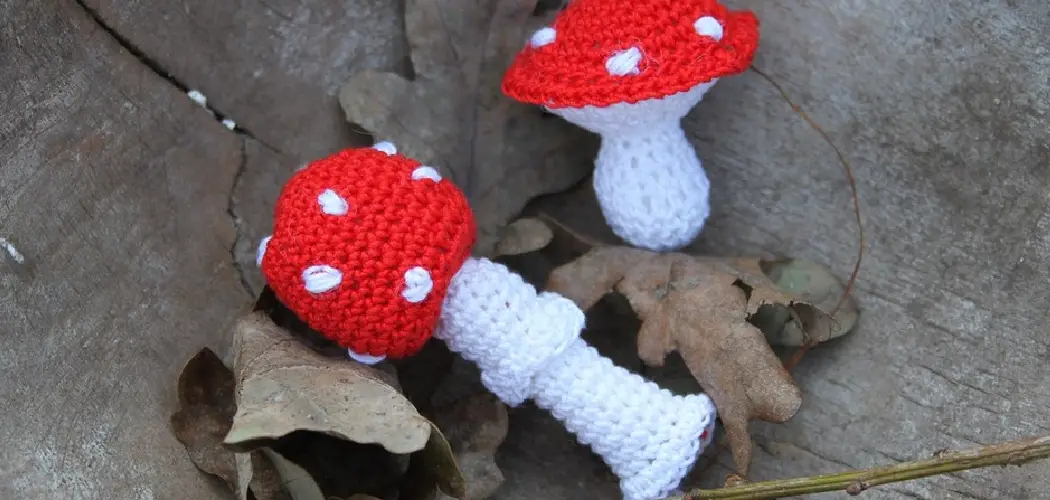
Venturing beyond traditional knitting projects, creating charming three-dimensional objects like knitted mushrooms can add whimsy and uniqueness to your crafting repertoire. The art of knitting transcends its conventional bounds as it transforms soft yarn into delightful sculptures that can adorn shelves, serve as pincushions, or even become part of imaginative storytelling.
Learning how to knit a mushroom introduces you to a captivating fusion of techniques, from shaping and increasing to seamless color changes. The process involves more than just stitches; it involves sculpting form and character through carefully chosen yarns and stitch combinations.
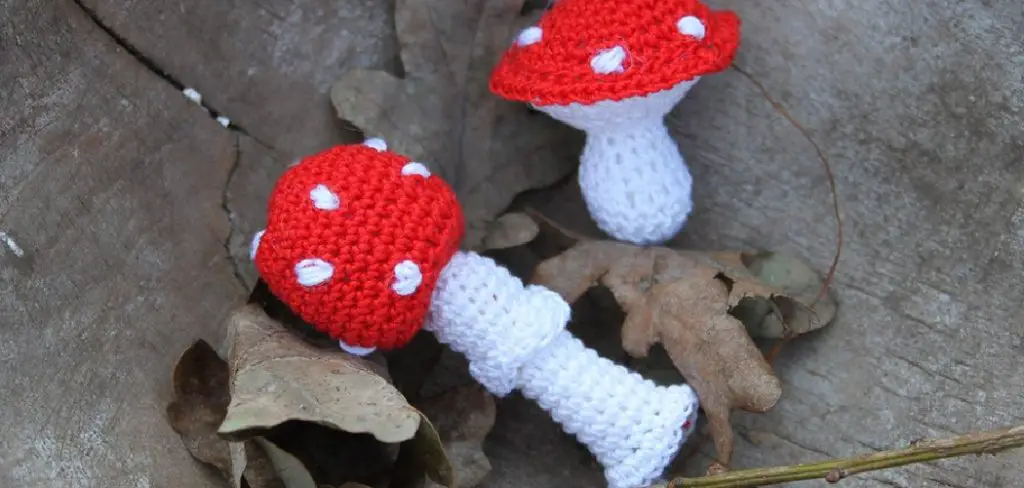
Whether you’re an avid knitter searching for novel challenges or a newcomer excited to explore the creative dimensions of knitting, this journey into crafting fungi offers an opportunity to cultivate new skills while cultivating charming, tangible art. In the following guide, we’ll delve into the enchanting realm of knitting mushrooms, step by step, equipping you with the know-how to bring these whimsical creations to life and infuse your knitting with a touch of woodland magic.
Knitting a Mushroom and Its Creative Appeal
Knitting a mushroom is an enjoyable way to express creativity and create something unique. The process of knitting a mushroom can be quite challenging, but the end result is always worth it. This tutorial will help you learn the basics of how to knit a mushroom in no time!
The first step towards knitting your own mushroom is to gather your materials. You will need a pair of knitting needles, yarn in the color of your choice, and preferably some patterned fabric or a template to use as a guide. Once you’ve got all these items, it’s time to begin!
Start by casting on enough stitches for the diameter of the mushroom cap that you want. The number of stitches will depend on the size of the mushroom cap you’re making, so feel free to experiment with different sizes. Once you’ve got your stitches cast on, begin knitting in the round. Follow your pattern or template, if you have one, or just knit a simple garter stitch for a more textured look.
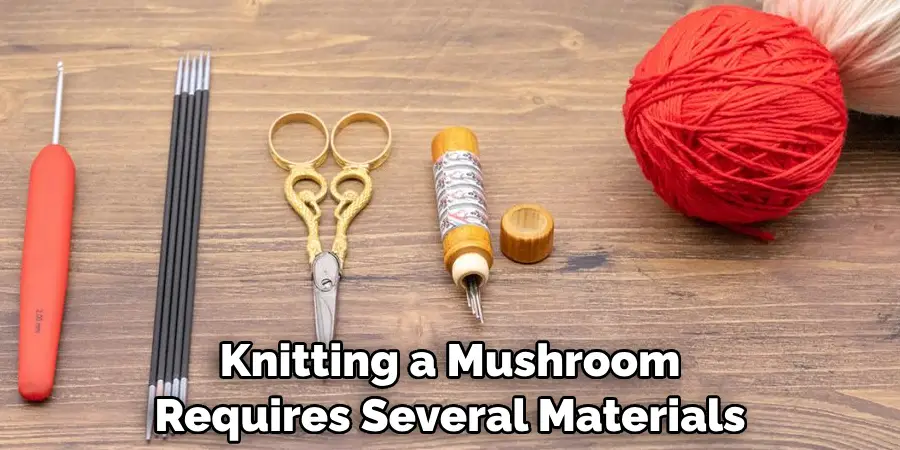
List of Required Knitting Supplies
- Knitting Needles: Essential for any knitting project. The size and type of needle will vary based on your project.
- Yarn: Available in a range of colors, textures, and thicknesses, choose one that suits your project.
- Scissors: A good pair of scissors is necessary for cutting your yarn.
- Tapestry Needle: This is used for weaving in ends at the finish of your project.
- Stitch Markers: Helpful for marking specific spots in your pattern.
- Measuring Tape: To measure the length or width of your knitted item.
- Knitting Patterns: Written instructions for your desired knitting project.
- Stitch Holder: Useful for holding stitches that you will come back to later.
- Cable Needle: A cable needle is used to make cables in knitting projects.
- Mushroom Stitch Marker: This marker helps you keep track of the pattern when knitting a mushroom.
- Knitting Abbreviations Key: Not all knitting patterns use the same abbreviations, so it’s important to have a key available for reference.
10 Methods on How to Knit a Mushroom
1. Gather Materials
Knitting a mushroom requires several materials, including yarn, knitting needles, a tapestry needle, and stuffing. You can choose any type of yarn you’d like for your project, but it’s important to make sure that it is the correct size for the needles you are using. It’s also helpful to have a pattern or diagram so that you know what stitches to use.
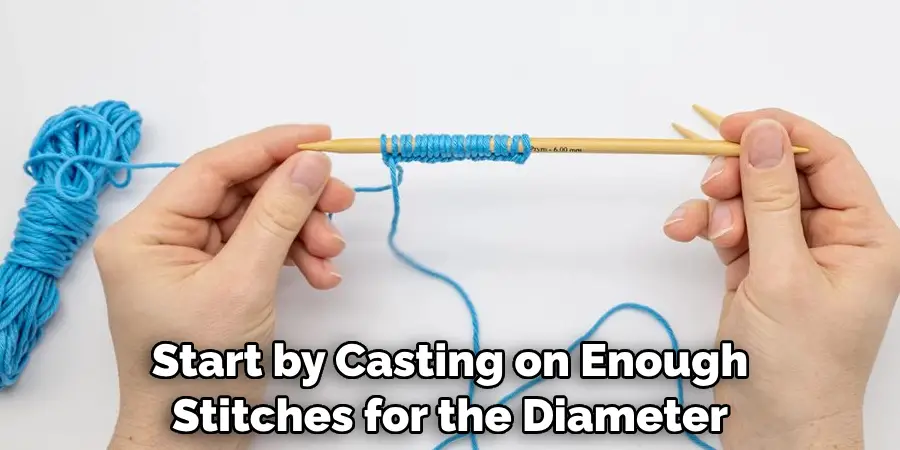
2. Cast On
Once you have all of your materials ready, you will need to cast on your stitches. This is
done by looping the yarn around one of the knitting needles and then pulling the other end through the loop. Repeat this process until you have as many stitches as specified in your pattern or diagram.
3. Knit Stitches
Now that you have cast on your stitches, it’s time to start knitting them! To knit a stitch, insert the right-hand needle into the first stitch on the left-hand needle from front to back. Wrap the yarn around the right-hand needle and pull it through the stitch on the left-hand needle. Slide this new stitch off of the left-hand needle and onto the right-hand needle. Repeat this process until all of your stitches are knitted.
4. Create Decreases
When knitting a mushroom, decreases are used to shape its cap and stem. To create a decrease, knit two stitches together by inserting both needles into two separate stitches at once and then knitting them together as if they were one stitch. After completing a few rows with decreases, you should begin to see your mushroom take shape!
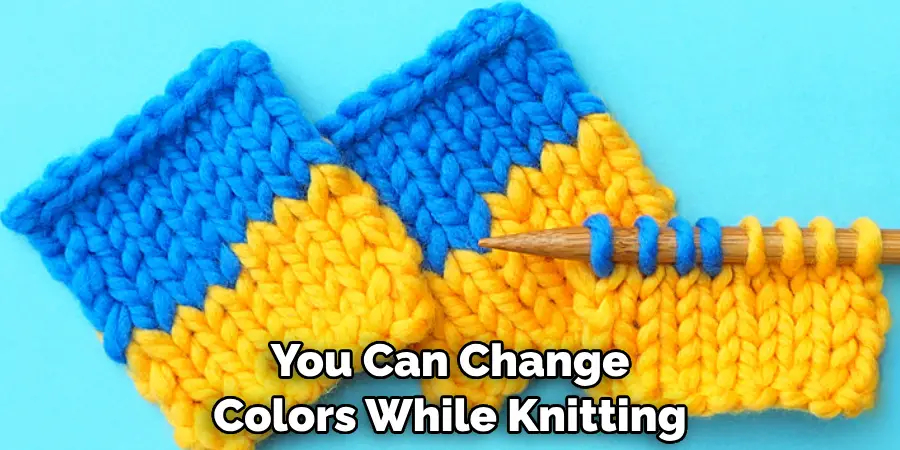
5. Change Colors
If desired, you can change colors while knitting your mushroom by simply cutting off one color of yarn and tying in another color where desired in order to create stripes or different shapes within your mushroom design. This adds an extra level of detail that can really make your finished product stand out!
6. Stuff Mushroom
Once all of your decreases are complete and you have finished knitting your mushroom cap and stem, it’s time to stuff it! Use small pieces of stuffing or cotton balls inside of each section of your mushroom in order to give it some shape and volume before sewing up its seams later on in this process. Make sure not to overstuff as this can cause problems when sewing up its seams later on!
7. Sew Seams
Using a tapestry needle threaded with yarn, sew up all of the seams on either side of each section (cap and stem) of your mushroom in order to close them up completely so that no stuffing is visible at any point along its surface area when looking at it from any angle or direction! Make sure that each seam is securely closed with no gaps or openings remaining anywhere along its length before moving onto step 8 below…
8. Attach Cap & Stem Together
Now it’s time to attach both sections (cap & stem) together by stitching them together securely with more yarn using a tapestry needle once again! Start at one end of each section (cap & stem) and work towards their opposite ends until both sections are firmly attached together without any gaps or openings between them anywhere along their length when looking at them from any angle or direction!
9. Weave In Ends
The last step in creating your knitted mushroom is weaving in all loose ends from where we changed colors earlier (if applicable). To do this, simply thread a tapestry needle with each loose end individually and then weave these threads back into their respective areas within our knitted fabric until they cannot be seen anymore when looking at our finished product from any angle or direction!
10. Enjoy Your Creation!
Congratulations – You’ve just completed creating an adorable knitted mushroom! Now all that’s left for us to do is sit back & enjoy our creation – whether that means giving it away as a gift or keeping it for ourselves – because now we can proudly say “I made this!”
Things to Consider When Knitting a Mushroom
Knitting a mushroom can be an exciting and rewarding project. However, it is important to consider some things before you start knitting your own mushrooms. Here are some of the most important considerations:
- Fiber Type: The fiber type used for knitting a mushroom will have a major effect on how the finished product looks and feels. Choose a natural fiber such as wool or cotton for a more traditional look, or use synthetic fibers like acrylic if you want a brighter color.
- Size: Mushrooms come in all shapes and sizes, so it is important to choose the right size for your project. You’ll want to make sure that the yarn you are using will fit through the holes of your needles.
- Color: The color of the yarn you choose will also have an impact on how the finished product looks. Choose colors that coordinate with your decor to create a cohesive look.
- Pattern: Finally, consider what type of pattern you want to use when knitting your mushroom. A basic stockinette stitch is a great choice for beginners, or you can try something a bit more intricate for an advanced look.
By considering these elements, you can get started on your mushroom knitting project with confidence and create something unique and beautiful.

Conclusion
Knitting a mushroom is a great way to add a whimsical touch to your knitting projects. You will get the satisfaction of making something with your own hands and the delight of watching people enjoy it. With a little bit of time and effort, you can create beautiful, unique knitted mushrooms that are sure to draw attention and admiration. The beauty of it all is that you’re never done learning–there is always some new stitch or pattern to explore!
So don’t be discouraged if you make a mistake or two when starting out – practice makes perfect! And don’t forget to take a look at our ‘How to Knit A Mushroom’ page for all of the detailed instructions and photos on exactly how to do it! So grab your needles, yarn, and enthusiasm, because we just know that this project will be the start of many fun future knits for you!
Expertise:
Crafting expert with a focus on innovative techniques and diverse materials.
Specialization:
- Textile arts (weaving, embroidery, and fabric dyeing)
- Woodworking and furniture design
- Mixed media and upcycling projects
Recognition:
- Featured in local art exhibits showcasing innovative craft projects
- Collaborated with community organizations to promote crafting workshops
- Received accolades for contributions to sustainable crafting initiatives
Mission:
- To inspire and empower crafters of all levels to discover their creative potential
- Encourages experimentation and self-expression through hands-on projects

