Grouting mosaic is a crucial step in completing any mosaic project. Grout not only fills in the gaps between tiles, but also protects the edges of the tiles and prevents moisture from getting underneath them. Good grouting also enhances the overall look of your mosaic, making it appear more cohesive and professional.

The main advantage of grouting mosaic is that it provides a clean and finished look to your project. The grout helps fill in the gaps between the tiles, creating a seamless appearance and preventing dirt and debris from getting trapped. Additionally, grout also helps protect the edges of the tiles from chipping or cracking. You can find step-by-step instructions on how to grout mosaic in this blog article.
Step-by-Step Instructions for How to Grout Mosaic
Step 1: Inspect the Mosaic Artwork
After you have completed your mosaic artwork, take a moment to inspect it for any loose pieces or uneven surfaces. Make sure that all the tiles are firmly adhered and that there are no gaps between them.
Step 2: Gather Your Materials
Before beginning the grouting process, make sure you have all the necessary materials on hand. This includes grout, a rubber grout float, a bucket of water, sponges, and gloves. It is also helpful to have a drop cloth or plastic sheeting to protect your work area.
Step 3: Mix the Grout
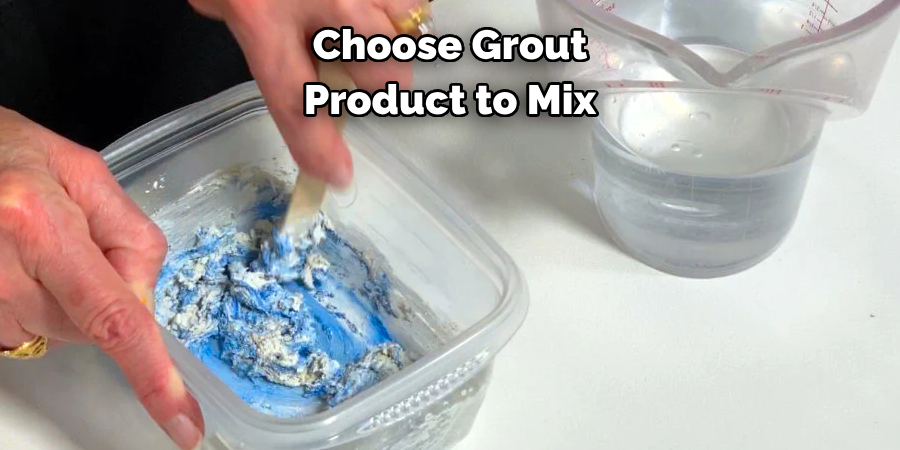
Follow the instructions on your chosen grout product to mix it to the correct consistency. Typically, this involves combining the grout powder with water in a bucket, stirring until it forms a smooth paste. Using the rubber grout float, spread a layer of grout over your mosaic artwork. Work in small sections at a time to ensure even coverage. Use the edge of the float to push grout into any gaps between tiles.

Step 4: Wipe Away Excess Grout
Once you have covered an area with grout, use a damp sponge to wipe away excess grout from the surface of the tiles. Rinse the sponge frequently to prevent grout buildup. Use a clean, damp cloth or your finger to smooth and clean up any excess or uneven grout along the edges of your mosaic.
Step 5: Let the Grout Set
Allow the grout to set for the recommended amount of time, usually 10-15 minutes. This will give it time to firm up and become more workable. Using a clean, damp sponge, wipe away any remaining haze or residue from the surface of your mosaic. Be sure to rinse the sponge frequently and use a gentle touch to avoid disturbing the grout lines.
Step 6: Seal the Grout
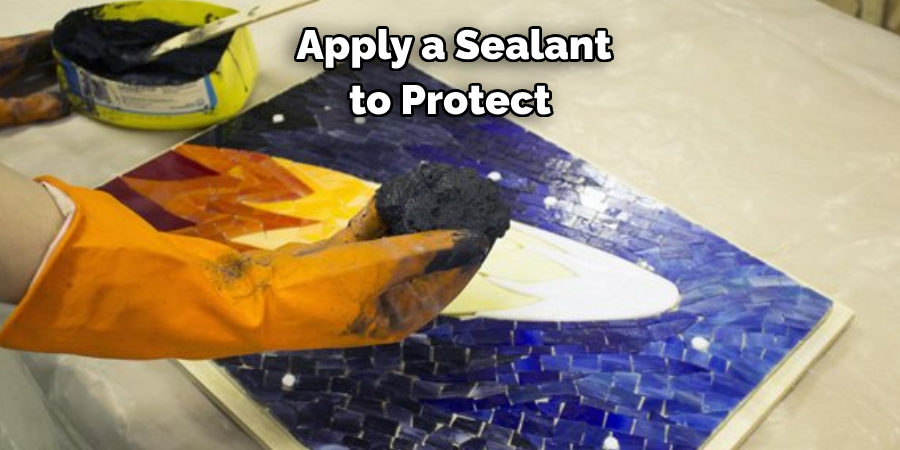
Once the grout is fully dry, you can apply a sealant to protect it from staining and water damage. Follow the instructions on your chosen sealant product for best results.
After the grout has fully cured, step back and admire your beautiful mosaic artwork! You can also use this time to touch up any areas that may need additional grouting or sealing. Remember to properly clean and store your tools for future use.

Safety Tips for How to Grout Mosaic
- Always wear protective gear such as safety goggles, gloves, and a dust mask to protect yourself from any harmful chemicals or materials.
- Avoid inhaling the grout powder by keeping your face away from it while mixing it with water.
- Work in a well-ventilated area to prevent inhaling fumes from the grout mixture.
- Do not use your bare hands to mix the grout, instead use a trowel or mixing paddle.
- Keep a damp cloth nearby to wipe off excess grout from the tiles and your hands.
- Avoid walking on freshly grouted mosaic for at least 24 hours to allow it to fully set and avoid any accidents.
- Dispose of any leftover grout properly according to local regulations. Do not pour it down the drain as it can cause clogs and damage to plumbing systems.
By following these safety tips, you can ensure a safe and successful project when grouting mosaic tiles. It is important to prioritize your safety while working with any materials or chemicals, so always take the necessary precautions before starting any DIY project.
What Are Some Common Mistakes to Avoid When Grouting Mosaic Tiles?
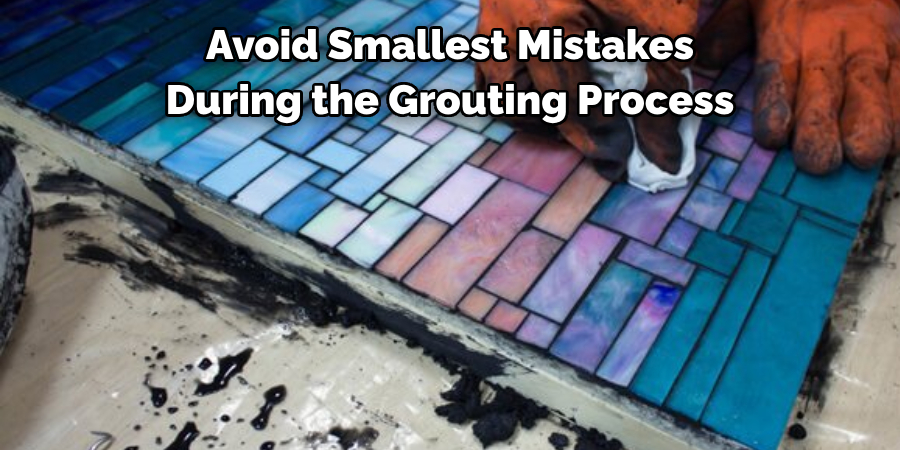
Grouting mosaic tiles can be a tedious and time-consuming task, but it is an essential step in achieving a polished and professional-looking finish. However, even the smallest mistakes during the grouting process can result in unsightly or uneven tile installations. To help you avoid these common pitfalls, here are some of the most frequent mistakes to watch out for when grouting mosaic tiles.

1. Not Preparing the Surface Properly
One of the biggest mistakes made when grouting mosaic tiles is not preparing the surface properly beforehand. Before applying any grout, it is crucial to ensure that the tile surface is clean and free from dust, debris, and any excess adhesives. Failure to do so can result in an uneven or lumpy grout application, which can be difficult to fix once it has dried.
2. Using Too Much Water
A common mistake when mixing grout is using too much water. While the instructions on the grout packaging may recommend a certain amount of water, it is essential to use your judgment and add water gradually until you achieve a smooth and creamy consistency. Adding too much water can weaken the grout, making it more prone to cracking and crumbling over time.
3. Not Applying Enough Grout
Another common mistake when grouting mosaic tiles is not applying enough grout between the tiles. This can result in gaps or spaces between the tiles, leaving them vulnerable to water damage and premature deterioration. To ensure proper adhesion and prevent any future issues, make sure to apply enough grout and use a grout float to push the grout into all the crevices.
4. Rushing the Grouting Process
Grouting mosaic tiles is not a task that should be rushed. It requires patience, precision, and attention to detail, which are crucial for achieving a professional finish. Rushing through the grouting process can result in uneven grout lines, lumps, and other imperfections that can be difficult to fix once the grout has dried.
In addition to these common mistakes, it is also essential to use a high-quality grout and appropriate tools for the job. Taking the time to properly prepare, mix, and apply the grout will ensure a flawless finish that will last for years to come.
How Do You Clean and Maintain Grouted Mosaic Surfaces?
When it comes to tile and grout, mosaic surfaces are a popular choice due to their versatility and aesthetic appeal. However, with regular use, these surfaces can become dirty and stained over time. It is important to clean and maintain them regularly in order to keep them looking their best. In this guide, we will discuss how you can effectively clean and maintain grouted mosaic surfaces.
Tools and Materials Required
Before you begin cleaning, make sure you have the necessary tools and materials on hand. These include:
- A soft-bristled brush or toothbrush
- A mild detergent or specialized tile cleaner (avoid harsh chemicals)
- Warm water
- A bucket
- Clean cloths or rags
Step 1: Prepare the Surface
Before you start cleaning, it is important to prepare the surface by removing any loose debris or dirt. You can do this by using a dry cloth or brush to sweep away any visible dirt on the surface.
Step 2: Mix Cleaning Solution
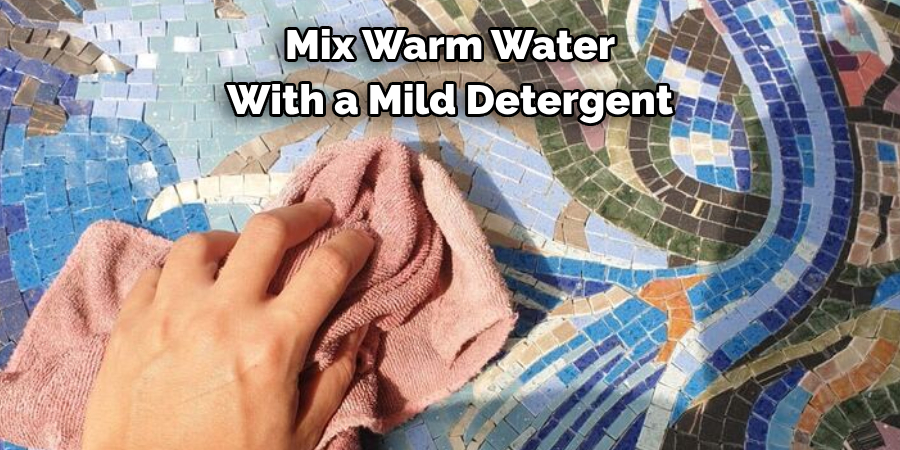
Next, mix warm water with a mild detergent or specialized tile cleaner in a bucket. Make sure to follow the instructions on the cleaning product carefully.
Step 3: Apply Cleaning Solution
Using a soft-bristled brush or toothbrush, dip it into the cleaning solution and apply it to the grouted mosaic surface. Gently scrub the surface in a circular motion, paying extra attention to any stained or dirty areas.

Step 4: Rinse with Clean Water
After scrubbing, use a clean cloth or rag to wipe away the cleaning solution. Then, rinse the surface with clean water to remove any remaining residue.
Step 5: Dry and Polish
Using a dry cloth or towel, gently pat the surface dry. If desired, you can also use a specialized tile sealing product to add shine and protect the grout from future stains.
Follow the instructions on the product carefully.
Maintaining Grouted Mosaic Surfaces
To keep your grouted mosaic surfaces looking their best, here are some simple maintenance tips to follow:
- Regularly sweep or vacuum the surface to remove loose dirt and debris
- Wipe up any spills or stains immediately to prevent them from setting in
- Avoid using harsh chemicals or abrasive cleaners, as they can damage the grout and surface of the mosaic
- Consider using a specialized tile sealer every 6 months to protect the grout from stains and make cleaning easier
By following these steps and tips, you can effectively clean and maintain your grouted mosaic surfaces, keeping them looking beautiful for years to come. Remember to always use caution when handling cleaning products and to follow instructions carefully for the best results.
Conclusion
In conclusion, grouting mosaic is an essential step in the installation process that should not be overlooked. The right grout color and application technique can make all the difference in achieving a professional and polished look for your mosaic project.
There are several key factors to consider when grouting mosaic, such as choosing the right type of grout for your specific tiles and surface, properly preparing the surface before applying the grout, and using the right tools to achieve a smooth and consistent application.
Another important aspect to keep in mind is proper maintenance and care for your grouted mosaic. Regular cleaning and sealing can help prevent discoloration, cracking, and other potential issues. I hope this article has been beneficial for learning how to grout mosaic. Make Sure the precautionary measures are followed chronologically.

