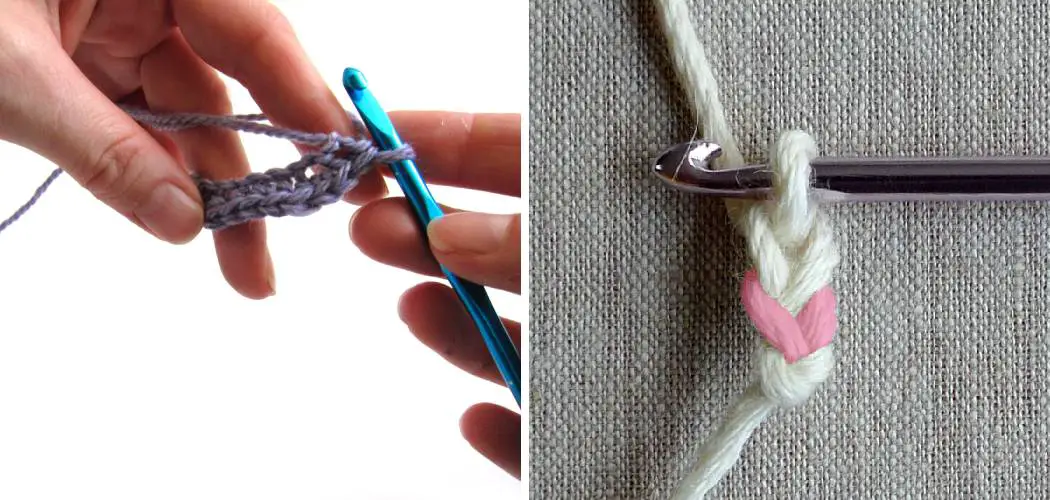
Foundation chaining, a crucial technique in crochet, serves as the initial row that sets the stage for subsequent stitches. Understanding how to foundation chain is fundamental for crocheters, whether beginners or seasoned enthusiasts. In this comprehensive guide, we will delve into the step-by-step process of How to Foundation Chain, emphasizing the importance of achieving the right tension and maintaining an even structure.
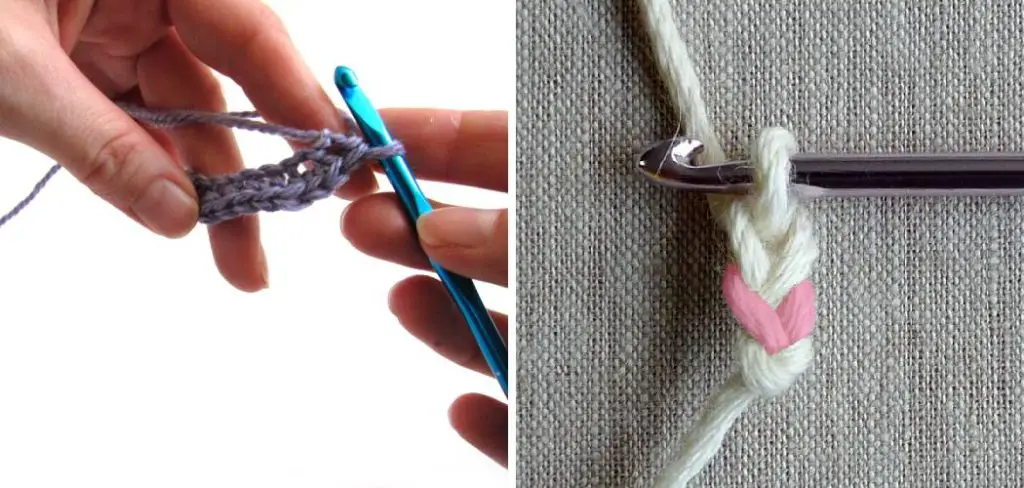
Exploring various methods for foundation chaining, including the chain stitch and the foundation single crochet, this article aims to provide clear instructions and insights to empower individuals in their crochet projects.
A solid foundation chain not only establishes the size of the project but also contributes to its overall appearance and drape. By mastering the art of foundation chaining, crocheters can enhance their skills and create beautifully crafted pieces with confidence and precision.
Importance of Solid Foundation Chain
A solid foundation chain is essential in crochet, as it lays the groundwork for the entire project. It ensures that your work has the flexibility required to prevent a tight and distorted piece, which can often happen if the chain is too tight or uneven. Additionally, a well-made foundation chain helps maintain the integrity of the project’s edges, preventing them from curling or fraying.
This stability directly influences the ease of adding new rows and ensures that each stitch aligns correctly, ultimately impacting the aesthetic quality and structural soundness of your finished piece. Whether creating a blanket, garment, or decorative item, starting with a precise and sturdy foundation chain is key to a successful crochet project.
Understanding the Basics
Before diving into the intricacies of how to foundation chain, it’s essential to grasp the basic components and tools required for crochet. A crochet hook, chosen according to the yarn weight and desired gauge, is your primary instrument. Different yarn types can also influence the final result, so it’s important to select an appropriate one for your project.
Additionally, understanding basic crochet terminology, such as slip knot, yarn over, and stitch count, is imperative to follow patterns and instructions effectively. With these basics in mind, you’re prepared to begin the process of foundation chaining, which requires patience and practice.
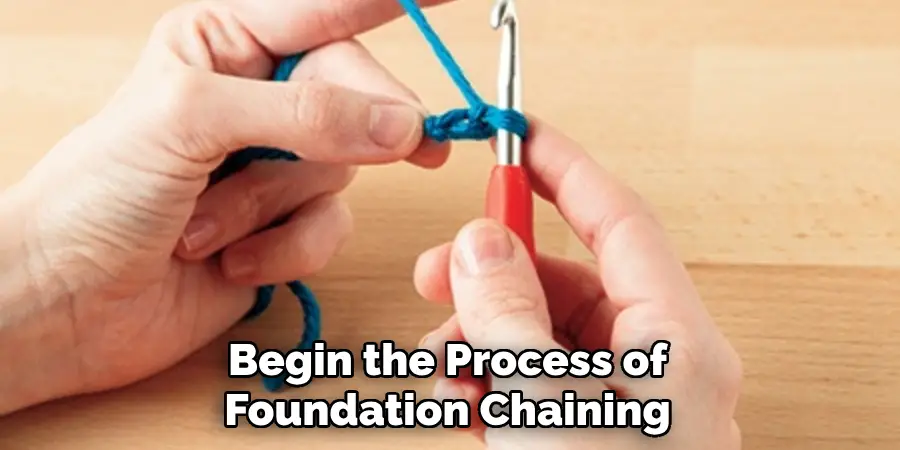
Remember that the goal is to create a series of loops on your hook that will act as a stable base for the fabric you’re about to construct.
Selecting Yarn and Hook
Choosing the right yarn and hook is pivotal when learning how to foundation chain. The yarn’s weight should complement the hook size to achieve the desired tension and drape of the fabric. A general rule for beginners is to use a medium-weight yarn, such as worsted weight, along with a corresponding hook size, usually recommended on the yarn label.
When selecting a hook, consider the material it’s made from—aluminum, plastic, and bamboo are common choices, each with their own feel and level of grip on the yarn. Comfort is key as you’ll be holding the hook for extended periods.
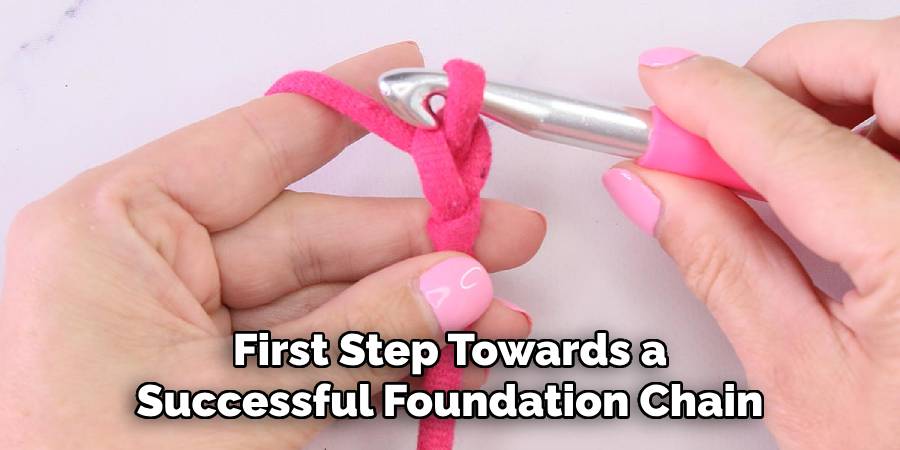
Also, ensure the hook has a smooth throat and no snags that could catch the yarn. This careful selection process is the first step towards a successful foundation chain, setting the stage for your entire crochet project.
10 Methods How to Foundation Chain
1. Slip Knot
The first step in creating a foundation chain is to make a slip knot. This knot will serve as the first loop on your hook and will be the starting point for your chain.
2. Hold Yarn
Hold the yarn between your thumb and index finger, with the tail end of the yarn over your index finger and the working end over your thumb. This will create tension and allow you to easily pull the yarn through loops.
3. Insert Hook
Insert your crochet hook into the slip knot, making sure to grab both strands of yarn. When starting with a slip knot, the first loop on your hook counts as one chain stitch. Once you’ve inserted your hook, hold it in place with your dominant hand’s fingers.
4. Yarn Over
Wrap the working end of the yarn around the hook from back to front, creating a loop on your hook. While this may seem simple, the tension of your yarn over can greatly impact the tightness and evenness of your foundation chain.
5. Pull Through
Using your hook, pull this loop through the slip knot, creating a new loop on your hook. This new loop will act as your second chain stitch. Additionally, ensure you’re pulling the yarn through both loops on your hook to maintain consistency.
6. Repeat Steps 3-5
Continue to insert your hook into each new loop created and repeat steps 3-5 until you have reached the desired number of chains. To ensure accuracy, count the number of loops on your hook after each yarn over and pull through.
7. Count Chains
Counting chains is an important step to ensure that you have created the correct number for your project. Counting from right to left, each v-shaped stitch represents one chain.
8. Adjust Tension
As you create your foundation chain, it is important to maintain consistent tension throughout. If your stitches are too tight or too loose, it can affect the overall look of your project.
9. Practice Makes Perfect
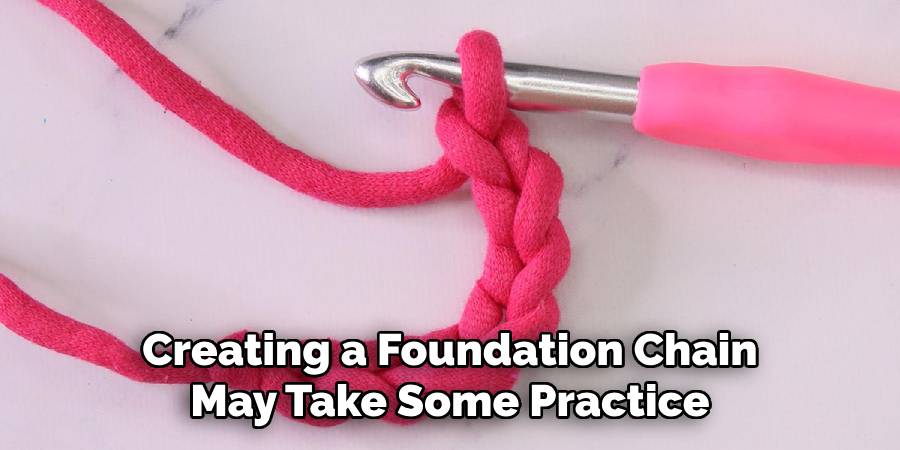
Creating a foundation chain may take some practice, especially if you are new to crocheting. Don’t get discouraged if it doesn’t look perfect at first – keep practicing and it will become easier with time.
10. Try Different Techniques
There are different techniques for creating a foundation chain, such as using a crochet fork or Tunisian crochet hooks. Experiment with different methods to find what works best for you and gives you the desired result for your project.
Tips for a Neat Foundation Chain
Creating a neat and consistent foundation chain is pivotal for crochet projects. To achieve this, here are a few tips:
- Check Your Grip: How you hold the crochet hook and yarn can greatly affect the tension of your stitches. Find a comfortable grip that allows for even yarn tension.
- Start With a Larger Hook: If you typically crochet tightly, consider using a hook one size larger for the foundation chain. Then switch back to the intended hook size for the rest of the project.
- Maintain Even Tension: Practice keeping a uniform tension. Too tight, and you’ll have trouble working into the chain; too loose, and your chain will be uneven and slack.
- Use Stitch Markers: Place a stitch marker on the first and last chain. This makes counting stitches easier and helps maintain the correct length, especially with longer chains.
- Crochet Loosely: Making chain stitches slightly looser than normal can help prevent the curling that often occurs with tightly made foundation chains.
- Avoid Twisting Your Chain: Ensure the chain does not twist as you work. A twisted foundation can ruin the overall look of the project.
- Mind the Foundation Chain’s Edges: Ensuring that the edges are crisp and clean will result in a polished look once additional rows are added.
- Regularly Check Your Work: After every few chains, pause to count and inspect your stitches. It’s easier to correct mistakes as you go than to unravel many rows later.
- Use Quality Yarn: The quality of yarn can impact the smoothness of your foundation chain. Choose a yarn that is consistent in thickness and without knots.
- Stay Relaxed: Keep your hands and mind relaxed. Crocheting should be enjoyable, and with a relaxed approach, your stitches are more likely to be even and consistent.
By following these tips, crocheters can ensure that their foundation chain serves as a strong and attractive start to any crochet project. Remember, achieving a neat foundation chain may take time, but with patience and practice, it becomes the cornerstone of beautiful crochet work.
Troubleshooting Common Issues
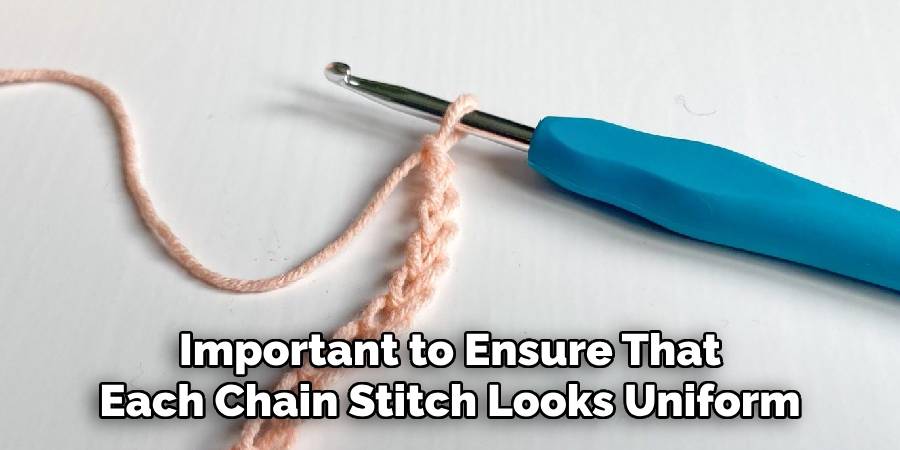
When learning how to foundation chain, crafters might encounter a few common issues. If your chain is too tight, try using a larger hook or loosening your grip. For a chain that appears too loose, a smaller hook can help create tighter stitches. It’s also important to ensure that each chain stitch looks uniform in size; inconsistency can affect the overall look and feel of your project.
Remember that practice is key—a consistent tension comes with time and experience. If you find that your foundation chain is twisting, pause after every few stitches to straighten it out, preventing any twists from setting in. Keep these tips in mind as you work on perfecting your technique in foundation chains.
Conclusion
In conclusion, learning how to foundation chain is an essential skill for any crocheter. It may seem daunting at first, but with practice and patience, you will be able to master this basic technique. By following the steps outlined in this blog post, you can create a strong foundation chain that will serve as the base for all your crochet projects.
Remember to take your time and pay attention to details, as this will ensure that your foundation chain is neat and even. Don’t be discouraged if you make mistakes along the way, as they are simply opportunities to learn and improve.

