
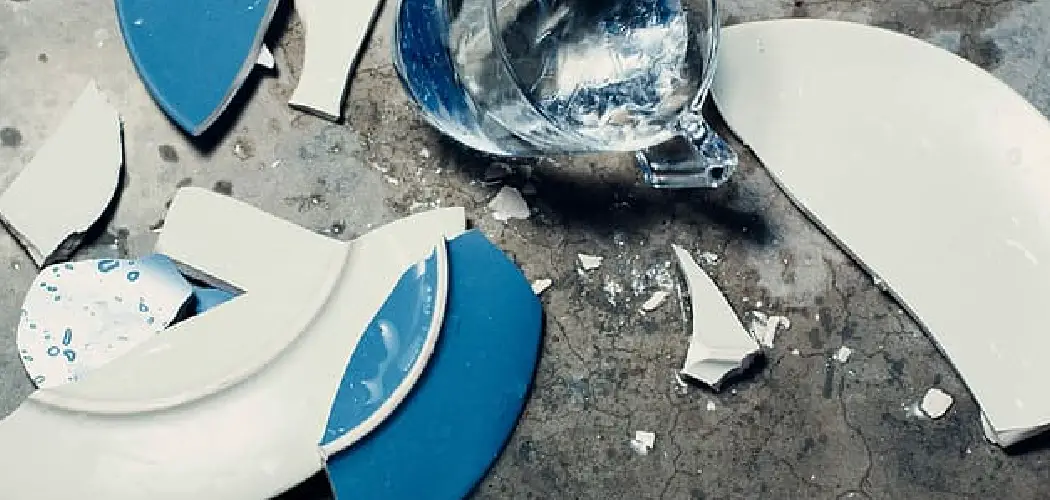
Do you have a broken ceramic mug that is sitting in your cupboard, seemingly beyond repair? Well, don’t throw it away just yet! With the right supplies and tools, fixing it up can be surprisingly easy.

In this blog post on how to fix a ceramic mug, we will walk you through all of the steps necessary to turn your little broken mug into an even better one than before — showing off its charm and personality once again. Don’t wait any longer—let’s start bringing back your beloved ceramic mug together!
Advantages and Disadvantages of Fixing a Ceramic Mug
Advantages of Fixing a Ceramic Mug
There are several advantages to fixing a ceramic mug instead of just throwing it away. Here are some reasons why you should give it a try:
Cost-effective:
Instead of buying a new mug, you can save money by fixing your old one.
Environmentally Friendly:
By repairing and reusing an old mug, you are reducing waste and helping the environment.

Sentimental Value:
If your mug has sentimental value, fixing it allows you to continue using and cherishing it.
Disadvantages of Fixing a Ceramic Mug
While there are many benefits to fixing a ceramic mug, there are also some disadvantages that you should consider:
Time-consuming:
Fixing a ceramic mug can be time-consuming, depending on the extent of the damage and your level of expertise.
Not Always Successful:
Despite your best efforts, sometimes mugs cannot be fixed and may end up breaking again.
May Not Look Perfect:
Even if your mug is functional after fixing, it may not look as perfect as before. However, this can also add character and uniqueness to your mug.

Supplies Needed
- Ceramic Adhesive or Epoxy Glue
- Sandpaper
- Utility Knife
- Clean Cloth or Paper Towels
- Disposable Gloves
- Sponge
- Paintbrush
10 Simple Step-by-step Guides on How to Fix a Ceramic Mug
Step 1: Clean and Prepare the Mug
Thoroughly clean the mug and ensure that it is completely dry before starting the fixing process. Use a sponge to remove any dirt or grime, and then wipe it down with a clean cloth or paper towel. It is important to have a clean surface for the adhesive to properly bond. You can also use rubbing alcohol to remove any residue or oils from the mug.
Step 2: Identify and Prepare the Broken Pieces
Identify which pieces are broken and prepare them by gently sanding down the edges. This will help create a better bond when you glue them together. Clean off any dust or debris after sanding. But be careful when handling the broken pieces as they may have sharp edges. You may also want to wear gloves to protect your hands. It is also a good idea to place the pieces on a flat surface in their correct orientation to ensure they fit back together.
Step 3: Mix the Adhesive
If using ceramic adhesive, mix it according to the instructions provided. If using epoxy glue, make sure to mix equal parts of both components thoroughly until they form a uniform color. You can use a disposable container, like a plastic cup, to mix the adhesive. Although, be aware that the adhesive will harden and cannot be reused. It is best to mix only the amount needed for your repair.
Step 4: Apply Adhesive
Using a paintbrush or cotton swab, apply the adhesive to one of the broken pieces. Make sure to cover the edges entirely and not to use too much glue. Too little glue will result in a weak bond, while too much can create a mess. It is best to start with a thin layer and add more if necessary. But be sure to work quickly as the adhesive can dry fast.

Step 5: Attach the Pieces
Carefully align the broken pieces and press them together. Make sure they are in their correct orientation before pressing down firmly. Hold the piece in place for a few minutes until the adhesive sets. If using epoxy glue, hold the pieces together for 5-10 minutes. You can also use rubber bands or tape to hold the pieces together while the adhesive dries. It is essential to keep the pieces in place until the bond is strong enough to hold them on its own.
Step 6: Remove Excess Adhesive
Use a cloth or cotton swab to remove any excess adhesive that may have squeezed out from the edges. You can also use a utility knife to scrape off any dried adhesive. But be careful not to damage the repaired area. This step is crucial for achieving a clean and seamless repair. You may also want to use rubbing alcohol to remove any remaining adhesive residue.
Step 7: Let It Dry
Allow your mug to dry for at least 24 hours before using it. Do not put it in the dishwasher or soak it in water during this time. The longer you let it dry, the stronger the bond will be. If you are using epoxy glue, let it dry for 3-5 days before using or washing it. It is better to be patient and let it dry completely rather than rushing the process.
Step 8: Sand the Edges
Once your mug has dried, you can sand down any rough or uneven edges that may be leftover from repairing. Use a fine-grit sandpaper and gently sand until the surface feels smooth. Be careful not to apply too much pressure as this can damage the repaired area. Sanding will also help the repaired area blend in with the rest of the mug.
Step 9: Paint Over the Repaired Area (optional)
If you want to hide any imperfections or give your mug a new look, you can paint over the repaired area. Make sure to use a food-safe paint that is also safe for ceramic surfaces. You can also use acrylic paint and seal it with a clear food-safe sealant once it has dried. However be aware that painting over the repaired area is optional and may not be necessary.
Step 10: Enjoy Your Fixed Ceramic Mug
Your mug is now ready to use once again! You can enjoy your favorite hot or cold beverages without worrying about leaks or breakage. Just make sure to hand wash it gently and avoid harsh chemicals when cleaning. With proper care, you’re fixed ceramic mug can continue to be a part of your daily routine for years to come.

Following these simple steps on how to fix a ceramic mug, you can easily fix a ceramic mug and continue to use it for its sentimental value. However, if the damage is extensive or the mug holds no sentimental value, it may be better to replace it instead of attempting to fix it. Remember to always prioritize safety when handling broken ceramics and follow the instructions on any adhesive or glue used. Happy fixing!
Frequently Asked Questions
Q: Can I Fix a Ceramic Mug Using Regular Glue?
A: No, regular glue is not strong enough to hold the broken pieces of a ceramic mug together. It is recommended to use ceramic adhesive or epoxy glue for a stronger bond. It is also essential to prepare and clean the broken pieces properly for the adhesive to work effectively.
Q: Can I Use a Ceramic Mug That Has Been Fixed to Drink From?
A: Yes, as long as you use food-safe adhesive and let it dry completely before using. It is also important to hand wash the mug gently and avoid harsh chemicals when cleaning. If you have concerns, you can also paint over the repaired area for added safety and to hide any imperfections.
Q: How Can I Prevent My Ceramic Mug From Breaking?
A: To prevent your ceramic mug from breaking, make sure to handle it with care and avoid dropping it or hitting it against hard surfaces. You can also reinforce the mug by adding extra layers of protection, such as a silicone sleeve or using a mug with a thicker base. Always remember to hand wash your ceramic mug instead of putting it in the dishwasher for added safety.
Conclusion
Fixing a ceramic mug is a lot simpler than one may think. Whether it’s simply re-gluing the handle or patching several broken pieces together, it isn’t necessarily a daunting task. With just a few materials, patience, and time, anyone can fix their mug in no time at all. So, don’t throw or replace your favorite mug too quickly – take some time instead to fix it up and have it look brand new again!
Give yourself the satisfaction of fixing something on your own and checking it off your list. If you’re feeling lazy, there are even services online that can help you out by providing all the components and instructions on how to fix a ceramic mug! So what are you waiting for?
There’s no excuse for not having the chance to revive an old mug that has been in your family for years or one that holds a special place in your heart. Don’t hesitate to give it a try today – you may be surprised with the results!