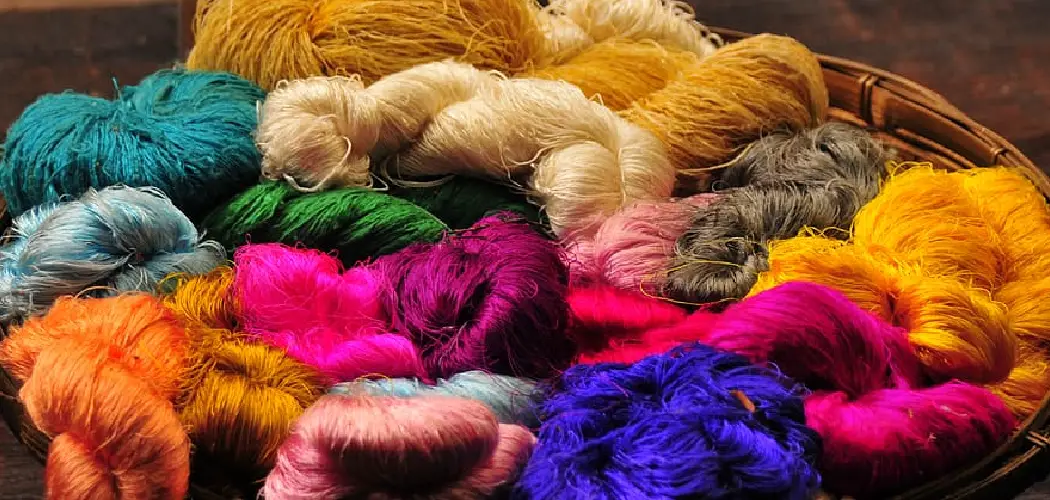
Wool yarn comes in endless shades, but the perfect color is sometimes unavailable commercially. Dyeing your yarn allows you to be creative and craft genuinely unique pieces. While dyeing wool yarn may seem intimidating, it’s an enjoyable process that anyone can learn with practice.
In this post, I will walk through the simple steps to dye wool yarn at home using acid dyes. Following some basic techniques on how to dye wool yarn, you can dye small batches of yarn in vibrant shades to match any project or dye entire skeins new hues. I’ll share tips I’ve learned over many dye experiments so you can achieve beautiful results without needing an art degree. Let’s get started mixing colors!
Necessary Items
First, gather all necessary items before starting to dye. Ensuring you have everything on hand will make the process much smoother and prevent any mishaps.
- Wool Yarn: Choose a high-quality wool yarn for best results. The fiber content should be at least 80% animal-based (e.g., sheep’s wool, alpaca, etc.), as plant-based fibers (e.g., cotton, linen) also do not take the dye.
- Acid DYEs: These are the most popular and versatile type of dye for wool yarn. They can be found in powder or liquid and come in various colors. Some popular brands include Jacquard, Dharma Trading Co., and Greener Shades.
- White Vinegar: This is used as a mordant, which helps the dye bond to the wool fibers.
- Measuring Cups and Spoons: These are necessary for precisely measuring dye and vinegar.
- Large Pot or Slow Cooker: This will heat and simmer the yarn.
- Gloves: It’s essential to wear gloves while handling dyes to avoid staining your skin.
- Protective Syewear: As an added precaution, it’s recommended to wear protective eyewear while handling dyes.
- Plastic Wrap or Bags: These will be used to wrap and seal the yarn during the dyeing process.
- Large Spoon or Tongs: These are necessary for stirring and moving the yarn in the dye bath.
- Old Towels or Newspapers: These will protect your work surface from potential spills or drips.
- Optional: Superwash wool yarn, citric acid, and soap or detergent for alternative dyeing methods.

10 Steps on How to Dye Wool Yarn
Step 1: Prepare Your Dye Space
Choose a well-ventilated area with plenty of counter space to set up your dye station. Lay down old towels or newspapers to protect your work surface from spills or drips. Make sure to wear gloves and protective eyewear for added safety.
Step 2: Soak the Yarn
Before dying, it’s essential to soak the yarn in lukewarm water and vinegar. This helps open the wool fibers and prepares them to absorb the dye more evenly. Fill a basin or sink with enough water to fully submerge the yarn, and add one cup of white vinegar for every four ounces of yarn. Let the yarn soak for at least 30 minutes.
Step 3: Prepare the Dye Solution
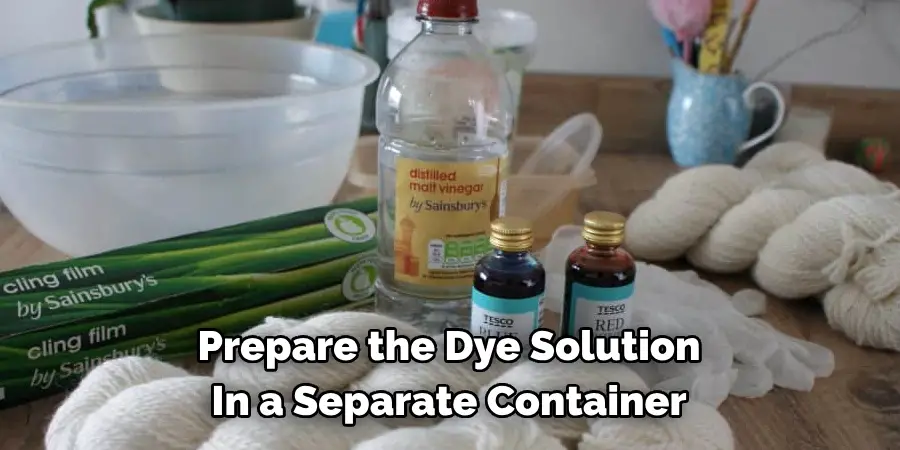
While the yarn is soaked, prepare the dye solution in a separate container. The amount of dye used will depend on your desired shade and intensity, but a good rule of thumb is to use one teaspoon of dye powder or 1/4 cup of liquid paint for every four ounces of yarn. Mix the dye with hot water, following the instructions on the package.
Step 4: Heat Up the Dye Bath
Fill a large pot or slow cooker with enough water to cover the yarn and bring it to a simmer. Add in your prepared dye solution and mix well.
Step 5: Add the Yarn
Carefully add the soaked yarn into the dye bath, ensuring it is fully submerged. Use a spoon or tongs to move the yarn around and ensure even dye absorption gently.
Step 6: Simmer and Stir
Allow the yarn to simmer in the dye bath for at least 30 minutes, stirring occasionally to ensure the dye is evenly distributed. Let the thread sit in the dye bath for longer for more profound and vibrant shades.
Step 7: Check the Yarn Color
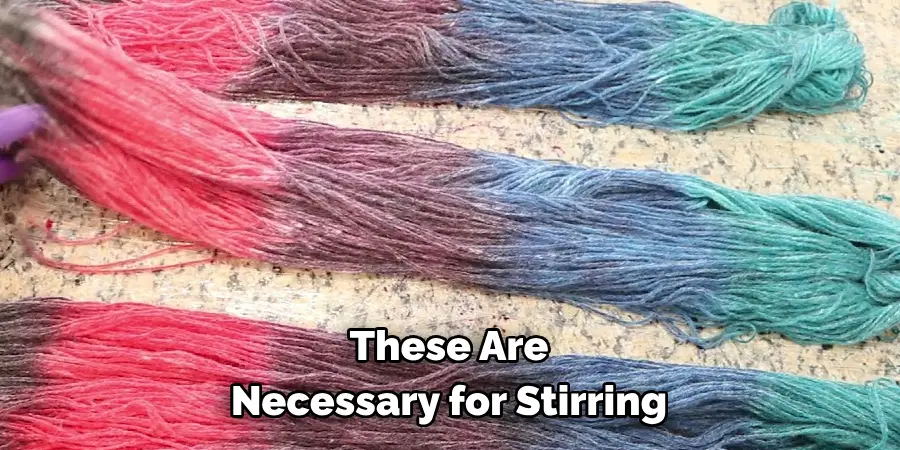
After simmering, check if the yarn has reached your desired color. If not, continue simmering until it does. Remember that the wet yarn will always look darker than the final result, so it’s best to take it out of the dye bath and rinse it in cold water to see the true color.
Step 8: Rinse and Wash
Once you are happy with the color, remove the yarn from the dye bath and rinse it in cold water until it clears. Then, wash the cord with a mild soap or detergent to remove any excess dye and vinegar.
Step 9: Dry the Yarn
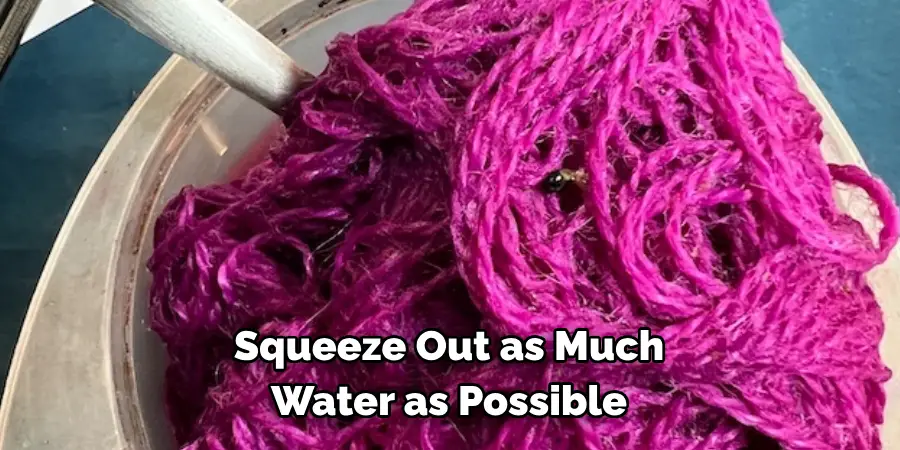
Squeeze out as much water as possible from the yarn and lay it flat on a towel or drying rack to air dry. Avoid hanging the string, as this can cause stretching or distortion of the fibers.
Step 10: Enjoy Your Beautifully Dyed Yarn!
Once the yarn is completely dry, you can use it for your next project. Admire your beautiful hand-dyed creation and experiment with different dyeing techniques and color combinations to create even more unique yarns.
Dyeing wool yarn at home is a fun and rewarding process that allows you to unleash your creativity and produce one-of-a-kind pieces. With just a few basic materials and simple techniques, you can achieve beautiful results quickly. Why not give it a try and add some custom colors to your yarn collection?
8 Things to Avoid When Dyeing Wool Yarn
1. Don’t Overheat the Dye Bath
Keep a close eye on your dye bath’s temperature and ensure it stays below 180°F (82°C). If it gets too hot, the wool fibers can become damaged, and the yarn may become felted. Use a thermometer to monitor the temperature and adjust accordingly.
2. Don’t Skimp on the Vinegar
Using too little vinegar in the dye bath can result in uneven dye absorption and dull colors. Follow the recommended one cup of vinegar for every four ounces of yarn.
3. Don’t Skip Soaking the Yarn
Soaking the yarn in vinegar before dyeing is crucial for even color distribution. Skipping this step can result in splotchy or patchy areas on your yarn.
4. Don’t Overcrowd the Dye Bath
Leave enough space for the yarn to move freely in the dye bath. Overcrowding can cause uneven dyeing and may make some parts of the yarn not fully saturated.
5. Don’t Forget to Stir
Stirring the yarn in the dye bath is essential for even color absorption. Make sure to do it gently and periodically throughout the dyeing process.
6. Don’t Rush the Simmering Time
Let the yarn simmer in the dye bath for at least 30 minutes for best results. Rushing this step can result in lighter or patchy colors.
7. Don’t Skip the Rinse and Wash
Rinsing and washing the yarn after dyeing is important for removing excess dye and vinegar, which can cause damage to the fibers if left on.
8. Don’t Be Afraid to Experiment
Dyeing yarn is about having fun and being creative, so don’t be afraid to try different techniques and colors. You never know what beautiful results you might come up with! Overall, the key is to take your time and follow these tips for a successful dyeing experience.
Frequently Asked Questions
Can I Use Food Coloring to Dye Wool Yarn?
Yes, you can use food coloring for dyeing wool yarn. However, the colors may not be as vibrant or long-lasting as those for dyeing fibers. It’s best to test a small piece of yarn first to see if you get the desired results.
Can I Use Regular Dye for Cotton or Synthetic Yarn?
No, regular dye is not suitable for cotton or synthetic yarn. These materials require different types of shade and processes. Make sure to use paints specifically made for these types of fibers.
How Do I Achieve a Lighter Shade?
Use less dye powder or liquid for lighter shades and shorten the simmering time. You can dilute the dye with more water before adding it to the bath.
Can I Dye Multiple Colors on One Yarn?
Yes, you can create multi-colored yarn using different areas of the string in separate dye baths. Just make sure to rinse the yarn well in between each dyeing session.
How Do I Store Leftover Dye Solution?
If you have leftover dye solution, store it in an airtight container and keep it in a cool, dark place for up to a week. However, using a fresh dye solution is best for optimal results. So, mixing only the amount of dye you need for your project is best.
Conclusion
Dyeing wool yarn at home is a great way to add unique colors and patterns to your projects. With suitable materials, techniques on how to dye wool yarn, and precautions, you can create beautiful hand-dyed yarn to make your creations stand out. Remember to experiment with dyes have fun, and follow safety guidelines. Happy dyeing! Keep on creating, and stay colorful! As you continue to explore the art of dyeing yarn, remember to share your tips and techniques with others to help them achieve beautiful results.

