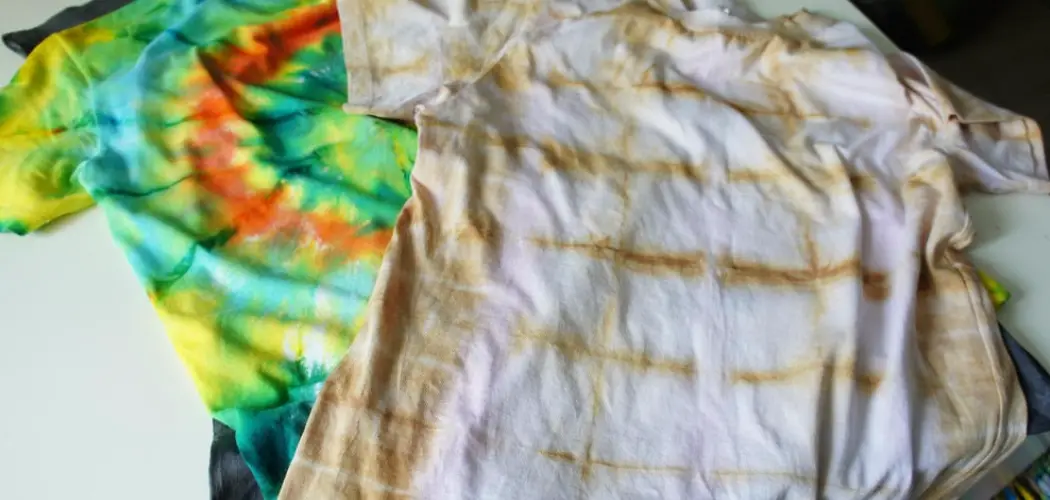
Attention all DIY enthusiasts! Are you looking for a fun and creative way to transform your plain t-shirts or fabric items? Look no further because we have the answer – spiral tie dye! This popular method of tie-dyeing has been around for decades and has recently resurfaced as a trendy fashion statement.
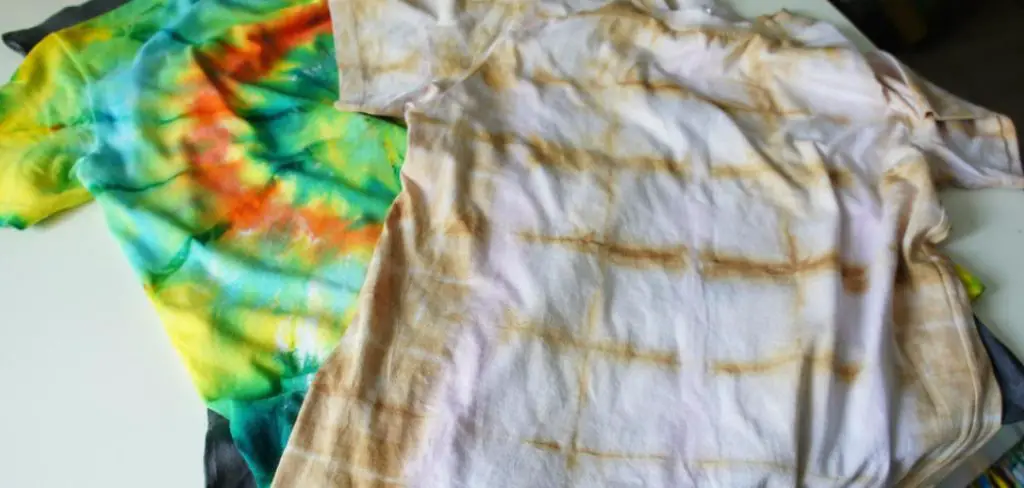
Spiral tie dye involves twisting and binding fabric in a circular pattern, resulting in a unique and eye-catching design. Whether you’re new to the world of crafting or an experienced artist, In this blog post will provide you with all the tips and tricks on how to do a spiral tie dye.
Get ready to unleash your inner artist and create eye-catching patterns that will make heads turn. Let’s dive into this colorful journey together, from selecting materials to mastering different folding techniques.
What Will You Need?
Before we get started, let’s gather all the necessary materials. You will need:
- A white or light-colored t-shirt or fabric item
- Fabric dye (preferably in multiple colors)
- Rubber bands
- Plastic wrap or a plastic bag
- Gloves (to protect your hands from stains)
- Large bucket or container
- Water
Now that you have all the materials let’s get started on creating your own spiral tie-dye masterpiece!
10 Easy Steps on How to Do a Spiral Tie Dye
Step 1. Prepare the Dye:
Follow the instructions on your dye packaging to mix the dye with water in your bucket or container. Stir it well until it’s fully dissolved. Remember to wear your gloves to protect your hands. Be careful not to spill any dye on your clothes or around your workspace.
Step 2. Lay Out Your Fabric:
Start by laying out your t-shirt or fabric item flat on a clean surface. Make sure that the item is smooth and free of wrinkles. This will allow for the most effective dye penetration and ensure that your spiral pattern comes out beautifully.
Step 3. Create the Spiral:
To create the spiral effect, pinch a section in the center of your fabric and twist it. Continue twisting until the entire material is in a spiral shape. The tighter you twist, the more defined your spiral will be.
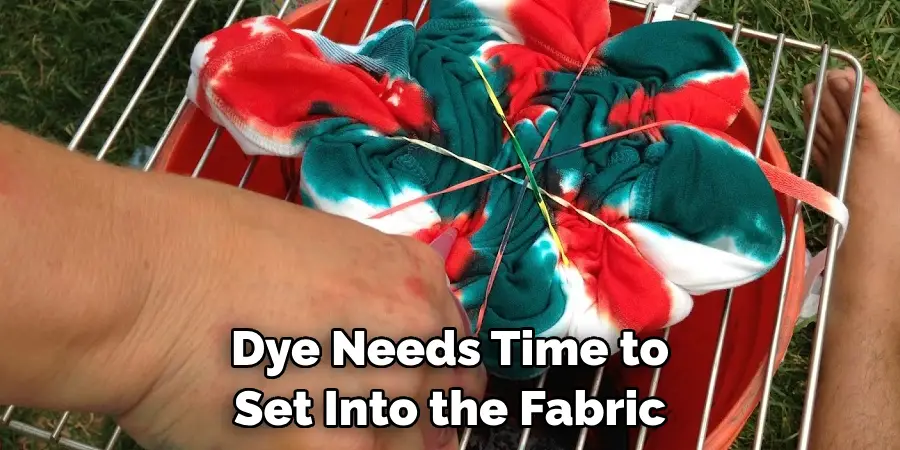
However, remember not to twist too tightly, as the dye needs to penetrate the fabric. Once your material is in a spiral shape, secure it with rubber bands. Make sure the bands cross each other, dividing the fabric into wedges like a pizza. Now, your fabric is ready for dyeing!
Step 4. Apply the Dye:
With your fabric secured in a spiral shape, it’s time to apply the dye. Wear your gloves to protect your hands from the paint. Start applying the stain to the wedges of your fabric. You can use one color per wedge or mix different colors for a more vibrant result.

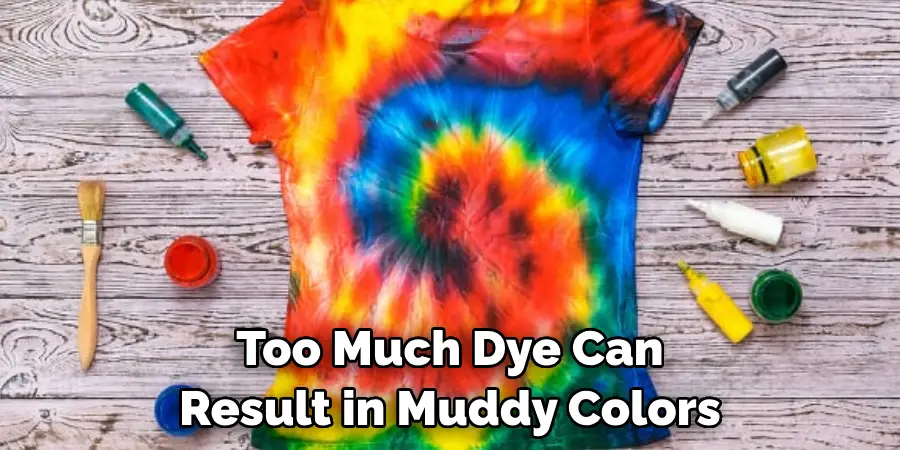
Make sure to thoroughly saturate each section, but be careful not to oversaturate, as the colors might bleed into each other and create a muddy appearance. Once you’ve finished dyeing one side, flip the fabric over and repeat the process on the other side.
Step 5. Wrap the Fabric:
After you have applied the dye to both sides of your fabric, the next step is to wrap it. Using plastic wrap or a plastic bag, cover your dyed fabric completely. This will keep the dye moist and allow the colors to penetrate the fabric. Make sure to wrap it tightly to prevent any dye from leaking out.
Step 6. Let the Dye Set:
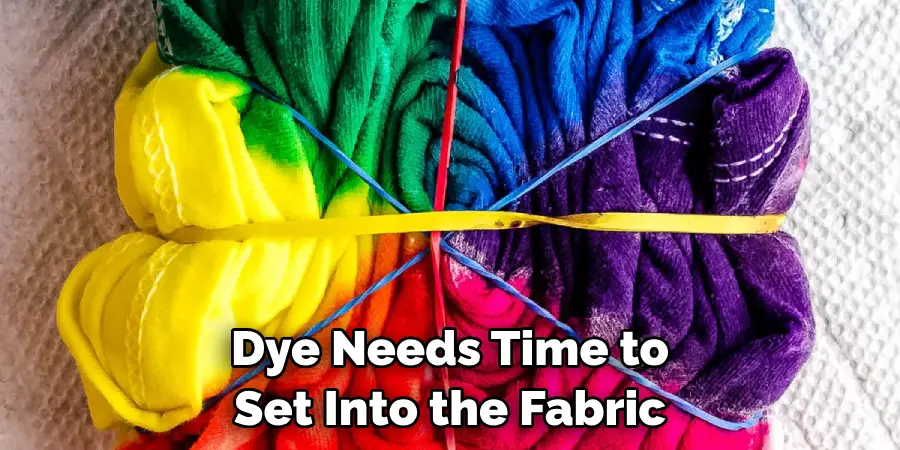
Now that your fabric is wrapped, it’s time to let the dye work its magic. Leave your material to sit for at least 6-8 hours, or even better, overnight. The longer you allow the paint to set, the more vibrant and long-lasting your colors will be. Plan this project on a day when you can leave the fabric untouched for this length of time. Ensure the material is kept in a warm place, as cold conditions can affect the dye setting process.
Step 7. Rinse the Dye Out:
After the dye has been set for the recommended time, it’s time to rinse your fabric. Unwrap your fabric and start washing it under cold water while it’s still bound. Continue to rinse it until the water runs clear. Once the water is clear, you can remove the rubber bands and open up your fabric to reveal your spiral design. Continue to rinse until all excess dye is removed. Be careful during this process to avoid getting dye on your clothes or surroundings.
Step 8. Wash the Fabric:
After rinsing, it’s time to wash your fabric. You can do this by hand or in a washing machine. If using a device, ensure it’s set to a gentle cycle with cold water. Use a mild detergent and avoid bleach, as it can fade the colors. Washing your tie-dyed fabric alone is recommended to avoid any dye transfer to other clothes. After washing, rinse the fabric again to make sure all residual dye is gone.

Step 9. Dry the Fabric:
After thoroughly rinsing and washing your fabric, the next step is to dry it. You can air-dry your material by hanging it outside, but avoid direct sunlight, as it might cause the colors to fade. Alternatively, dry your fabric in a dryer on low heat. Make sure the fabric is completely dry before wearing or using it to prevent any color transfer. Patience is key here – the more gently and carefully you dry your fabric, the longer your vibrant spiral tie dye design will last!
Step 10. Enjoy Your Spiral Tie Dye:
Congratulations, you’ve completed the process and created your own spiral tie dye masterpiece! Whether it’s a t-shirt, a tote bag, or a piece of fabric, your item is now transformed with vibrant, eye-catching colors in a unique spiral pattern. Remember, with tie dye, each piece is one-of-a-kind, just like the artist who made it.
Wear or use with pride, and remember to care for your tie-dyed items by washing them separately in cold water to maintain their vibrant colors for as long as possible. By following these easy steps, you can create your own spiral tie dye designs to add a personal touch to your wardrobe or home décor.
5 Additional Tips and Tricks
- Preparation is Key: Set up a clean, spacious work area before starting your spiral tie dye project. Use plastic tablecloths or sheets to protect your surfaces from dye stains.
- Presoak Your Fabric: Always presoak your fabric in a soda ash solution. This will ensure the dye adheres appropriately, resulting in vibrant, long-lasting colors.
- Perfecting the Spiral: The twist is the key to an excellent spiral pattern. Start by pinching your fabric in the center, then twist until your entire material is in a spiral shape. Secure it with rubber bands.
- Applying the Dye: When applying dye, remember that less is more. Too much dye can result in muddy colors. Ensure all areas of the fabric are covered, but don’t over-saturate.
- Rinse Well: After the dye has been set, thoroughly rinse your fabric in cold water before washing it. This will remove any excess dye and prevent color bleeding.
With these additional tips and tricks, you can achieve even more stunning results with your spiral tie-dye projects.
5 Things You Should Avoid
- Avoid Skipping the Soda Ash: The soda ash solution is indispensable for the dyeing process; it helps the dye adhere to the fabric and enhances the color vibrancy. Skipping this step could lead to dull colors and poor dye adhesion.
- Don’t Rush the Process: Dye needs time to set into the fabric. Trying to accelerate the process by using a hairdryer or placing the material in the sun could lead to uneven color distribution or fading.
- Avoid Using Just Any Fabric: Not all fabrics dye well. Stick to natural fibers like cotton, rayon, or linen for the best results. Synthetic materials, like polyester, do not absorb the dye as effectively.
- No Insufficient Rinsing: Failing to rinse the dyed material thoroughly in cold water can result in excessive color bleeding during washing. This can reduce the vibrancy of your design and even stain other clothes.
- Avoid Heavy-handed Dye Application: Applying too much dye can lead to colors bleeding into each other and creating an undesired muddy effect. Remember, you can always add more paint but can’t take it away.
Avoiding these common mistakes can help you achieve a more prosperous and satisfying spiral tie dye experience.
5 Different Design Ideas
1. Double Spiral Design:
Why stick to one spiral when you can have two? Instead of starting your spiral at the center of your fabric, create two starting points for two distinct waves. Apply your chosen colors symmetrically for a harmonious look, or mix them up for a more dynamic design.
2. Spiral Stripe Design:
In this design, instead of applying different colors to different sections of the spiral, apply them in stripes across the entire fabric. This will create a colorful, striped spiral effect once the fabric is unwrapped.
3. Rainbow Spiral Design:
For a vibrant and classic tie-dye look, consider a rainbow spiral. Start with red at the center of your spiral, followed by orange, yellow, green, blue, and purple, in that order. The result is a spiral design that showcases all the colors of the rainbow.
4. Monochrome Spiral Design:
If you prefer a more understated look, try a monochrome spiral design. Choose a single color and use different shades, ranging from light to dark, to create a spiral design with depth and subtlety.
5. Negative Space Spiral Design:
For a different approach, consider a negative space spiral design. Here, instead of dyeing the spiral, you’ll leave it the color of your original fabric and dye the surrounding area. This creates a striking contrast and showcases the spiral pattern uniquely.
With these design ideas, you can create endless variations of spiral tie dye designs, adding your personal touch and creativity.
Conclusion
Now that you have all the steps and tips for how to do a spiral tie dye, it’s time to get creative and let your imagination run wild! Remember, tie dye is all about experimenting and having fun, so don’t be afraid to try different color combinations or techniques.
And remember to share your creations with us by tagging us on social media using the hashtag #SpiralTieDyeFun. We can’t wait to see what colorful designs you come up with! So go ahead and gather your materials, grab some friends or family, and have a tie dye party that everyone will remember.
Not only is tie-dyeing a fun activity, but it also allows us to slow down and embrace the moment as we watch the colors blend in unpredictable ways. So take a break from your busy life and indulge in this therapeutic craft. Happy tie dyeing!

