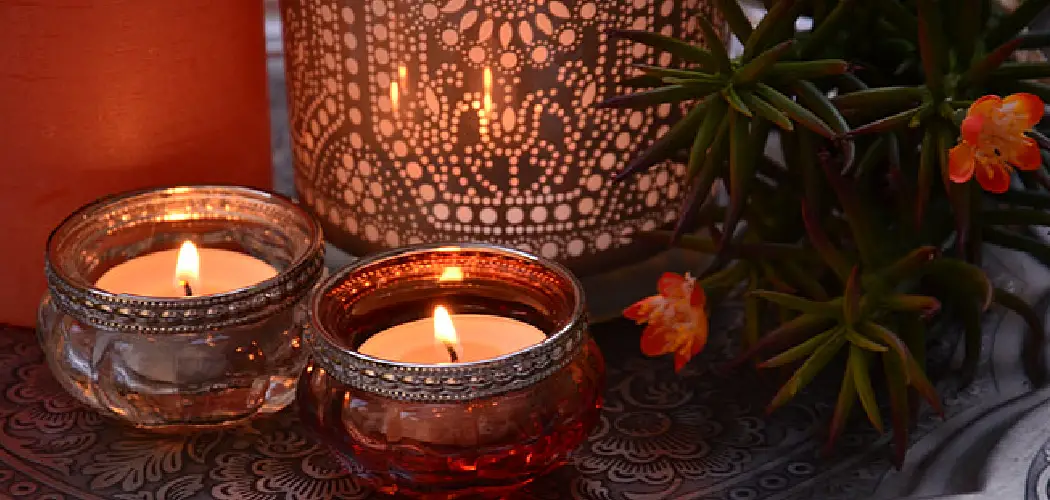
Are you tired of searching for the perfect decorations to give your home that cozy and inviting feel? Do you need a little extra sparkle and warmth in your house? Look no further because we have a solution that will add warmth to your space and serve as a stylish centerpiece.
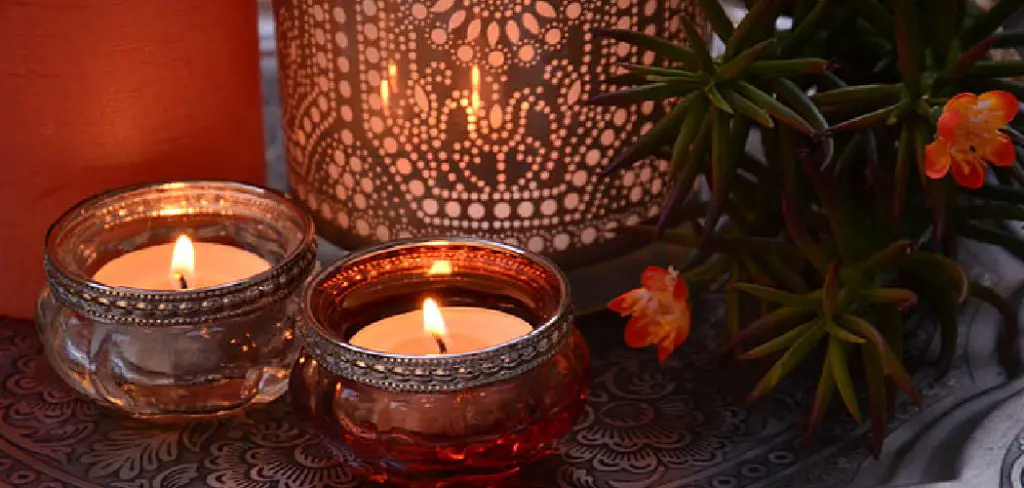
In this blog post, we will delve deep into the world of candle jar decoration, giving you all the tips and tricks on how to decorate candle jars and the inspiration you need to create beautiful and unique pieces that will instantly elevate any space. Whether you are a seasoned DIY enthusiast or a complete novice, this guide is designed to give you the confidence and creativity to transform plain candle jars into stunning works of art. So, grab your supplies, unleash your inner artist, and embark on this creative journey together!
Necessary Items
Before we dive into the decoration process, having all the necessary items ready is crucial. Here’s a list of essentials you’ll need for this project:
- Candle jars (available in different shapes and sizes)
- Paints or spray paints
- Brushes (if using acrylic paints)
- Decorative materials such as twine, ribbon, beads, etc.
- Glue gun
- Scissors
- Optional: Stencils, stickers, glitter, etc.
10 Steps on How to Decorate Candle Jars
Step 1: Clean and Prep your Jars
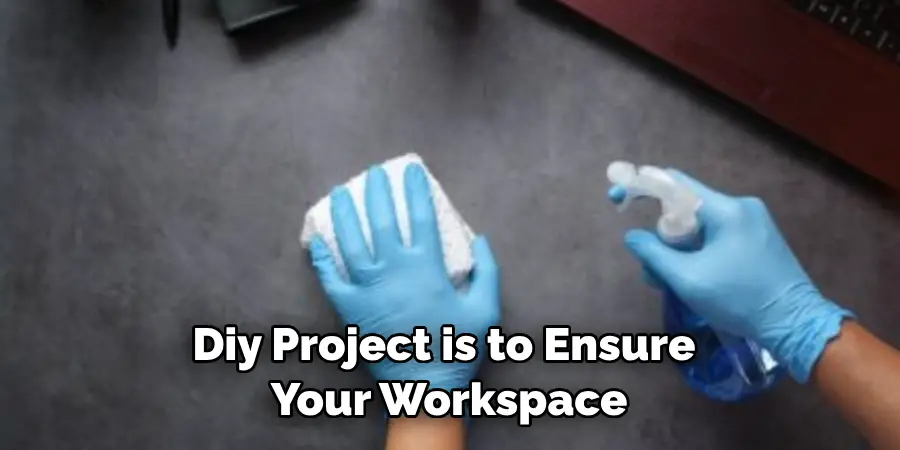
The first step in any DIY project is to ensure your workspace and materials are clean and organized. Start by cleaning the candle jars thoroughly with soap and water. This will ensure no residue or dirt on the jars that could affect the adhesion of paints or decorations.
Step 2: Choose your Design and Color Scheme
Before you start decorating, having a design and color scheme in mind is crucial. This will help you select the suitable materials and colors for your candle jars. You can draw inspiration from home decor magazines, Pinterest, or even nature.
Step 3: Paint the Jars
Once you have your design and color scheme, it’s time to paint the jars. You can either use acrylic paints or spray paints for this step. If using acrylics, apply several thin coats for a smooth finish and allow each coat to dry completely before applying the next one.
Step 4: Use Stencils or Stickers (Optional)
This step is optional, but if you want to add extra flair and detail to your candle jars, stencils or stickers can be a great way to achieve this. Place the stencil or sticker on the jar and use a foam brush or sponge to apply the paint carefully. Remove the stencil/sticker while the paint is still wet for a clean design.
Step 5: Add Glitter (Optional)
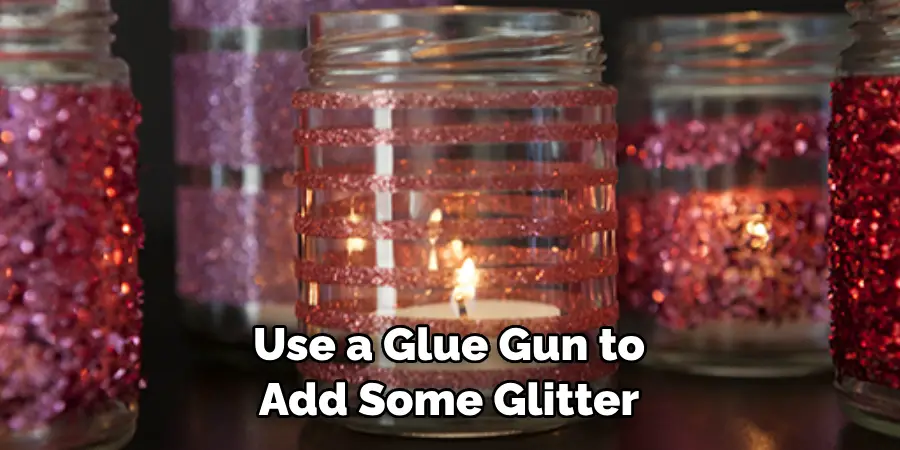
For those who love a little extra sparkle, this step is for you. Once the base coat of paint is dry, use a glue gun to add some glitter to your candle jars. You can cover the entire jar or create patterns and designs with the glitter.

Step 6: Attach Decorative Materials
This is where you can let your creativity shine. Use a glue gun to attach decorative materials such as twine, ribbon, beads, or any other embellishments to the outside of the candle jar. You can also wrap these materials around the jars for added texture and visual interest.
Step 7: Create a Handle (Optional)
You can attach a handle using twine or wire if you want to turn your candle jars into hanging lanterns. Simply create two holes on opposite sides of the jar and thread the material through to create a loop for hanging.
Step 8: Add Candles
Once all the decoration is complete and everything is dry, it’s time to add candles to your jars. You can use tea lights, votives, or even pillar candles, depending on the size and shape of your pot.
Step 9: Light and Enjoy!
Now that your candle jars are complete, all that’s left to do is light them up and enjoy their cozy ambiance. Place them around your home for a warm, inviting atmosphere, or gift them to friends and family.
Step 10: Experiment with Different Styles
Feel free to experiment and try different styles and techniques. You can mix and match colors, add other materials, or even use different types of jars for a unique look. The possibilities are endless!
Decorating candle jars is a fun and creative way to add warmth and style to your home decor. With a few supplies and imagination, you can turn plain jars into beautiful centerpieces or hanging lanterns that instantly elevate any space. So, why not see how these simple yet stunning decorations can transform your home?
8 Things to Avoid
1. Avoid Using Flammable Materials
When decorating candle jars, it’s essential to remember that they will be near open flames. Avoid using materials that are highly flammable and could potentially cause a fire. Stick to non-flammable materials such as paper, fabric, or twine.
2. Don’t Overcrowd the Jars
As tempting as it may be to cover every inch of the jar with decorations, try to avoid overcrowding. Leaving space between the materials will allow the candlelight to shine through and create a beautiful glow.
3. Don’t Neglect the Bottom of the Jar
Remember to decorate the bottom of the jar as well. This will ensure that your candle jars look beautiful from all angles. Consider adding paint or glitter to the bottom of the jar or even attaching a small decorative charm.
4. Avoid Using Too Much Glue
While hot glue may seem like the best option for attaching materials, try to use only a little, as it can create unsightly blobs and make your jars look messy. Use just enough to secure your decorations securely.
5. Don’t Rush the Drying Process
To achieve a smooth and professional-looking finish, allowing each layer of paint or glue to dry completely before moving on to the next step is essential. Rushing this process can result in streaks or uneven textures.
6. Avoid Using Wet Paints with Stencils
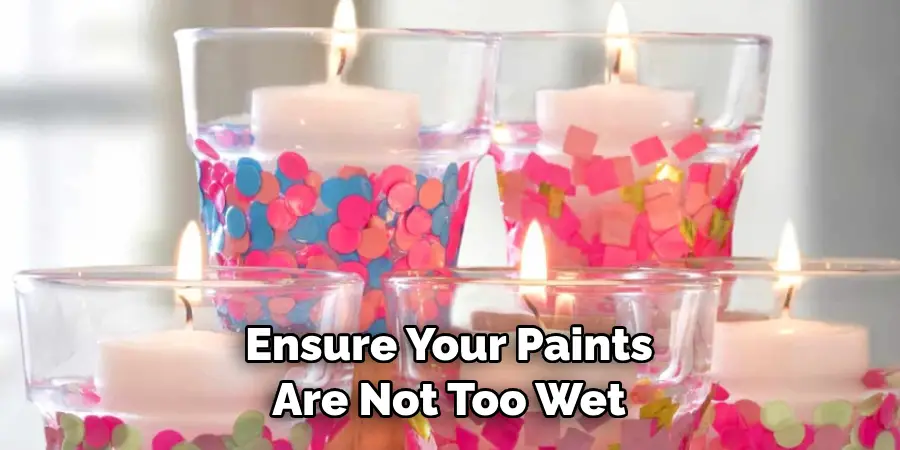
If using stencils, you must ensure your paints are not too wet. Wet paint can seep through the stencil and create blurry lines or streaks. Make sure to dab off excess paint before using the stencil.
7. Don’t Limit Yourself to Traditional Designs
When it comes to decorating candle jars, there are no rules! Make sure to limit yourself to traditional designs or color schemes. Try different patterns, colors, and materials for a unique, personalized look.
8. Avoid Using Harsh Chemicals on the Jars
When cleaning your jars before decorating, avoid using harsh chemicals that could damage the glass or leave behind residue. Stick to gentle soap and water to ensure your jars are clean and ready for decoration. So have fun creating your beautiful candle jars to add warmth and style to your home decor!
FAQs
Can I Use Regular Candles in My Decorated Candle Jars?
Yes, you can use any type of candle if it fits inside the jar and is safe to burn indoors. Be sure to follow all safety precautions when using candles.
How Do I Ensure That the Paint Won’t Chip or Peel Off?
Make sure to clean and dry your jars before painting correctly. Also, use a sealant or clear coat over the paint to protect it from chipping or peeling.
Can I Decorate with Items Other Than Stickers or Stencils?
Absolutely! You can decorate with any materials that suit your preferences and style. Get creative and try different materials like fabric, twine, or dried flowers.
How Can I Safely Attach a Handle to My Candle Jars?
To turn your candle jars into hanging lanterns, securely attach the handle using solid materials such as wire or thick twine. Also, ensure that the handle is balanced correctly and can support the weight of the jar.
How Can I Remove Excess Glue or Paint From the Jars?
If you accidentally use too much glue or paint, gently scrape it off with a craft knife or sand it down once completely dry.
Can I Use Battery-Operated Candles Instead of Real Flames?
Absolutely! Battery-operated candles are a safe and convenient alternative to traditional candles. Just make sure they fit inside your jar before decorating.
Can I Reuse My Candle Jars After the Candles Have Burned Out?
You can reuse your candle jars for future projects or even storage containers. Clean out any leftover wax and wash the jar with warm, soapy water. Remember never to leave burning candles unattended and always exercise caution when handling lit candles. Safety should always be a top priority when using any open flame.
Conclusion
Decorating candle jars is a fun and easy way to add a personal touch to your home decor. With just a few supplies and creativity, you can transform plain jars into beautiful centerpieces or hanging lanterns that add warmth and style to any room. Crafting your customized candle jars is an enjoyable and satisfying experience. Not to mention, it can become a great new hobby for you. The many ways to customize and decorate the jars with their intended purpose in mind allow for an endless possibility of creative designs! Feel free to try different materials, styles, colors, or patterns that suit your taste.
After all, your goal should be to create something that speaks to your style and reflects your personality. So go ahead and find out what works best for you and show off some of your one-of-a-kind creations! Get inspired by the ideas presented today and give creating your personalized candle jars a go- it’s worth it. Have fun and experiment with different designs, materials, and techniques. Most importantly, be safe when using candles and always follow the manufacturer’s instructions on how to decorate candle jars. So what are you waiting for? Gather your supplies, light up some candles, and create your unique candle jars today!

