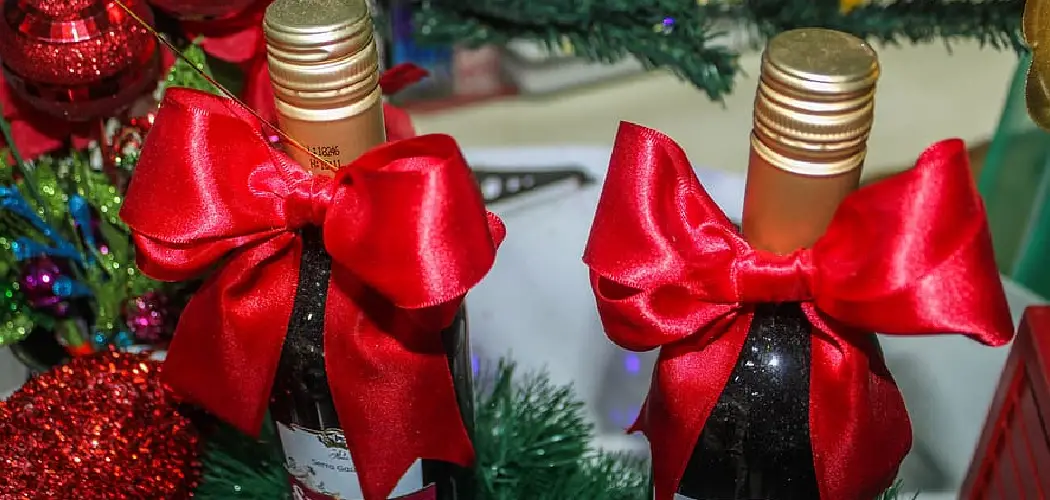
Gifting a bottle of wine is a timeless gesture, but adding a personal touch through decoration elevates it into a memorable keepsake. Whether for a birthday bash, festive holiday, quaint housewarming, or just to show appreciation, a decorated wine bottle can be tailored to any theme, reflecting the personality and preferences of the recipient.
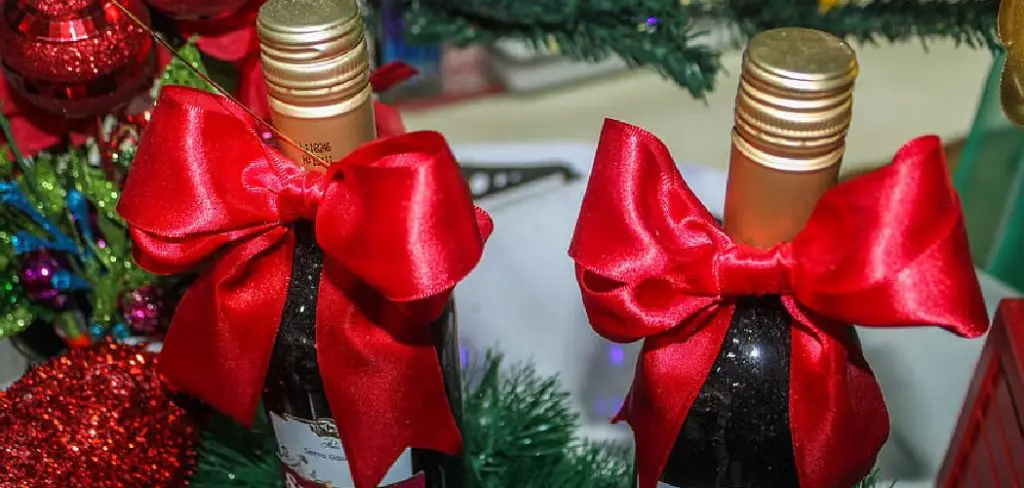
In this guide, we will walk you through various methods of embellishing a wine bottle, ranging from hand-painted elegance to rustic natural charm, ensuring your gift is both heartwarming and visually stunning. So keep reading to learn more how to decorate a wine bottle for a gift.
Choosing Your Design Approach
Selecting a Design
Selecting a design approach for decorating a wine bottle gift is both an exciting and personal process. Begin by considering the occasion. Is it a joyous birthday celebration, a seasonal holiday gathering, a warm housewarming, or a token of appreciation? Tailoring the decoration theme to these events magnifies the sentimental value of the gift.
Think about the personality traits and hobbies of the person receiving the gift. Whether they admire elegant simplicity or have an eye for bold and colorful patterns, the decoration can be adapted to suit.
Color Choices
Color choices and patterns play a crucial role in capturing the essence of the occasion. For a birthday, bright and playful hues can set a festive tone, while a holiday may call for a palette inspired by the season’s classics, such as red and green for Christmas. Housewarmings often lean towards calmer, welcoming tones or can match the new home’s decor.
The Technique You Choose
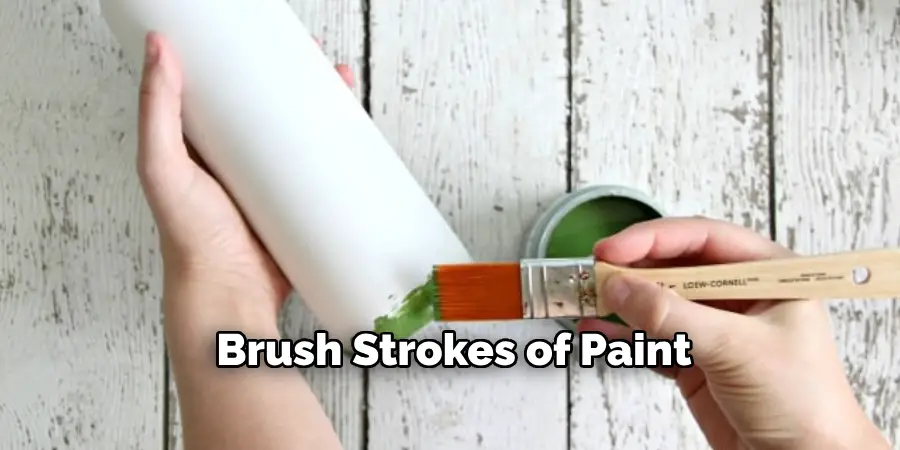
The technique you choose is equally important in articulating your design intent. Brush strokes of paint and precision stenciling can convey messages and intricate patterns, making the gift truly one-of-a-kind. Fabric coverings range from silk elegances to playful cotton prints, giving the bottle a textured, tactile quality. Wrapping the bottle with smooth twine, delicate dried flowers, and aromatic herbs adds a touch of nature’s serenity.
For a dash of glitz, nothing beats the sparkle of applied glitter or reflective metallic hues. The possibilities are endless with decoupage, allowing for a collage of printed images, vintage illustrations, or whimsical patterns, enveloping the bottle with a story-rich sleeve. Regardless of the chosen method, the goal is to create a wine bottle that’s as delightful to look at as the wine within is to taste.
Gathering Your Supplies
Before diving into the transformative process of decorating a wine bottle, assembling the right tools and materials is imperative. Creating a checklist will ensure everything is at your fingertips, making your crafting session efficient and enjoyable. The essential toolkit includes paintbrushes for detailed work, scissors for precise cuts, a reliable glue gun for sturdy adhesion, tape for temporary holds, and ribbons for elegant finishing touches.

For those inclined to paint and stencil, gather a selection of paints that resonate with your design scheme alongside various stencils to imprint patterns and letters. Markers, too, can come in handy for freestyle embellishments or calligraphy.
Fabric enthusiasts should stock up on various fabric scraps; felt, lace, and buttons will add texture and personality to your creation, while twine can tether your design elements with a rustic appeal.
Natural elements such as dried flowers, herbs, and spices offer an organic twist, with raffia and moss providing a raw, earthy feel. These materials can be affixed using twine or a dab of glue for a resilient bond.
For those who find allure in sparkle, items like glitter glue, metallic paint, sequins, and beads will bring a sense of glamour to your artwork.
Lastly, decoupage enthusiasts will benefit from a collection of decorative papers, colorful napkins, and Mod Podge to coat and seal their designs. A final coat of varnish can protect and enhance the beauty of the layer beneath. Preparing your supplies in advance will make your venture into bottle decoration a seamless and expressive journey.
How to Decorate a Wine Bottle for A Gift: Step-by-Step Guides
In light of the generous amount of existing content that encompasses introductions to different design approaches and prepping for the supply gathering, let’s move onto the step-by-step guides for two selected decorating techniques – Hand-Painted Beauty and Natural Elegance.
Step 1: Hand-Painted Beauty
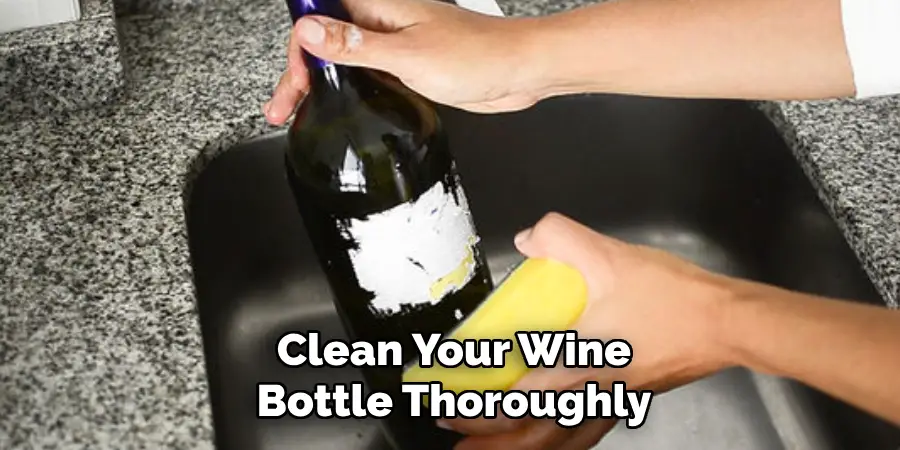
- Prepare Your Surface: Clean your wine bottle thoroughly to ensure a grease-free surface. Remove any labels by soaking the bottle in warm, soapy water and then gently scrubbing them off. Dry the bottle completely before proceeding.
- Base Coat: Apply a thin base coat using acrylic paint that complements your overall design. This step is crucial as it ensures subsequent layers of paint adhere well. Let it dry completely, which may take up to an hour.
- Marking Your Design: Lightly sketch your design onto the bottle with a pencil or use masking tape to outline shapes and patterns for more geometric designs.
- Main Painting: With a steady hand, begin painting your main design using the colors and brushes appropriate for your detail level. For intricate patterns, use smaller brushes. Allow each color to dry before applying another to avoid smudging.
- Detail Work: Add finer details with a thin brush or marker once the main layers are dry. This could include writing names, dates, or small accents personalizing the gift.
- Sealing the Paint: After the paint has dried, apply a sealant such as Mod Podge or a clear spray varnish to protect your work and add a professional finish.
Step 2: Natural Elegance
- Planning Your Design: Choose natural elements that harmonize together – dried flowers, leaves, twine, raffia, etc. Lay them out in your desired design to plan their placement before fixing them on the bottle.
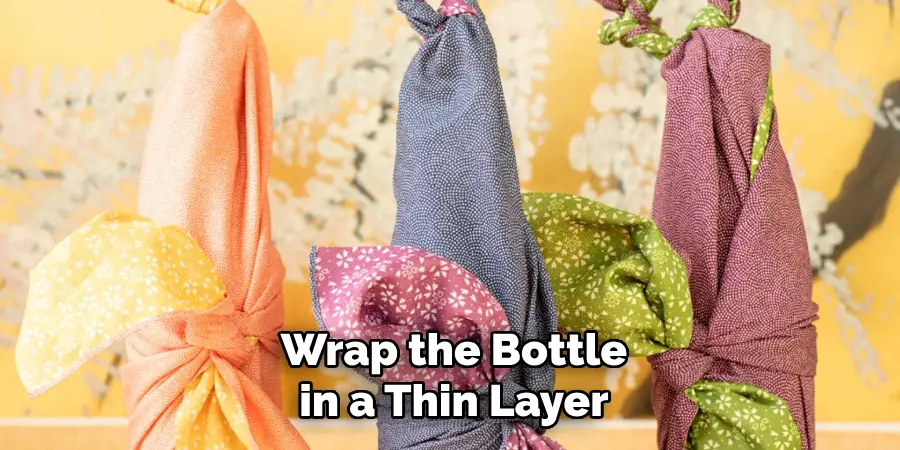
- Applying The Base: If you wish to have a colored base, wrap the bottle in a thin layer of natural fabric such as burlap or linen and secure it with glue. Ensure it is tight and wrinkle-free to serve as an elegant backdrop for your adornments.
- Adding Twine or Raffia: Start at the bottle’s neck, firmly wrapping twine or raffia around it, securing with glue at the start and end of your wrapping and at intermittent points between for extra hold.
- Fixing Dried Flowers/Herbs: Using a glue gun, start to place your selected dried elements onto the bottle, layering them until you achieve the desired effect. Remember to press down gently but firmly to ensure they adhere properly.
- Final Touches: Add a tag or a charm tied with twine around the bottle’s neck for an extra personal touch.
- Preservation: To preserve these organic materials, a light spray of clear sealant can help maintain their colors and prevent them from crumbling.
With these detailed instructions, your venture into decorating a wine bottle can be both methodical and creative, resulting in a stunningly unique and thoughtful gift.
Step 3: Finishing Touches and Presentation
The final layer of creativity is in how the decorated bottle is presented. A carefully considered presentation highlights the craftsmanship and thought put into the personalized artwork. For a polished look, wrap the bottle in clear cellophane, cinched at the neck with a ribbon that complements the bottle’s design. This protects the artistic elements and provides an inviting, unwrapping experience for the recipient.
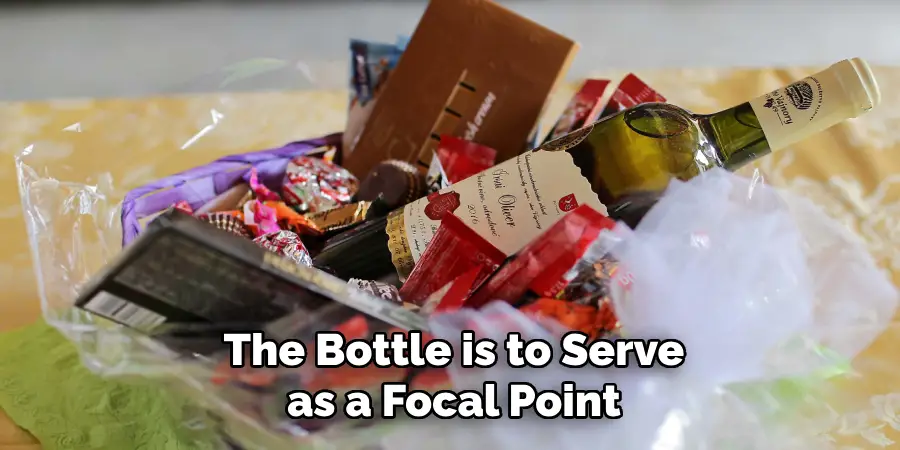
If the bottle is to serve as a focal point in a celebration, placing it on a pedestal or within a wreath of matching florals can accentuate its beauty and thematic relevance. Lighting also plays a key role in presentation; soft, ambient light can enhance the textures and colors of the bottle, whereas spotlighting can draw the observer’s eye to the intricacy of the details.
For a gift that continues to give, consider pairing the bottle with a card describing the intention behind each design choice. This personal narrative will add depth and sentiment to the present, making it an unforgettable token of affection or appreciation.
Ensuring the decorated bottle is viewed in a setting that mirrors its aesthetic can profoundly impress upon the recipient the care invested in the creation, thus elevating the simple act of gifting to an expression of artful communication.
That’s it! You’ve now learned how to decorate a wine bottle for a gift using hand-painted beauty and natural elegance techniques. These step-by-step guides, along with some creative ideas for presentation, will help you create a beautiful and meaningful gift that your loved ones will cherish. So gather your supplies, unleash your creativity, and make someone’s day more special! Cheers!
Advanced Techniques and Special Touches
Expanding beyond basic decoration techniques, a world of advanced strategies can further personalize and enhance your crafted bottle. For those looking to elevate their craft, these innovative ideas will imbue your piece with complexity and subtlety.
Layering and Texture
For a tactile and visually compelling surface, consider layering different materials. Apply a lace wrap for an intricate pattern, or use a stencil with puff paint to create a raised design that lends a 3D effect. To add texture, attach beads or small stones with strong adhesive in a tasteful pattern that compliments your bottle’s overall aesthetic.
Incorporating Mixed Media
Mixed media art combines various artistic mediums to create pieces with depth and narrative. Incorporate this into your bottle design by using metal leaf for a touch of luxury or attaching small fabric tokens for a soft, tactile contrast. These elements should be complementary but striking, turning your bottle into a conversation piece.
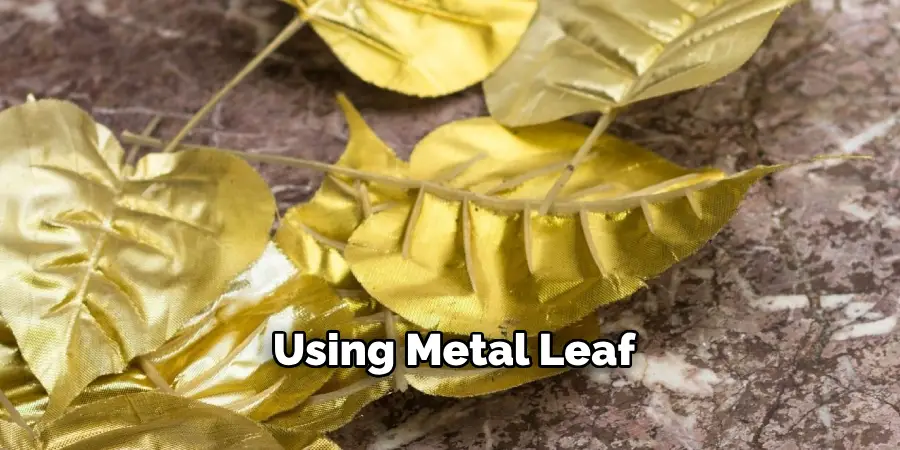
Application of Electroplating
Dabble in the art of electroplating to add metallic finishes to your bottle. This process can deposit a thin layer of metal onto certain surface parts, resulting in a sleek and professional appearance. While this technique requires precision and perhaps a professional’s touch, the result is undoubtedly high-end and unique.
Personalizing with Etching
Etching the glass adds an enduring and sophisticated flair. Use etching cream and stencils to inscribe initials, significant dates, or intricate patterns. Etched designs make for a frosted appearance that contrasts beautifully against the clarity of the bottle’s surface.
Use of LED Lights
Illuminate your creation from within by inserting a string of LED lights into the bottle, transforming it into an enchanting light feature. This is particularly effective in semi-transparent painted bottles, as the light diffuses through the paint, creating a warm glow that accentuates the colors and patterns.
Adding Movement
Attach elements that move to captivate and delight. Small charms or crystals suspended from the bottle’s neck by a fishing line can dance in the breeze, adding an element of kinetic energy to your bottle.
Aromatization
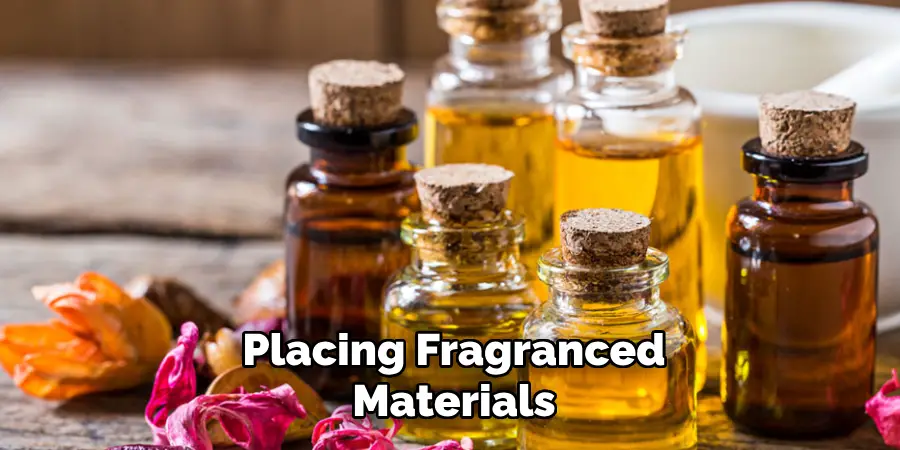
If your creation is meant to stay closed, consider imbuing it with scent by placing fragranced materials like scented beads or essential oils inside before sealing. Not only will your bottle be visually appealing, but it will also act as a diffuser, releasing a pleasant aroma into the space.
Multifaceted Presentation
Finally, when presenting your multifaceted creation, place it against a backdrop that enhances its features. Consider the interplay of light and shadow, the compatibility of surrounding colors, and the context of the environment. Presenting your bottle on a base that rotates can be an exceptional way to display the various intricate textures and details applied to its surface.
These advanced techniques and special touches require time and creativity, but the end products are works of art imbued with your personal touch and attention to detail. Each bottle becomes a unique storyteller, a vessel of personal expression, and an unforgettable gift that carries your signature style.
Inspiration from Around the World
Global traditions and cultures offer inspiration for those seeking to enhance their decorated wine bottle crafts. The vivid color palette of a Mexican Talavera tile, the intricate motifs found on Indian Mehndi, or the delicate floral design characteristic of Japanese Sakura festivals can all be translated into your project, infusing it with international flair.
Imagine applying the bold patterns and hues of African Ankara fabrics to your bottle or capturing the essence of Scandinavian simplicity with its clean lines and muted colors. The embellishments used in Russian Matryoshka dolls, with their bright, folkloric themes, can give your bottle a playful personality, whereas incorporating the ornate golden spirals from Celtic manuscripts can bestow a touch of ancient elegance.
Explore the traditional art of Chinese calligraphy to add graceful brush strokes and meaningful phrases. You could also look at the symmetry and geometry central to Islamic art, utilizing interlacing patterns to add a layer of visual complexity that urges a closer look.
By drawing inspiration from global art forms and cultural designs, you pay homage to those traditions and bring a piece of the world into someone’s home. Each decoration becomes a narrative of cultural exchange—a dialogue between artist and observer that spans continents and creates an appreciation for the diversity and interconnectedness of our global community.
Troubleshooting Tips
When diving into the intricate work of bottle decoration, you may encounter a few hiccups along the way. Here’s a quick guide to overcoming common challenges:
- Adhesive Failures: If decorations are not adhering properly, ensure the bottle’s surface is clean and dry. Use sandpaper to lightly scuff the area where the adhesive will be applied, which can help improve grip. Always select the right type of glue for your materials—E6000 for heavy elements and clear craft glue for delicate items.
- Uneven Painting: To avoid streaks and ensure an even coat of paint, apply a primer suitable for glass surfaces. Use multiple light layers, allowing each to dry thoroughly, and gently sand between coats with fine-grit sandpaper.
- LED Light Glitches: If your LED lights aren’t working as expected, ensure all connections are tight and the batteries are fresh. If lights are too bright, consider using frosted film or diluted paint as a filter.
- Etching Errors: When etching glass, always apply a generous amount of cream and leave it on for longer than the minimum time suggested. If the design isn’t as pronounced as desired, reapply the cream for a second pass.
- Texture Imperfections: In case materials like beads or lace create an undesired look, remove them gently before the adhesive sets fully. Reposition or replace as needed, and don’t hesitate to experiment with different placements.
Remember, patience and practice are key. Don’t be disheartened by mistakes—they are opportunities to learn and refine your craft.
Beyond the Bottle: Decorating Other Beverage Containers
While wine bottles hold a classic charm, other beverage containers also present ample opportunities for creative expression. Mason jars, for instance, have become popular for their versatility and quaint aesthetic. With a little paint, these glass containers can be transformed into charming vases, candle holders, or portable lunch containers.
Customizing tin cans is another eco-friendly option; they can be adorned with fabric, twine, or decoupage to create pencil holders or planters with a rustic feel.
Coffee enthusiasts might delight in personalized mugs. Porcelain paint pens allow for intricate designs, and once cured or baked, the artwork becomes dishwasher safe, making for a practical and personal gift. Similarly, tea tins can be enlivened with vintage wallpapers or decorative labels or repurposed as storage for trinkets or spices.
For those seeking an upcycling challenge, larger containers like growlers or carboys can be festooned with fairy lights and repurposed into statement lighting pieces. The goal across all these different mediums remains the same: transforming the mundane into the magnificent, uniting form and function through decoration.
Whether it’s glass, tin, or ceramic, elevating the aesthetics of beverage containers is a rewarding project that reduces waste and enhances utility.
The Gift of Creativity: Final Thoughts and Resources
As we delve into the world of upcycled art and expression, we realize that creativity isn’t just about making something aesthetically pleasing—it’s about imparting a piece of ourselves into our creations. Decorated beverage containers are more than just crafts; they embody love, effort, and imaginative flair, which, when shared, become symbolic gifts of our ingenuity and spirit.
In cultivating this craft, resources are abundantly available for those looking to expand their skills. Online platforms like Pinterest provide endless visual inspiration, while YouTube is home to numerous tutorials that can guide you through complex techniques.
For materials, local craft stores often carry a wide array, and thrift shops can be treasure troves for unique and affordable finds. Virtual communities and local workshops also offer support and camaraderie for crafters at all levels.
We invite you to keep exploring different mediums and methods, and we hope this guide has sparked both ideas and excitement in your creative journey. Remember, the beauty of crafting lies not in perfection but in the joy of creation and the personal touch that each artist brings to their work. Thanks for reading our post about how to decorate a wine bottle for a gift.

