
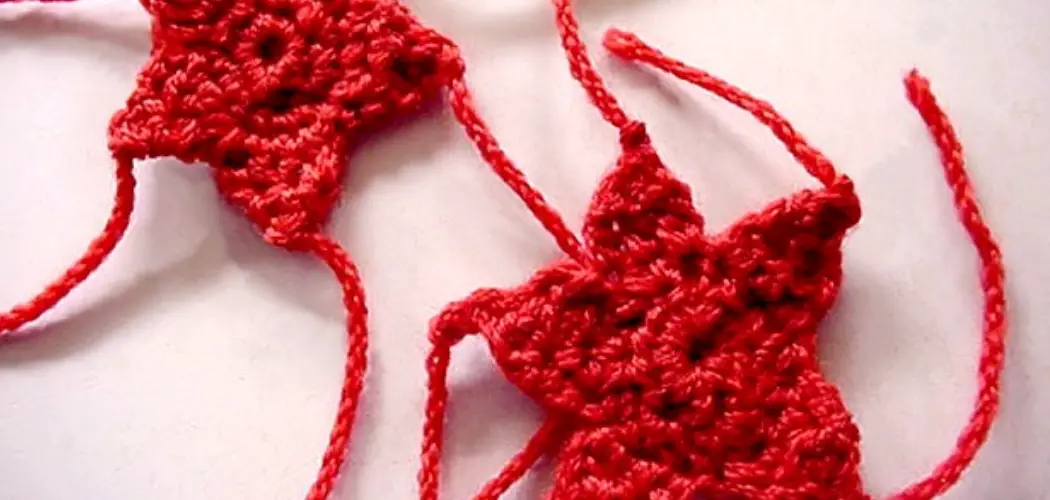
While most crochet projects require a hook, did you know it is possible to crochet without one? I first learned about this unusual crocheting technique a few years ago and was fascinated by creating fabric without the standard tool.
However, the process seems a bit complicated and I never attempted it. That was until recently when I decided to challenge myself and try my hand at hookless crochet. I admit, I was highly skeptical that it would even work without a hook to pull the yarn through the loops. But driven by curiosity, I wanted to see if I could figure out the technique.

In this blog post, I will share how to crochet without hook. From practicing the unfamiliar movements to battling frustration, you’ll learn both the struggles and surprises I encountered along the way to completing my first hookless crochet project.
What Will You Need?
Before we dive into the steps of crocheting without a hook, you’ll need to gather some supplies. You might be surprised to learn that most of them are everyday household items! Here’s what you’ll need:
- Yarn: The same type and weight of yarn you would normally use for traditional crochet projects.
- Large-eye Needle: Also known as a tapestry needle, you’ll need this to weave in the tails and secure the loops of your crochet project.
- Your Fingers: Yes, that’s right – your fingers will be used as a substitute for the hook!

Once you have these items ready, let’s move on to the steps of crocheting without a hook.
8 Easy Steps on How to Crochet Without Hook
Step 1. Finger Crocheting
Finger crocheting is a great way to learn how to crochet without a hook. It is a simple technique that involves wrapping the yarn around your fingers to form loops, which can then be joined together to create stitches.
You will need some yarn, scissors, and your fingers to get started! Begin by making a slip knot with the yarn and placing it on one of your fingers. Then, wrap the yarn around your finger in an over-under pattern until you have created several loops. Once you have enough loops, use another finger to pull the first loop through the second loop and continue this process until you have formed a chain of stitches.
Step 2. Knooking
Knooking is another excellent way to learn how to crochet without a hook. This technique uses a unique tool known as a knook—which looks like a cross between a needle and a hook—to form stitches instead of fingers or a hook.

To get started with knooking, you will need some yarn, knitting needles (or knooks), and scissors. Begin by making a slip knot with the yarn and placing it on the end of one of your knitting needles or knooks. Then, use the other end of the needle or knook to pull each stitch through the previous stitch until you have formed a chain of stitches.
Step 3. Finger Knitting
Finger knitting is similar to finger crocheting but uses larger loops that are easier for beginners. To begin finger knitting, you will need some thick yarn (such as chunky wool) and your fingers!
Begin by making a slip knot with the yarn and placing it on one of your fingers. Then, wrap the yarn around all four fingers in an over-under pattern until you have created several large loops. Once you have enough loops, use another finger to pull each loop through the next loop until you have formed an entire chain of stitches.
Step 4. Securing Your Work
Once you’ve created a decent chain length through finger knitting, you must secure your work to prevent it from unraveling. This is where your large-eye needle comes into play. Thread the needle with a piece of the same yarn you have been working with.
Then, carefully pass the needle through the last loop of your finger knitting chain from back to front. Pull the yarn through until the loop is snug around your work. Repeat this process for each of the remaining loops on your fingers. When you reach the end, make a knot to secure your stitches. Congratulations! You’ve just completed your first crochet project without a hook.
Step 5. Mastering Tension Control
Without the assistance of a crochet hook, it becomes even more crucial to have reasonable control over your yarn tension. In crochet, tension refers to how tightly or loosely you hold the yarn.
Too loose, your stitches will be uneven and loopy; too tight, and you’ll need help to pull new loops through existing ones. Practice makes perfect here; with time, you’ll find the right tension level that works for you. Remember, the key is to be relaxed and let the yarn flow smoothly between your fingers, giving you ample control over the size and consistency of your stitches.
Step 6. Creating Basic Stitches
Now that you have a handle on tension control, it’s time to start creating basic crochet stitches without a hook. These will form the basis of your project, whether it’s a scarf, blanket, or some other cozy creation. Start with a simple chain stitch, formed by making a slipknot and then creating a series of loops with your fingers; each pulled through the previous.
Once you’ve mastered the chain stitch, try your hand at single and double crochet stitches. Remember, the technique remains the same as with a hook – you use your fingers instead. A single crochet stitch involves making a loop, pulling through, and then pulling a second loop through the two on your finger. A double crochet stitch is similar, but you wrap the yarn around your finger before inserting it into the previous loop, giving you three loops on your finger instead of two. Practice these stitches until you feel comfortable and your work looks consistent.
Step 7. Joining New Yarn
Joining a new ball of yarn without a hook is a simple process. When you’re near the end of your current yarn, simply lay the new yarn over the old one, leaving about a 6-inch tail. Continue to crochet as you normally would, including both the old and new yarn in your stitches for a few stitches.

This will secure the new yarn into your project. You can then trim any excess from the old yarn and continue with the new one. Remember to weave in the ends later with your large-eye needle for a neat finish.
Step 8. Finishing Your Project
The finishing stage of crocheting without a hook is just as important as the start. This is where your project comes together. Once you’ve reached the desired length for your project (a scarf, blanket, etc), cut your yarn, leaving a 6-inch tail. Carefully pull this tail through your last loop, pulling tightly to create a knot. This should secure the last stitch.
After this, use your large-eye needle to weave the tailback and forth through several stitches on your project to hide it and add extra security. This method is known as ‘weaving in ends’. Be sure to do this for both the beginning and end of your project and any spots where you joined a new ball of yarn. Now, you can sit back and admire your work. You’ve just crocheted something beautiful without a hook!
Following these steps gives you the knowledge and skills to crochet without a hook. Whether you choose to use your fingers, knocks, or another technique, remember to practice and have fun with it.
5 Things You Should Avoid
- Avoid Rushing: While learning to crochet without a hook, it’s essential not to rush the process. Haste can lead to uneven stitches or knots in the yarn.
- Avoid Using Fragile Items as Substitutes: Although you can experiment with different items as crochet hook substitutes, avoid those that are fragile or could easily break, which may damage the yarn or cause injuries.
- Avoid Tight Stitches: When crocheting without a hook, it’s easy to create too tight stitches, making it difficult to insert your fingers or other tools. Aim to keep your stitches relaxed and even.
- Avoid Complex Patterns Initially: Start with simple patterns as you learn to crochet without a hook. Attempting complex designs initially can lead to frustration and discourage further practice.
- Avoid Ignoring Mistakes: When you make a mistake, don’t simply move on. It’s important to undo the stitches and correct the error. This practice will help you improve your technique and create a more polished finished product.

Avoiding these common pitfalls can help make learning how to crochet without a hook less daunting and more enjoyable. Remember, it’s all about patience, practice, and learning from your mistakes.
Conclusion
If you’re looking for a unique way to express yourself and create something beautiful, crocheting without a hook might be perfect! It is so easy to learn, yet it requires you to think outside the box and test your creativity. Even if you consider yourself a beginner with very little experience in crafting or crocheting, you’ll find it wonderfully straightforward and calming.
Hopefully, the article on how to crochet without hook has inspired you to give it a try! Remember, the most important thing is to have fun and enjoy the process. Don’t be afraid to experiment and try new techniques, and always remember that practice makes perfect.
So why wait? Get your yarn ready, grab those chopsticks or another object, and start immediately! Don’t forget to share your creations with us online – we can’t wait to see them!