

If you’ve been dying to dress up as your favorite feline for Halloween or the next cosplay convention but just don’t know how then fret no more! With a bit of string and some simple crocheting techniques, creating your own set of crochet kitty ears is entirely possible – regardless of your crochet experience level.
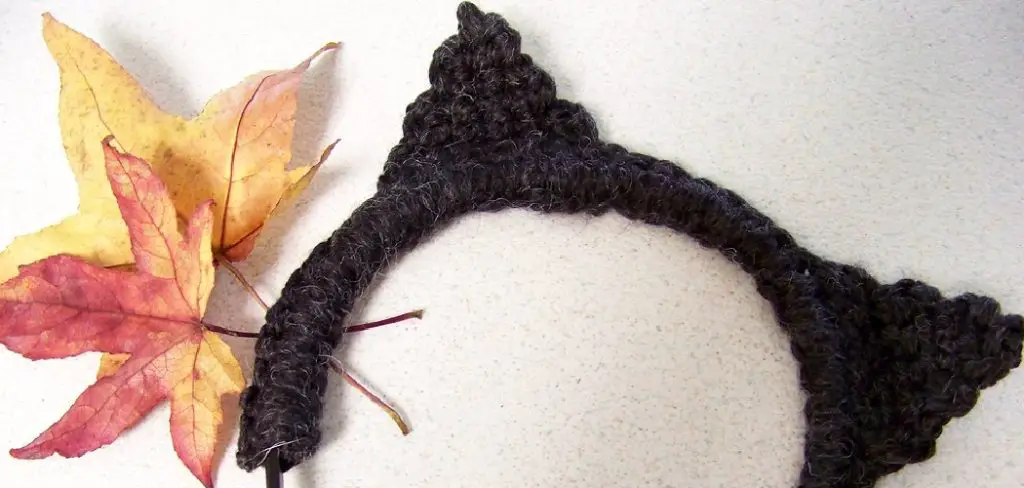
This blog post will give you step-by-step instructions on how to crochet kitty ears that can be attached to any hat or headband for a perfect cat costume. So grab those hooks and get ready to learn how easy it is to make crocheted kitty ears from scratch!
Tools and Materials You Will Need to Crochet Kitty Ears
- Yarn (preferably in black or the color of your choice for the ears)
- Crochet hook (size will depend on the thickness of your yarn)
- Scissors
- Yarn needle
- Headband or hat to attach the ears to (optional)
Step-by-Step Guidelines on How to Crochet Kitty Ears
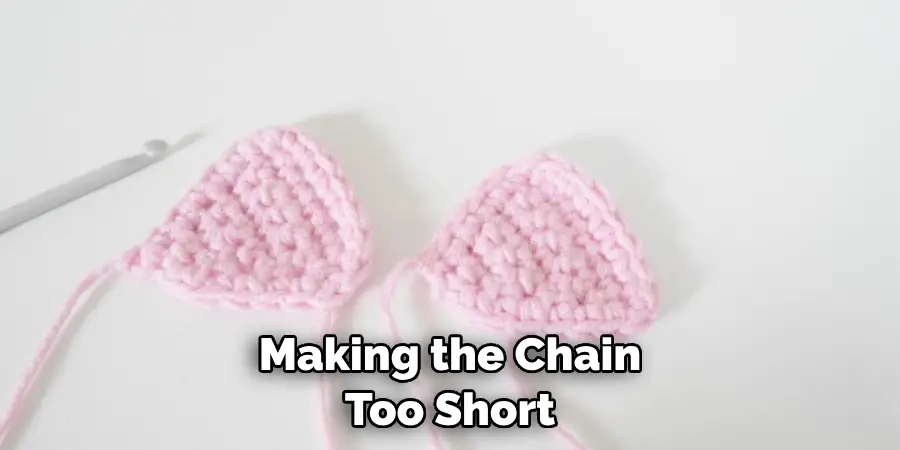
Step 1: Making the Foundation Chain
Start by creating a foundation chain with your chosen yarn. The length of this chain will determine the size and height of your kitty ears, so make sure to measure it against your headband or hat to get the desired size. Making the chain too short or too long can result in differently-sized ears. This step is crucial to get the right size and fit for your ears.
Step 2: Single Crochet Across the Chain
Once you have created a foundation chain, single crochet across the entire chain. This will create a solid base for your kitty ears and ensure that they hold their shape once they are attached to your headband or hat. While single crocheting, make sure to keep your stitches tight and even avoid any gaps or holes in the ear.
Step 3: Create the Ear Shape
To create the actual shape of the kitty ears, you will need to work on two separate pieces. Starting from one end of your single crochet row, gradually decrease the number of stitches by skipping one stitch every row until you have a small triangle shape. Repeat this step for the other ear. Creating the triangle shape might take a little bit of practice, but don’t worry if it’s not perfect – remember that kitty ears come in all shapes and sizes!
Step 4: Sew the Ears Together
Once you have created two separate earpieces, place them together with the right sides facing each other and sew along the edges. This will create a more sturdy and defined ear shape while also hiding any loose ends or uneven stitches. Make sure to leave a small opening at the bottom of the ear to turn it inside out.
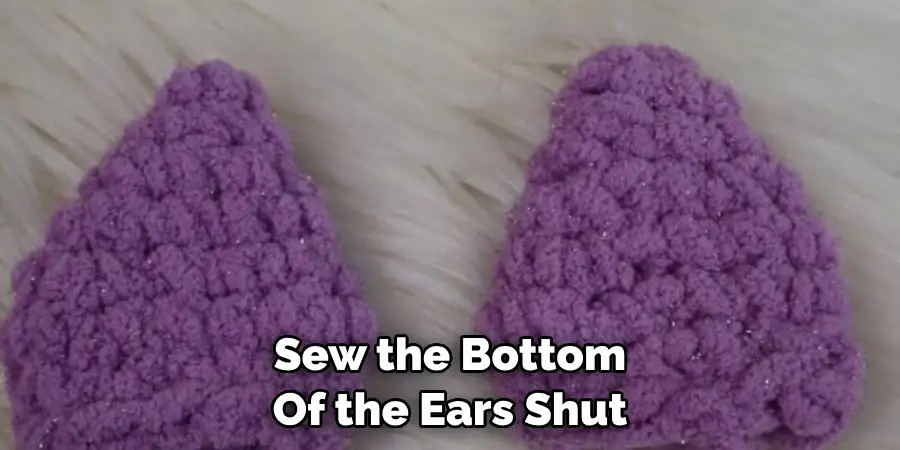
Step 5: Stuff and Attach the Ears
After you turn your ears inside out, stuff them with some scrap yarn or polyfill stuffing. This will give your kitty ears a fuller and more realistic look. Once you’re satisfied with the amount of stuffing, sew the bottom of the ears shut and attach them securely to your headband or hat. You can also use a hot glue gun for a quicker and easier attachment process. This step is entirely up to you and depends on your preference.
Step 6: Finishing Touches
To add some extra flair to your kitty ears, you can sew or glue on some small felt pieces for the inner ear, whiskers, or even a cute little nose. You can also use different colored yarns to create stripes or patterns on your ears. Get creative and make your kitty ears stand out!
And that’s it! With just a few simple steps, you now have your very own crocheted kitty ears ready to be worn with pride. So go ahead and show off your new handmade creation at the next costume party or cosplay event. Who knows, you might even inspire others to try their hand at crochet too! Happy crocheting!
Additional Tips and Tricks to Crochet Kitty Ears
1. If you want to add a bit more dimension to your kitty ears, try using multiple colors of yarn. You can create stripes or even make one ear a different color than the other.
2. Experiment with different types of stitches to achieve different looks for your kitty ears. For example, using a treble crochet stitch will create longer and more pointed ears, while a single crochet stitch will create shorter and more rounded ears.
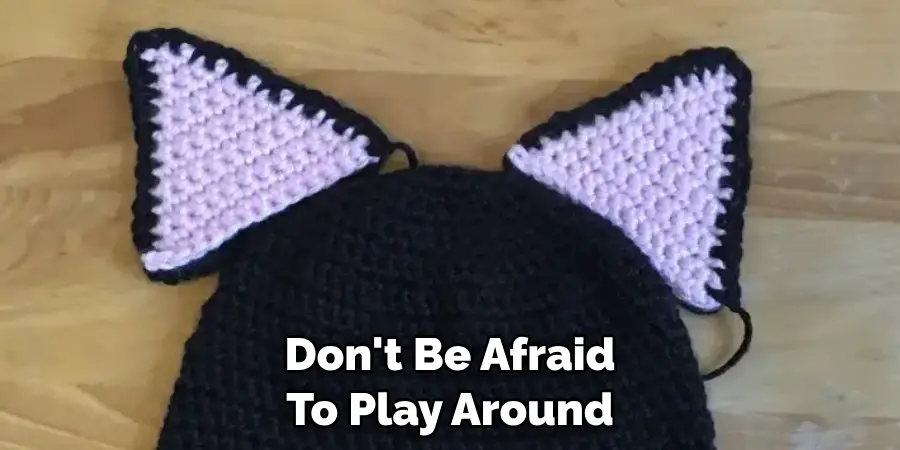
3. Don’t be afraid to play around with the size of your kitty ears. You can make them bigger or smaller depending on your personal preference.
4. If you’re having trouble keeping your ears in place, try inserting a small piece of wire or pipe cleaner into the base of the ear before sewing it onto the headband. This will help the ears keep their shape and stand upright.
5. To add a more realistic touch to your kitty ears, try using fuzzy or textured yarn instead of a smooth one. This will give the appearance of fur and make your ears look more lifelike.
6. If you want to make your kitty ears even cuter, you can add embellishments such as bows, flowers, or even tiny pom poms to the center of each ear.
7. To ensure your kitty ears stay in place while wearing them, sew them onto a headband instead of simply attaching them with clips. This will provide a more secure and comfortable fit.
8. If you’re feeling adventurous, you can even add other animal features such as whiskers or a little nose to your kitty ears. Let your imagination run wild and create a truly unique and playful look.
9. Don’t be afraid to make mistakes! Crocheting is all about trial and error, so don’t get discouraged if your first attempt at making kitty ears doesn’t turn out perfect. Keep practicing and have fun with it!
10. Finally, use these tips as a starting point, but don’t be afraid to come up with your own techniques and ideas for crocheting kitty ears.
Following these tips and tricks will not only help you create the perfect kitty ears, but it will also allow you to add your own personal touch and creativity to your project. Have fun and happy crocheting!
Precautions Need to Be Followed for Crocheting Kitty Ears
1. First and foremost, it is important to remember that crocheting requires sharp tools such as needles and scissors. Therefore, one must always be careful while handling these tools to avoid any accidents.
2. When choosing the yarn for your crochet project, make sure to pick a soft and comfortable material. Since kitty ears are usually worn on the head, it is crucial to use materials that are gentle on the skin.
3. Before starting the project, it is recommended to wash and dry your hands thoroughly. This will help prevent any dirt or oils from transferring onto the yarn, resulting in a cleaner finished product.

4. When crocheting kitty ears, it is important to maintain proper tension of the yarn. Too loose tension can result in gaps and holes in the finished product, while too tight tension can make it difficult to work with and may cause hand fatigue.
5. Always use a crochet hook that is appropriate for the size of yarn you are using. Using a hook that is too small or too large can affect the shape and look of your kitty ears.
6. Take breaks while crocheting to avoid straining your hands and wrists. It is important to rest your hands and stretch them periodically, especially if you are working on a longer project.
7. Keep track of your stitches and rows using stitch markers or by counting carefully. This will help ensure that your kitty ears turn out symmetrical and properly shaped.
8. Lastly, always follow the pattern instructions carefully and make sure to check for any mistakes before starting the project. This will save you time and frustration in the long run.
Following these precautions will not only help in creating a beautiful and well-made pair of kitty ears but also ensure your safety and comfort while crocheting. So go ahead and have fun with this cute and creative project! Remember to be patient with yourself as mastering any skill takes time and practice. Happy crocheting!
Frequently Asked Questions
What Type of Yarn Should I Use for Crocheting Kitty Ears?
There are various types of yarn that you can use to crochet kitty ears, and it ultimately depends on the look and feel you want to achieve. Some common yarns used for this project include acrylic, wool blend, cotton, and bamboo blends. The most important thing is to ensure that the yarn is soft and comfortable to wear on the head.
Can I Use a Crochet Hook Other Than the Recommended Size?
It is not recommended to use a crochet hook other than the size specified in the pattern. Using a different size can affect the tension and shape of your project, resulting in an uneven or misshapen finished product. However, if you are confident in your crochet skills and want to experiment, you can try using a different size hook with caution.
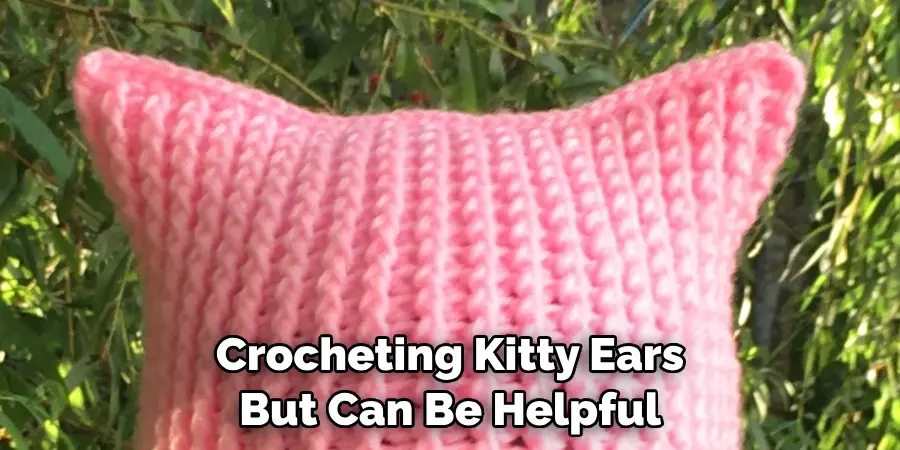
What If I Don’t Have Stitch Markers?
Stitch markers are not essential for crocheting kitty ears but can be helpful in keeping track of your stitches and rows. If you don’t have stitch markers, you can use alternative items such as safety pins or scraps of yarn to mark your stitches. You can also count carefully and use a pen and paper to keep track of your progress.
How Do I Fix Mistakes in My Crochet Work?
Mistakes are bound to happen while crocheting, especially for beginners. The best way to fix mistakes is by using a crochet hook or needle to unravel the stitches back to the mistake. Then, you can redo those stitches correctly before continuing with your project. Remember to take your time and be patient while fixing mistakes to avoid making more errors.
Conclusion
With the above outlined you can easily understand how to crochet kitty ears, as well as the precautions and tips to follow for a successful project. Crocheting is a fun and creative activity that allows you to make unique and personalized items. So go ahead and give it a try, and don’t forget to share your cute kitty ears with friends and family! Happy crocheting!