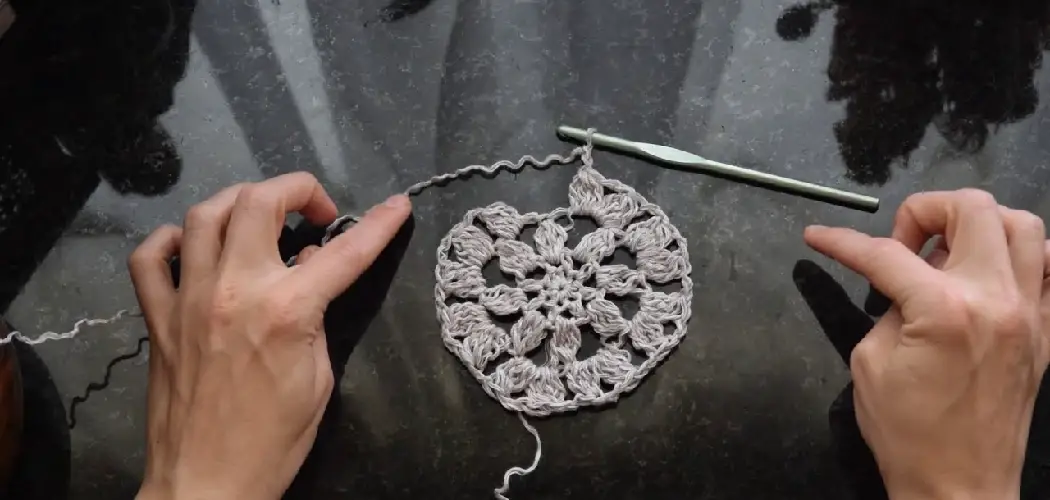
Learning how to crochet designs is an enjoyable and rewarding creative outlet. Whether you are just starting and want to try something new or have been crocheting for years but want to expand your skills, understanding the basics of crochet design is essential for taking your crocheted projects to the next level.
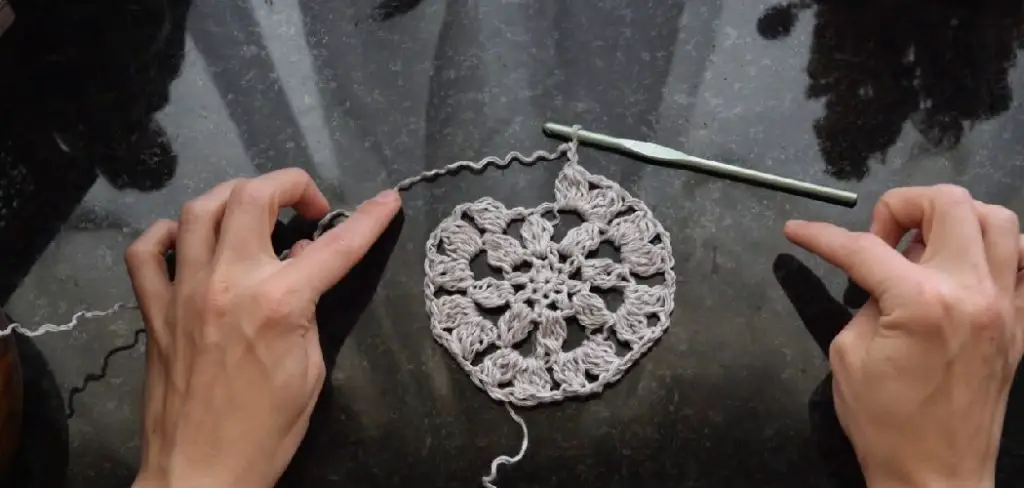
In this blog post, I will walk through the fundamental elements of crochet design, including shape, color, texture, and pattern, so that you can start incorporating your unique style into anything you crochet. By learning techniques like shaping, colorwork, texture stitches, and following patterns, your options for what you can crochet become seemingly endless.
So if you are ready to take your crochet skills beyond scarves and hats, keep reading for some helpful tips to start designing your crochet pieces.
What Will You Need?
Before diving into the crochet design world, having all the necessary tools and materials is essential.
- Yarn: The type and weight of yarn will significantly affect the final look of your design. Choose a yarn that aligns with your desired outcome in color, texture, and drape.
- Crochet Hooks: Different hook sizes are needed for different yarn weights. Make sure to have a variety of hook sizes on hand to accommodate different designs.
- Stitch Markers: These are essential for keeping track of stitches and patterns.
- Measuring Tape: To ensure accurate sizing and fit for your design.
- Sewing Needle: For weaving in ends and sewing pieces together if needed.
- Scissors: For cutting yarn.
Now that we have all the necessary tools let’s get into the fun part – designing!
8 Easy Steps on How to Crochet Designs
Step 1. Choose Your Design:
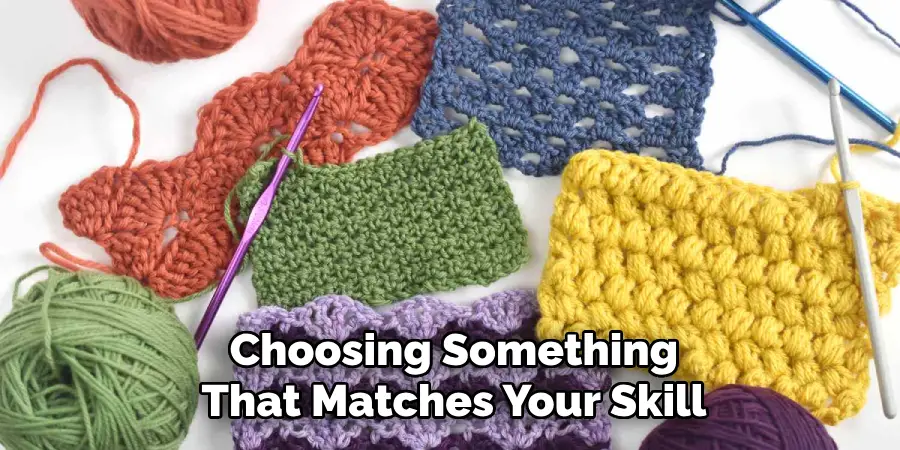
The first step in creating your crochet designs is choosing what you want to make. This could be anything from a hat or scarf to a blanket or amigurumi toy. Choosing something that matches your skill level is essential, but be bold and challenge yourself a bit. Consider factors like shape, size, and functionality in your decision.
Step 2. Sketch Your Idea:
Once you have decided what to make, the next step is to sketch out your idea. This doesn’t need to be an artistic masterpiece – it’s just a way to visualize your design and start thinking about how it will come together. Consider the size and shape and how many pieces you will need to crochet.
Will it be one continuous piece, or must you stitch together multiple sections? Also, think about the stitches that best bring your design to life. Sketching helps to solidify your idea and provides a blueprint for your design.
Step 3. Choose Your Yarn and Colors:
The type of yarn and colors you choose can dramatically impact your design’s final look and feel. Lighter yarn is often used for delicate, intricate designs, while heavier yarn is excellent for robust, cozy items like blankets or winter wear. As for color, think about the overall aesthetic you’re aiming for.
Do you want a monochromatic piece or something vibrant and multicolored? You’d like to experiment with color gradients or introduce contrast with complementary colors. Remember to consider the texture and drape of the yarn, as these will also affect the outcome of your crochet design. Once you’ve made your choices, you’re ready to start crocheting!
Step 4. Start Crocheting:
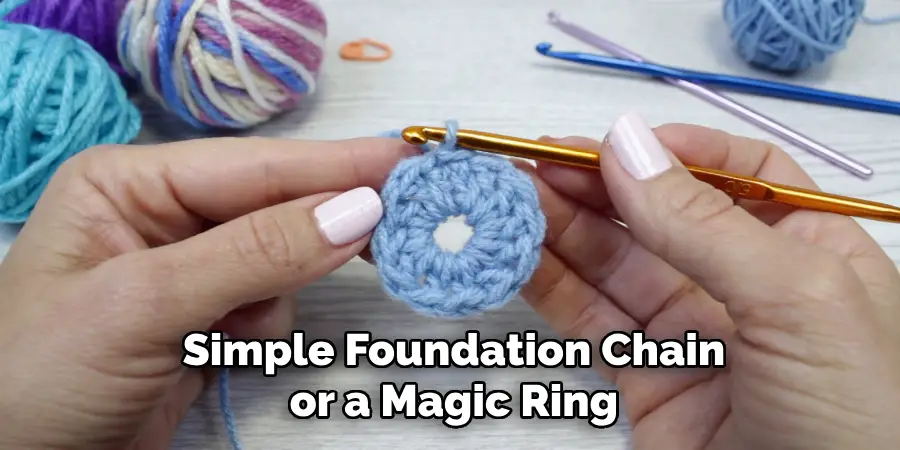
Depending on your design, begin with a simple foundation chain or a magic ring. Remember to count your stitches to ensure they align with your pattern as you work. If you’re creating a flat piece, you’ll crochet in rows, but if you’re making a round object, you’ll crochet in spirals or rounds.
Don’t rush this process — taking your time to ensure accuracy can save you the trouble of unraveling your work later. As you crochet, use stitch markers to help keep track of essential spots in your pattern. If you make a mistake, don’t worry. One of the beautiful aspects of crochet is that you can simply pull out the stitches and start again.
Step 5. Check and Adjust:
As you progress with your crochet, it’s crucial to periodically check your work against your design sketch and any patterns you’re following. This is where you can catch any discrepancies early and make necessary adjustments. These involve adding or reducing stitches, altering color patterns, or adjusting the size or shape of your piece.
Remember, there’s no shame in unraveling some of your work if it means achieving a better result. Crochet is a forgiving craft, allowing you to correct errors and refine your design as you go along.
Step 6. Finish Your Piece:
Once you are satisfied with your work, it’s time to finish your piece. This involves binding off your work, which secures the last loop on your hook and prevents your crochet from unraveling. Cut the yarn, leaving a tail of about six inches. Then, pull the end of the yarn through the last loop on your hook and tighten. You have now successfully finished your crochet piece!
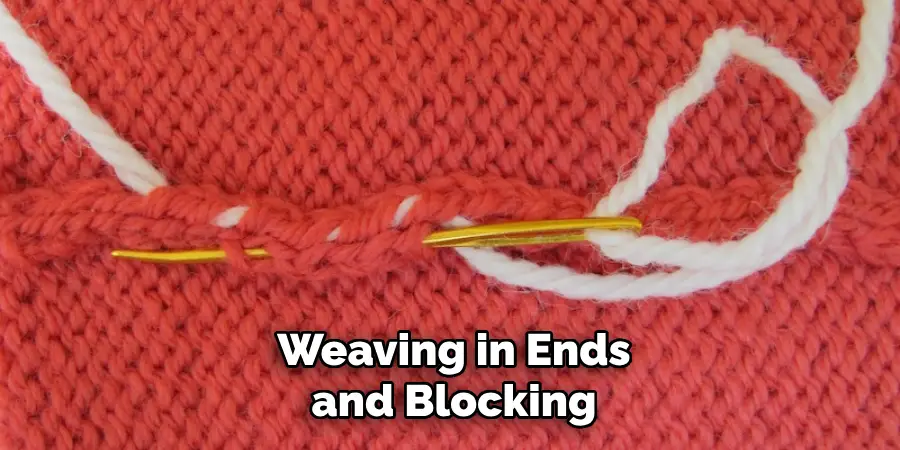
However, before you celebrate, there are still a few tasks left: weaving in ends and blocking your writing (if necessary). Weaving in ends involves using a yarn needle to secure the loose ends of yarn into your crochet work so they don’t unravel. Blocking is a process that helps to shape your finished piece and is especially useful for parts that need to lay flat or fit a specific dimension.
Step 7. Add Details and Embellishments:
Adding details and embellishments to your crochet design makes it stand out and adds a personal touch. Decorations range from simple crochet flowers or bows to complex motifs and patterns. Depending on the method, you could also use different materials like beads, buttons, or ribbons.
Consider the purpose and functionality of your crochet piece when adding details. For example, a crochet toy might be embellished with embroidered facial features or a cute bow tie, while a blanket might have a beautiful border or tassels at each corner.
Step 8. Test Your Design:
After finishing all the crocheting and adding the final touches, it’s time to test your design. If it’s a wearable item like a hat or scarf, try it on to see how it fits and feels. If it’s a decorative piece, place it in its intended location to see how it looks. This is your chance to examine the report closely, identify any areas needing tweaking, and observe how your design works practically.
It’s also a good idea to wash and dry your piece according to the yarn care instructions to see how it holds up. This step is essential if you plan to sell or gift your crochet design, as it ensures the quality and durability of your work.
By following these steps, you can successfully create a crochet design that is beautiful, unique, functional, and well-made. Remember to have fun and be creative with your plans, as there are endless possibilities when it comes to crocheting.
5 Additional Tips and Tricks
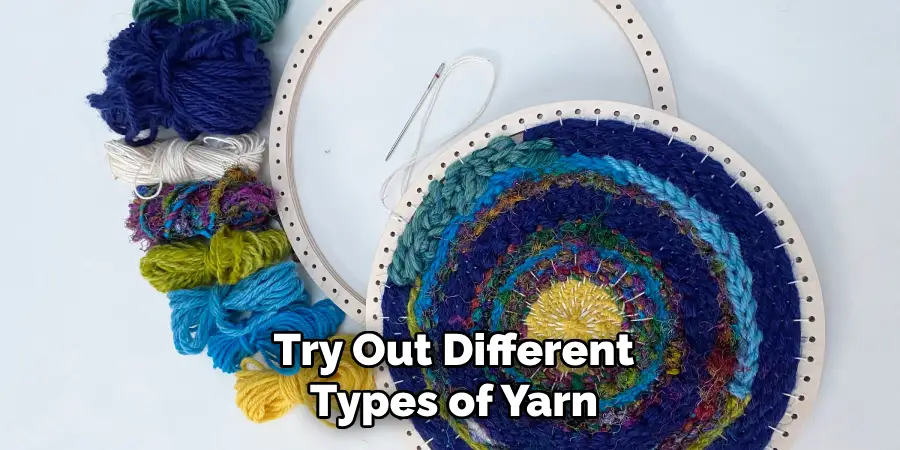
- Experiment with Different Yarns: Be bold and try out different types of yarn. Each one has its unique properties and can create dramatically different results. Experimenting with different threads can lead to discovering new textures and styles in your crochet designs.
- Practice Your Stitches: The humble stitch is the foundation of all crochet designs. The more comfortable you are with different stitches, the more flexible you can be in your plans. From simple single crochet to intricate puff stitches, practice makes perfect.
- Invest in Quality Crochet Hooks: A good crochet hook can make a big difference in your crocheting experience. Look for ones with ergonomic handles that fit comfortably in your hand to reduce strain during long crochet sessions.
- Join a Crochet Community: Participating in a community of fellow crocheters can be a great source of inspiration, support, and learning. There are many online forums, social media groups, and local clubs where you can share your designs, ask questions, and learn from others.
- Enjoy the Process: Above all, remember to enjoy creating. Crochet is about the final product and the journey of designing and creating something with your own hands.
So take your time, enjoy each stitch, and don’t be too hard on yourself if things don’t always turn out as planned. Every mistake is an opportunity to learn and grow as a crocheter.
5 Things You Should Avoid
- Avoid Rushing Your Work: Crocheting requires patience. Take your time with your stitches or patterns, which can lead to mistakes and uneven work. Remember, the beauty of crochet is in the details.
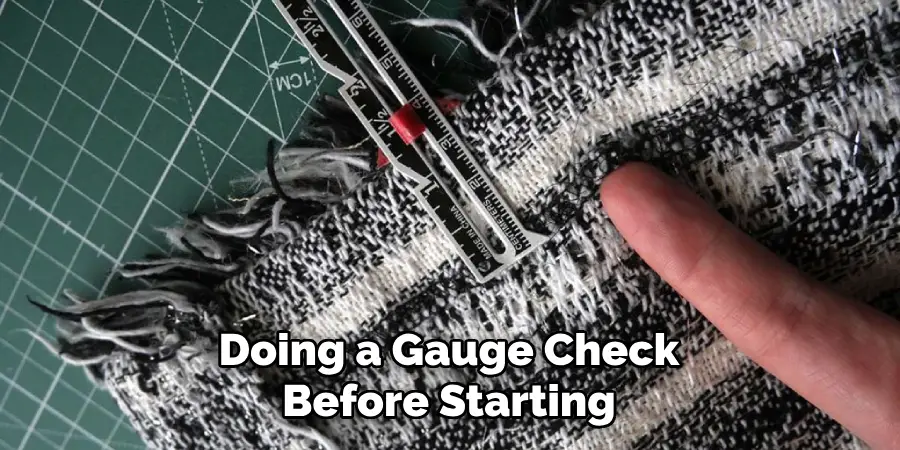
- Don’t Neglect Gauge Checks: It’s easy to overlook this step, but doing a gauge check before starting your main project can save you a lot of time and effort. Skipping this step could result in a final project that’s the wrong size.
- Steer Clear of Poor Quality Yarn: While saving money by purchasing cheaper yarn might be tempting, it’s usually not worth it. Poor quality yarn can lead to a less desirable end product, making the crocheting process much more difficult.
- Don’t Ignore Care Instructions: Each type of yarn has its own instructions. Ignoring these can lead to your finished product warping, shrinking, or even falling apart when cleaned.
- Avoid Negative Self-Criticism: Learning to crochet designs can be challenging, and becoming your own harshest critic is easy. Remember to be patient with yourself, celebrate your progress, and understand that every crocheter starts from the beginning, no matter how experienced.
By avoiding these common mistakes, you can create crochet designs that are visually stunning, well-made, and durable. So take your time, pay attention to detail, and don’t be afraid to make mistakes – it’s all part of the learning process!
Conclusion
In conclusion, how to crochet designs may seem like a simple hobby, but it is so much more than that. By learning different techniques and patterns, you can create unique, intricate designs that are beautiful and meaningful. From hats to blankets to home decor, the possibilities are endless with this versatile craft.
So whether you’re a beginner or an experienced crocheter, I encourage you to keep trying new things and pushing yourself creatively. Be bold and make mistakes, often leading to unexpected and excellent results. And most importantly, always remember to have fun! Crocheting is a beautiful way to unwind and express your creativity.
So grab your yarn and hook, and let your imagination run wild. Who knows what unique designs you will come up with! And remember to share your creations with friends and family, inspiring them to discover the joy of crocheting, too. Happy hooking!
Expertise:
Crafting expert with a focus on innovative techniques and diverse materials.
Specialization:
- Textile arts (weaving, embroidery, and fabric dyeing)
- Woodworking and furniture design
- Mixed media and upcycling projects
Recognition:
- Featured in local art exhibits showcasing innovative craft projects
- Collaborated with community organizations to promote crafting workshops
- Received accolades for contributions to sustainable crafting initiatives
Mission:
- To inspire and empower crafters of all levels to discover their creative potential
- Encourages experimentation and self-expression through hands-on projects

