

Crocheting is an excellent hobby that has been around for centuries, and it is still as popular as ever. The good news is that learning to crochet an edging is super easy, quick, and a great way to enhance the appearance of your projects. Edgings add a touch of elegance to blankets, afghans, scarves, and even clothing.
In this blog post, we will take you through a comprehensive guide on how to crochet an edging step-by-step. So, grab your yarn and hook, and let’s get started!
Can You Crochet an Edging?
Crocheting is a craft that has been passed down for generations. It’s a timeless craft that has endless possibilities. One of the many techniques of crocheting is edging. Edging is the process of adding a decorative border to the edge of a piece of fabric.
The best part about crocheting an edging is that it can be added to virtually any fabric, such as a tablecloth, handkerchief, or pillowcase. It’s a great way to add a personal touch to your work, and once you’ve tried it out, you’ll want to do it repeatedly. So pick up your crochet hook and start exploring the edging world today!
Why Should You Crochet an Edging?
There are many reasons to crochet an edging on your projects, whether it be a blanket, pillowcase, or sweater. Adding a crochet edging can provide a polished and professional look to your finished piece, elevating it from something homemade to something truly special. Additionally, an edging can help prevent fraying along the edges of your project, prolonging its life and durability.
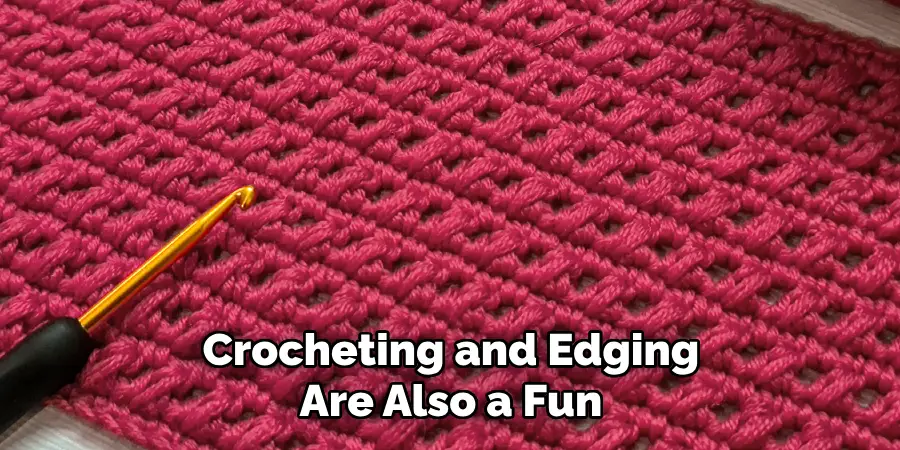
Crocheting and edging are also a fun and rewarding way to experiment with new stitches, colors, and patterns, allowing you to personalize your project and make it your own. But perhaps the most compelling reason to crochet an edging is the sense of satisfaction and pride you’ll feel when you step back and admire your finished work, knowing that you put in the time and effort to create something beautiful and lasting.
A Comprehensive Guide on How to Crochet an Edging
1. Materials You Need
To start with, you will need just a few items to create a crocheted edging. The first item on the list is yarn – any weight and color that suits your project will do the job, and you can choose either a solid or variegated option. Secondly, you will require a crochet hook – the size of your hook should match your yarn weight. Lastly, you will need a pair of scissors to trim any excess yarn.
2. Selecting the Edging Stitch:
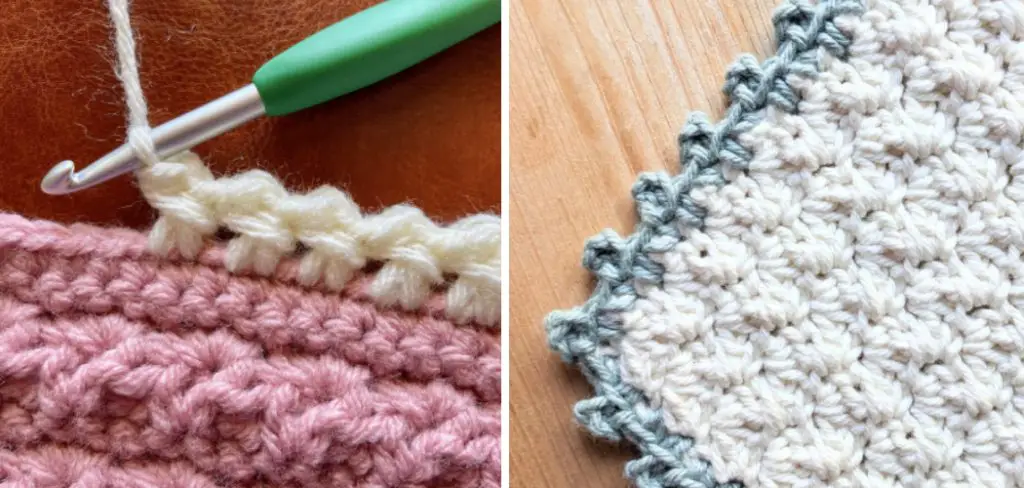
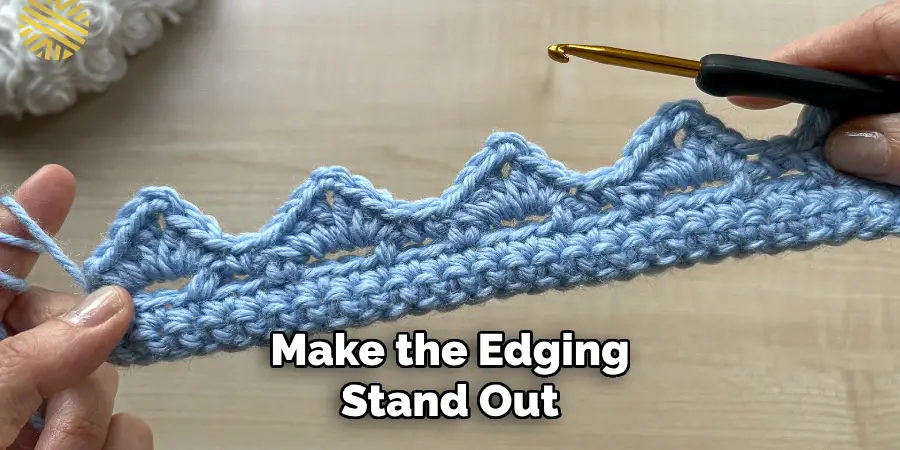
The edging stitch you choose depends on your preference and your project type. Single crochet, double crochet, half-double crochet, and slip stitch are some of the options you can select. Double crochet and single crochet are two of the most commonly used stitches for crocheting and edging.
The double crochet creates a lacy and open pattern, whereas the single crochet creates a solid and compact look. Once you have chosen the stitch, it’s time to begin!
3. Starting the Edging:
The first edge stitch varies from one edging pattern to another. Some patterns instruct you to work a particular number of stitches into each space or stitch, while others require you to create a foundation row of chains to begin.
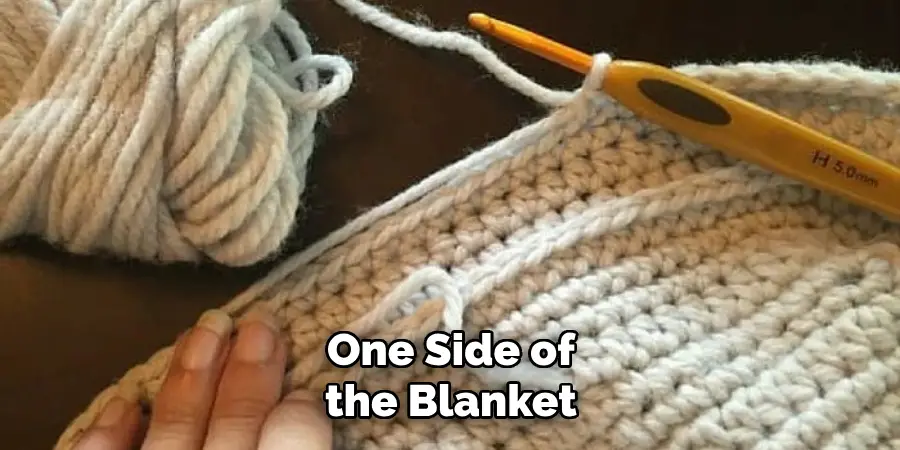
For a classic crochet edging, the first step is to weave in the yarn end to the center of one side of the blanket. Next, for double crochet edging, attach the yarn to the corner stitch with a slip stitch and chain two. Create double crochet stitches into each stitch around, with two stitches in each corner stitch. For single crochet edging, attach the yarn to the corner stitch with a slip stitch and work single crochet stitches evenly around.
4. Completing the Edging:
Once you finish the first row, continue with additional rows according to your pattern instructions. You can choose to change color after every row or alternate two or more colors in a specific sequence. Remember to continue working your stitches in the same stitch pattern around the entire perimeter and work the same number of stitches on each side of the corner stitch.
5. Blocking the Edging:
Once you have completed crocheting your edging, it’s time to block the stitch. This step is essential as it will help straighten any uneven stitches, and it ensures that the edging lays flat for a smooth final look. To block the edging, pin it to a flat surface and dampen it with water.
Gently reshape the edging by pulling it in the opposite direction of any curled or uneven areas. Allow it to air dry completely. You can also use a steamer for quicker results.
6. Adding Embellishments:
If you want to add a special touch to your crocheted edging, you can do so by adding embellishments such as beads, sequins, or buttons. This step is optional and depends on your preference and the type of project you are working on.
7. Finishing Touches:
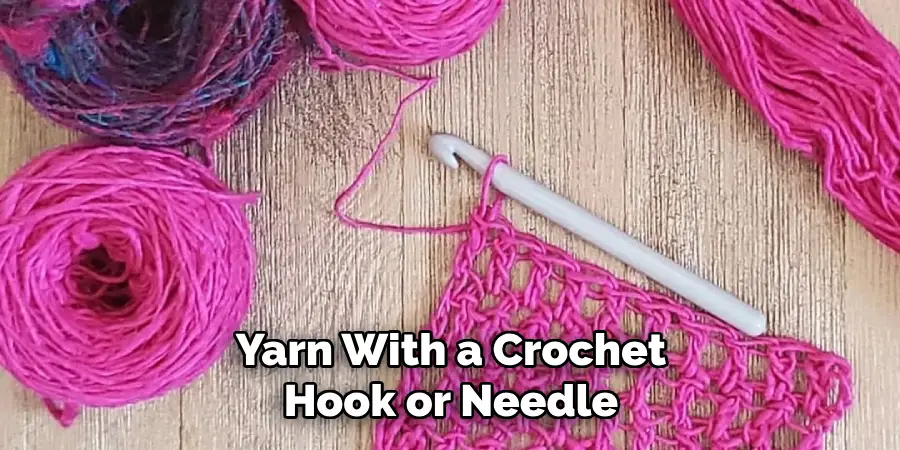
After completing all the previous steps, you can finish off your crocheted edging by weaving in any loose ends of yarn with a crochet hook or needle. Trim any excess yarn and voila! Your beautifully crocheted edging is complete and ready to be added to your project.
That’s it! You’ve now learned the seven easy steps to crochet an edging. With just a few materials and some basic crochet skills, you can create unique and beautiful edgings for your projects. Experiment with different stitches, colors, and yarn weights to create a variety of looks. Crocheting and edging are fun and creative ways to add a special touch to your projects.
5 Considerations Things When You Need to Crochet an Edging
1. Yarn Weight and Hook Size
The first thing to consider when crocheting an edging is the weight of your yarn and the size of your hook. This will determine the thickness and overall look of your edging. A thicker yarn with a larger hook will create a bolder, more chunky edging, while a thinner yarn with a smaller hook will create a delicate, lacy effect.
2. Pattern or Design
There are countless patterns and designs for crochet edgings, so it’s important to choose one that complements your project. Consider the style and aesthetic of your project and choose an edging that will enhance its overall look. For example, a simple scalloped edge may be perfect for a baby . blanket, while a more intricate lace pattern would work well on a tablecloth.
3. Skill Level
When choosing an edging pattern, it’s important to consider your skill level as well. Some patterns may require advanced techniques or stitches that you may not be familiar with yet. Make sure to read through the instructions carefully before starting to ensure that you have the necessary skills and knowledge to complete the edging successfully.
4. Color
The color of your yarn can also play a role in the final look of your crochet edging. You can choose to match the color of your project or go for contrast to make the edging stand out. Consider using variegated or gradient yarns for added visual interest.
5. Placement
Finally, think about where you want to place the edging on your project. Do you want it along all four edges or just on one side? Will it be used as a border or as an accent? These considerations can help guide you in choosing the right type of edging for your specific project needs.
Benefits of Crochet and Edging
Crocheting an edging may seem like a small detail, but it can make a big impact on any project. Not only does it add a beautiful finishing touch, but it also serves a practical purpose. Adding an edging can help prevent the edges of a piece from fraying or curling over time.
Not to mention, crochet edgings can come in various patterns and designs, allowing you to enhance the overall look of your project uniquely. If you want to elevate your next crochet project, consider adding an edging for both aesthetic and practical benefits.
Some Common Mistakes People Make When Trying to Crochet an Edging
Crocheting and edging can add a beautiful finishing touch to many projects, from blankets to clothing and beyond. However, even experienced crocheters can make mistakes when attempting this technique. One common error is choosing the wrong type of yarn for the edging, leading to frustration and inconsistency in the finished product.
Another mistake is not following the pattern closely enough, often leading to the edging not lining up correctly or not being the correct length. Finally, not taking the time to properly gauge the tension of the crochet stitches can make the edging appear messy and unprofessional. Avoiding these common pitfalls can help ensure that crocheted edging gives your beloved projects the perfect accent.
Conclusion
In conclusion, crocheting an edging is a quick way to add an impressive finishing touch to your projects. It’s easy, and with practice, you’ll be a pro in no time. Once you’ve learned the basics, you can experiment with different colors, stitches, and patterns to create unique edging designs.
So, grab your crochet hook, choose your yarn, and let your creativity flow. Thanks for reading our post about how to crochet an edging and happy crocheting!