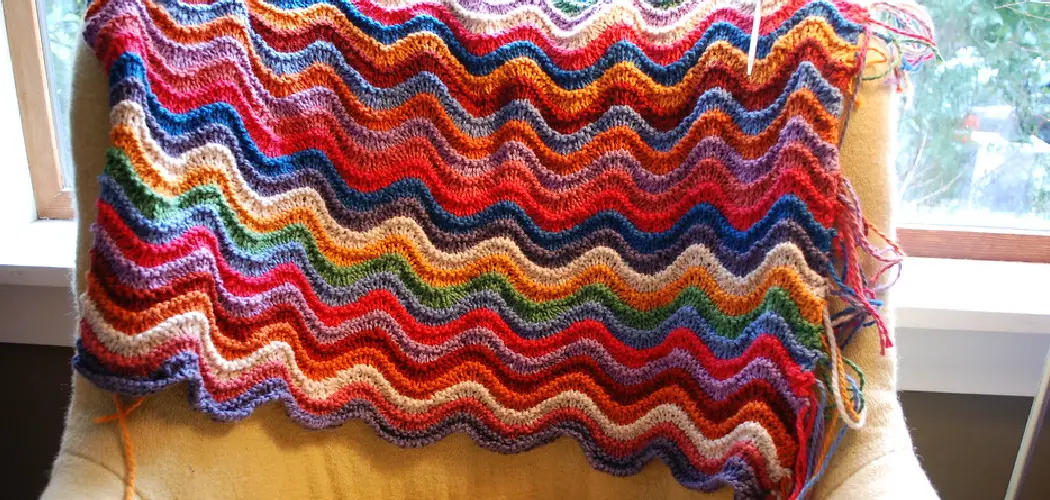
Are you tired of traditional crocheting patterns and looking for a challenge? If so, you’re in luck because we have a captivating and unique project for you – crocheting a wave blanket! This eye-catching design combines the tranquility of the ocean with the artistry of crochet to create a stunning piece that will surely impress your friends and family.
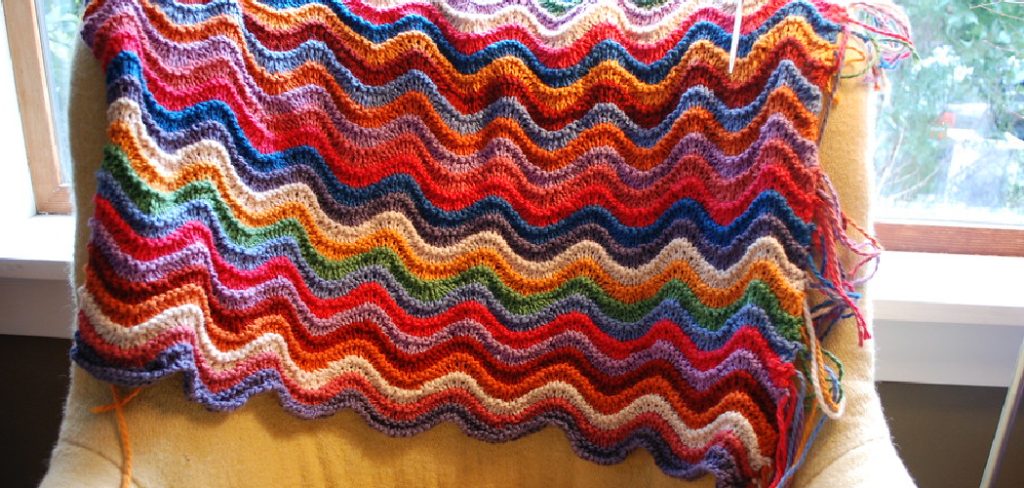
Whether you’re a seasoned crocheter or a beginner taking your first steps into the world of yarn and hooks, this blog post will provide you with all the information you need to know about how to crochet a wave blanket. So grab your favorite crochet hook, choose some vibrant yarn colors, and let’s dive into the intricate waves of this mesmerizing crochet journey!
Why May You Want to Crochet a Wave Blanket?
1 . To Create a Beautiful Home Decor Piece
Crochet is an intricate and beautiful craft that can be used to make a variety of items, including stunning home decor pieces. Crocheting a wave blanket allows you to create a unique piece that will add texture and interest to any room in your home. With its subtle waves and colorful design, this type of blanket is sure to be a conversation starter and a focal point in any space.
2 . To Give as a Gift
A handmade gift is always special, and crocheting a wave blanket is the perfect way to show someone you care. Whether it’s for a baby shower, a housewarming party, or just to brighten someone’s day, a crochet wave blanket is a thoughtful and heartfelt gift that will be cherished for years to come.
3 . To Challenge Your Crochet Skills
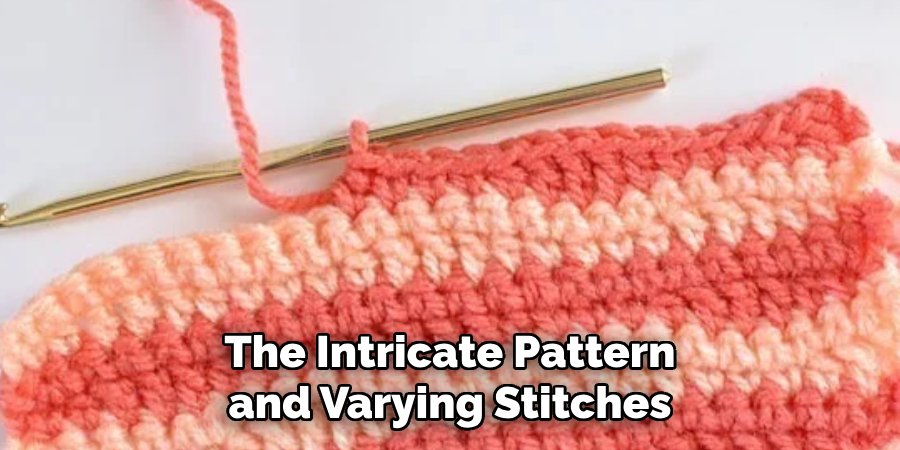
If you’re an experienced crocheter looking for a new challenge, then creating a wave blanket is the perfect project for you. The intricate pattern and varying stitches required to create the waves make this blanket a fun and challenging project. You’ll not only improve your crochet skills, but you’ll also have a beautiful finished product to be proud of.
4 . To Use Up Your Yarn Stash
Crochet can be an addictive hobby, and it’s easy to accumulate a large stash of yarn. Crocheting a wave blanket is a great way to use up those leftover skeins and create something beautiful in the process. You can mix and match colors to create a unique and colorful blanket or use up those odd skeins of yarn that you didn’t know what to do with.
5 . To Relax and Unwind
Crocheting is known for its therapeutic benefits. It can be a calming and relaxing activity that allows you to unwind after a long day. The repetitive motions of crocheting can be meditative and help reduce stress and anxiety. Crocheting a wave blanket is not only a fun project, but it can also be a form of self-care and relaxation.
How to Crochet a Wave Blanket in 6 Easy Steps
Step 1: Gather Materials
Before starting your crochet project, it is important to gather all the necessary materials. For a wave blanket, you will need yarn in at least two different colors, a crochet hook, scissors, and a tapestry needle.
Step 2: Choose Your Yarn
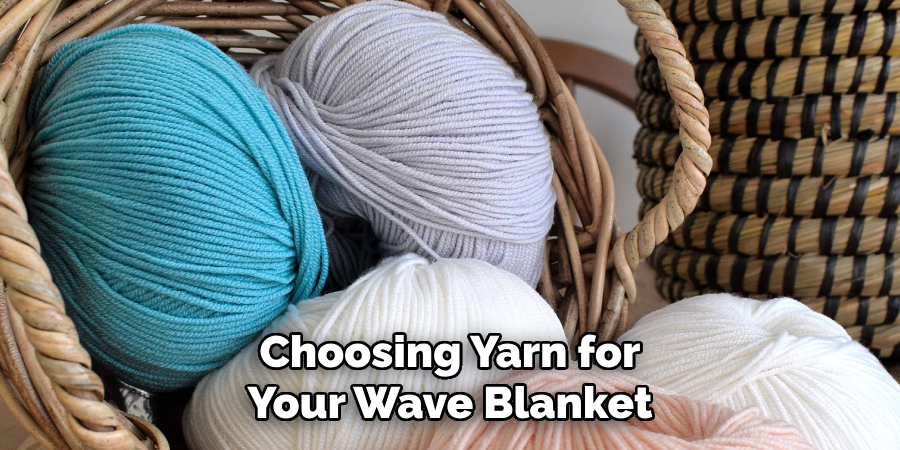
When choosing yarn for your wave blanket, consider the weight and texture of the yarn. A medium-weight yarn such as worsted or aran works well for a wave blanket. The texture of the yarn can also add dimension to your project. Some crocheters prefer a smooth yarn while others may like a textured or boucle yarn.
Step 3: Create a Foundation Chain
To start your wave blanket, you will need to create a foundation chain. This will determine the width of your blanket. The number of chains you make will depend on the desired size of your blanket and the stitch pattern you choose.
Step 4: Begin Crocheting the Waves
Once you have your foundation chain, it’s time to start crocheting the waves. This is where the unique ripple effect of a wave blanket comes in. There are many different stitch patterns you can use to create waves, such as the popular chevron or ripple stitch. Follow the pattern carefully and make sure to maintain the wave pattern throughout your project.
Step 5: Change Colors
To add even more interest to your wave blanket, consider changing colors throughout the project. You can change colors at the start of each row or within a row, depending on the stitch pattern you are following. This is a great way to use up leftover yarn or create a unique color scheme for your blanket.
Step 6: Finish and Weave in Ends
Once you have reached your desired length, it’s time to finish off your wave blanket. Cut the yarn, leaving a small tail, and pull it through the last loop on your hook to secure it. Use a tapestry needle to weave in any loose ends and trim them close to the blanket.
Some Extra Tips to Crochet a Wave Blanket
1 . Do Not Be Afraid to Experiment
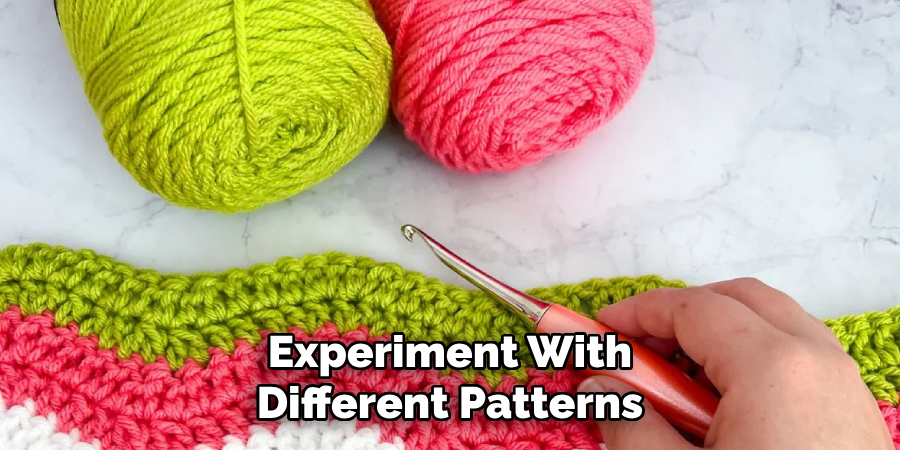
Once you get the hang of crocheting a wave blanket, do not be afraid to experiment with different patterns. A simple color change can yield fantastic results. You could even try making each row a different shade or alternate two complementary colors for a bolder look.
2 . Try Different Crochet Stitches
The basic crochet stitch is great, but why not try something different? You could use the double crochet stitch to create a taller wave or switch to the half-double or treble crochet for a unique texture. Don’t be afraid to try out new stitches and see how they work with your wave pattern.
3 . Use Variegated Yarn
Variegated yarn is perfect for creating waves in a blanket. The different shades and colors will give your blanket an interesting and dynamic look. You can choose from subtle to bold color combinations, depending on your personal preference.
4 . Keep Your Tension Consistent
Consistency is key when it comes to creating a wave pattern. Make sure you keep the tension of your yarn consistent throughout the entire project. This will ensure that your waves are uniform and the blanket has a polished look.
5 . Add Fringe or Tassels
If you want to add some extra flair to your wave blanket, consider adding fringe or tassels to the edges. You can use yarn in complementary colors or even mix in some metallic thread for a touch of sparkle. This is a great way to personalize your blanket and make it truly unique.
Frequently Asked Questions
What Precautions Should I Take Before Starting?
If you are new to crocheting or if it has been a while since you last picked up your crochet hook, there are a few things that you should refresh yourself on before starting to crochet the wave blanket. These include:
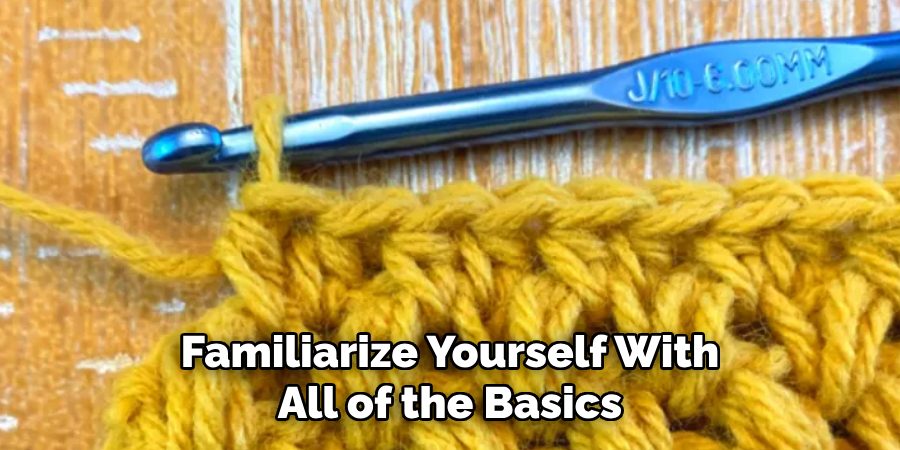
- Familiarize yourself with all of the basic stitches like single crochet, double crochet, and half-double crochet
- Take the time to understand how to read a crochet pattern
- Practice coordinating your hook and yarn tension consistently for an even finished project
How Long Does It Take To Complete?
The time it takes to complete a wave blanket depends on many factors such as your crochet experience level, the size of your blanket, and how much time you are able to dedicate to crocheting. Generally speaking, a wave blanket can take anywhere from a few days to several weeks to complete.
What Type of Yarn Should I Use?
Choosing the type of yarn for your wave blanket is an important decision. The yarn you use will determine the overall look and feel of your completed project. Some things to consider when selecting yarn include:
- Weight: Choose a yarn that is suitable for the project size you are crocheting. For a wave blanket, you can use medium weight yarn such as worsted or aran.
- Fiber: Different fibers have different characteristics and drape differently. Acrylic is a popular choice for beginner crocheters because it is affordable and easy to care for. Other options include cotton, wool, and blends.
What is the Best Hook Size to Use?
The recommended hook size for crocheting a wave blanket will vary depending on the yarn weight and your tension. It is important to keep in mind that different brands of hooks can also have slight variations in size. Generally speaking, for a medium-weight yarn you should start with a 5mm or 5.5mm hook and adjust as needed.
Can I Customize the Pattern?
Absolutely! While there are many wave blanket patterns available, don’t be afraid to experiment and make it your own. You can change the color scheme, adjust the size of the waves or even add a border using different stitches. The options are endless, so have fun and get creative!
Can I Make a Wave Blanket Using Different Stitches?
Yes, you can use different stitches to create a wave blanket. Some popular alternatives include the shell stitch, chevron stitch, and ripple stitch. Each of these stitches will give your blanket a slightly different look and texture, so feel free to try them out and see which one you like best!
What Other Projects Can I Make With the Wave Stitch?
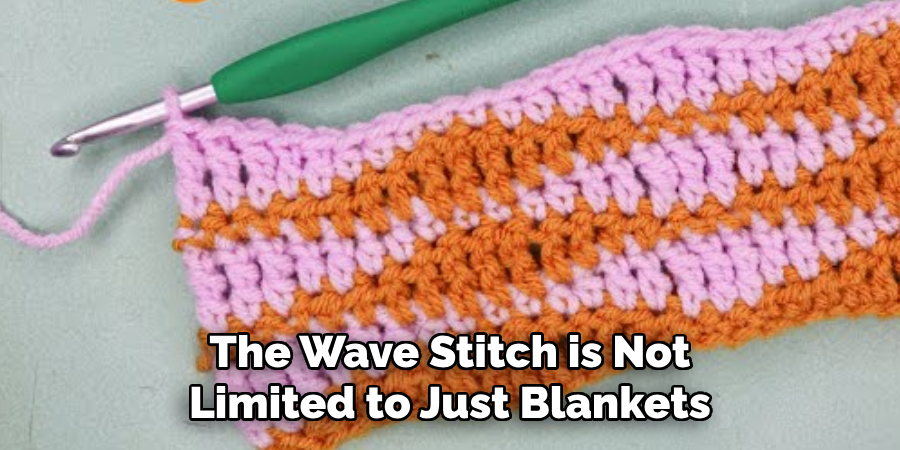
The wave stitch is not limited to just blankets, it can also be used for a variety of other crochet projects such as scarves, shawls, and even bags. Get creative and think outside the box – you never know what amazing project you can come up with using this versatile stitch!
So why wait? Grab your yarn and crochet hook and start creating your own beautiful wave blanket today! Happy crocheting!
Conclusion
In conclusion, crocheting a wave blanket is not only a fun and creative project, but also a valuable skill to have. By following the step-by-step instructions and tips in this blog post, you have learned how to create a beautiful and unique wave blanket that will provide warmth and comfort for years to come.
The repetitive yet intricate pattern of the waves allows for a mesmerizing effect, making it perfect for cozy nights by the fireplace or as an eye-catching addition to any room.
Now you know how to crochet a wave blanket. So whether you’re just starting out or already an experienced crocheter, this pattern is one that anyone can enjoy and master with practice. Don’t be afraid to experiment with different stitches or color combinations to make your wave blanket truly unique.

