Welcome to all the fellow craft lovers out there! Are you a fan of cute and functional accessories? Do you enjoy working with your hands and creating something unique? If so, then this blog post is perfect for you. Today, we’ll dive into the world of crochet and teach you how to crochet a scrunchie!
Crochet is a form of needlework that uses a hook and yarn to create various items such as hats, scarves, bags, and scrunchies! It’s a fun and relaxing activity with endless possibilities for creativity.
Whether you’re new to crocheting or have been doing it for years, this step-by-step guide will walk you through everything you need to know to create your very own handmade scrunchie. So grab your yarn and hook, and let’s get started on our latest crafting adventure together!
What Will You Need?
Before we begin, let’s gather all the necessary supplies to crochet a scrunchie. Here’s a list of items you’ll need:
- Yarn (preferably medium weight or worsted weight) in any color of your choice
- Crochet hook (size H/5mm is recommended)
- Scissors
- Tapestry needle
- Hair elastic band
- Optional: beads, buttons, or other embellishments for decoration
Once you have these items, you’re ready to start crocheting your scrunchie!
8 Easy Steps on How to Crochet a Scrunchie
Step 1: Make a Chain
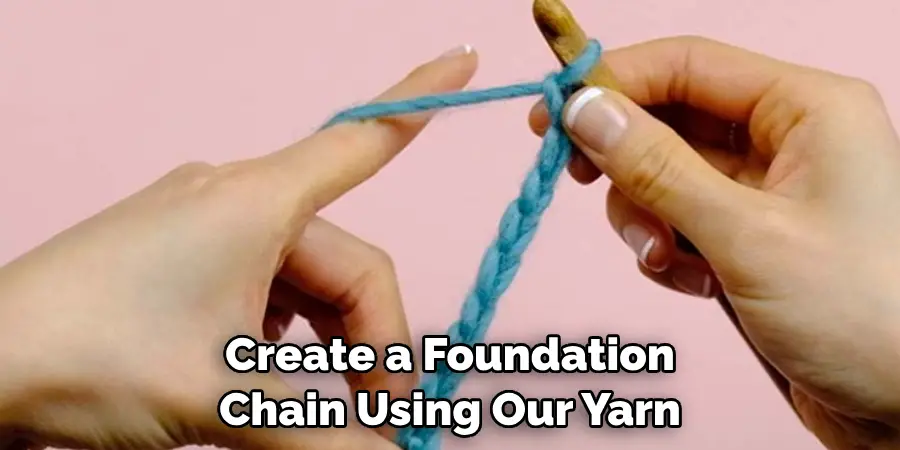
To begin, we’ll need to create a foundation chain using our yarn. This will determine the length and width of our scrunchie. The number of chains you make will depend on how big or small you want your scrunchie to be. As a general guide, 35-40 chains make for a medium-sized scrunchie.
Step 2: Join the Chain
Next, you need to join the chain to create a circle. To do this, slip stitch into the first chain you made, being careful not to twist the chain. This forms the base of your scrunchie. To make a slip stitch, insert your hook into the first chain, yarn over, and pull through both loops on the hook. Congratulations, you now have a circular chain for your scrunchie!
Step 3: Start Crocheting Around the Hair Elastic Band
Now, we will start crocheting around the hair elastic band to form the body of our scrunchie. Hold the circular chain and the hair elastic together. Insert your hook into the center of the chain, yarn over, and pull through to create a single crochet stitch. Continue making single crochet stitches around the entire elastic band.
Make sure to keep your stitches loose and evenly spaced. This will create a ruffled effect, which is characteristic of a scrunchie. Once you have crocheted around the whole band, slip the stitch into the first crochet stitch you made to join the round.
Step 4: Continue Crocheting in Rounds
With the first round of stitches complete, it’s time to continue crocheting to build up the volume of your scrunchie. Start the next game by creating two single crochet stitches in each stitch from the previous round. This step of doubling the stitches will increase the scrunchie’s ruffled effect.
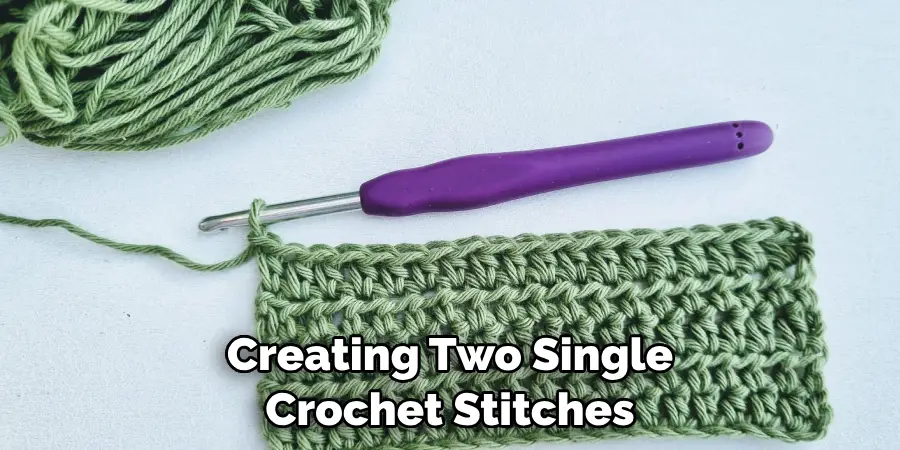
Remember to keep these stitches loose to maintain the fluffiness of the scrunchie. Continue this process for as many rounds as you desire, but remember, the more games you crochet, the bigger and puffier your scrunchie will be. Once you’re satisfied with the volume of your scrunchie, finish the final round with a slip stitch into the first stitch of that round.
Step 5: Finish Off the Scrunchie
Once you’re satisfied with the volume of your scrunchie, it’s time to finish your work. To do this, you’ll need to cut the yarn, leaving a tail that’s long enough to weave back into the scrunchie using your tapestry needle. This is called ‘fastening off’. After cutting the yarn, yarn over and pull through the loop on your hook one last time. Pull this yarn tail all the way through and tighten to secure the end.
Now, thread the yarn tail onto your tapestry needle and weave it back and forth through your stitches to hide it within the work. Be sure to do this on the ‘wrong’ (inside) side of your scrunchie to keep it hidden. Once the tail is entirely woven in, you can cut off any remaining excess. Congratulations, you’ve just crocheted your very own scrunchie!
Step 6: Adding Embellishments (Optional)
If you want to personalize your scrunchie further, you can add embellishments such as beads, buttons, or even crochet flowers. To attach these, thread your tapestry needle with a piece of yarn. Next, sew your embellishments onto the scrunchie, ensuring they are secure. After you have attached all your decorations, weave in the ends of the yarn as done in the previous step. Now, your custom, handmade scrunchie is ready to use or gift!
Step 7: Wear or Share Your Handmade Scrunchie
Now that you’ve made your crochet scrunchie, it’s time to enjoy the fruits of your labor. Wear your handmade accessory to add a touch of personal style to your outfits. Alternatively, you can give it as a thoughtful, personal gift to a friend or loved one. Handmade items always hold a particular sentimental value; scrunchies are a trendy accessory that can be worn with various outfits. Enjoy the satisfaction of creating something unique and stylish with your own hands!
Step 8: Care and Maintenance
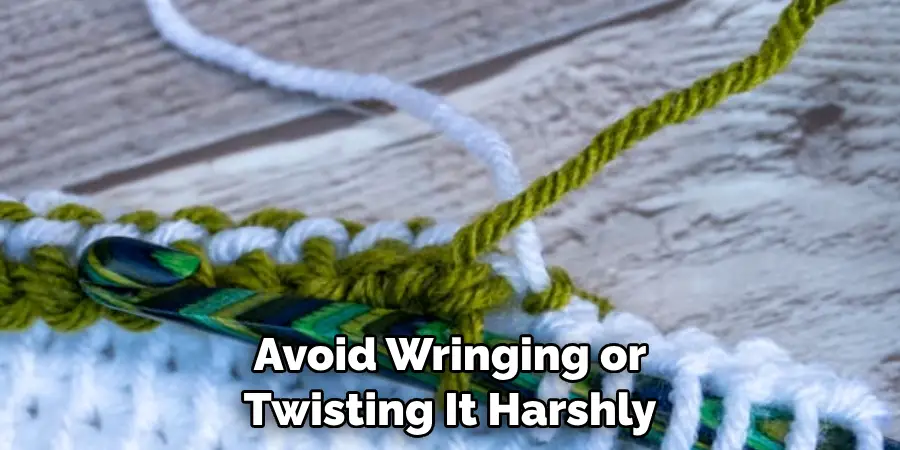
With your handmade scrunchie ready to be flaunted, it is also crucial to know how to maintain it. Treat your crocheted scrunchie gently to retain its shape and extend its lifespan. If it needs cleaning, hand wash it gently in cold water with a mild detergent, then shape it and let it air dry. Avoid wringing or twisting it harshly. Store it carefully when not in use to prevent stretching or snagging the yarn. With proper care and love, your scrunchie will remain vibrant and beautiful for a long time!
By following these simple steps, you can easily create a unique and stylish scrunchie that reflects your flair.
5 Additional Tips and Tricks
- Select the Right Yarn: Opt for cotton or blend yarn that’s soft, stretchy, and durable. Too coarse or heavy yarn can lead to a bulky scrunchie that’s uncomfortable to wear.
- Gauge Wisely: Take time to check your gauge. Too tight stitches can make the scrunchie too small, while too loose stitches can make it too large.
- Use a Comfortable Hook Size: A smaller hook can make your stitches too tight and difficult to work with, while a larger one can make the scrunchie too loose. A 5mm hook often works well.
- Check Your Elastic: Use a robust, good-quality elastic that can withstand frequent use.
- Add Personal Touch: Don’t hesitate to add your flair. Consider adding beads, choosing vibrant colors, or using a fancy stitch to make your scrunchie unique.
With these additional tips and tricks, you can create the perfect scrunchie for any occasion. Remember, practice makes perfect, so don’t be afraid to experiment and find what works best for you!
5 Things You Should Avoid
- Avoid Using Synthetic Yarn: Although synthetic yarn may seem shiny and attractive, it lacks the durability and comfort of natural fibers. It can be less breathable and may cause discomfort when worn for extended periods.
- Don’t Rush The Process: While it can be tempting to hurry through the crocheting, rushing can lead to mistakes and uneven stitches. Take your time to ensure each stitch is executed correctly.
- void Loose Knots: Loose knots can unravel quickly, compromising the durability of your scrunchie. Ensure each knot is tightly secured to maintain the scrunchie’s shape and longevity.
- Don’t Forget to Count Your Stitches: Overlooking this step can lead to an uneven or crooked scrunchie. Keep track of your stitches for a consistent, well-shaped final product.
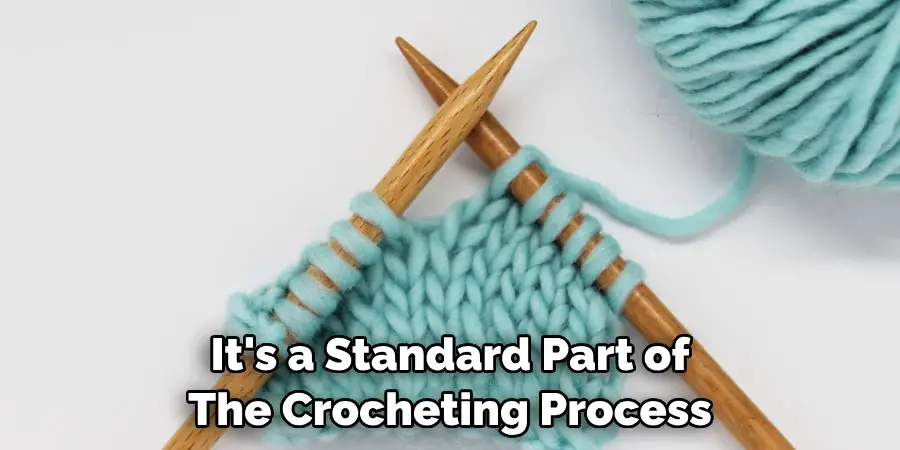
- Avoid Being Afraid to Unravel: If something isn’t right, don’t be afraid to unravel your work and start again. It’s a standard part of the crocheting process; even the most experienced crocheters must do it.
By avoiding these common pitfalls, you’ll be on your way to crocheting a perfect scrunchie. Remember, it’s the mistakes we make along the way that help us grow and refine our skills.
Conclusion
In conclusion, how to crochet a scrunchie is not only a fun and creative activity, but it is also a great way to add some personalized flair to your hair accessories. Through this blog post, we have learned the step-by-step process of crocheting a scrunchie and explored different techniques and variations to make it truly unique.
From choosing the right yarn to mastering the different stitches, you are now equipped with all the knowledge you need to create beautiful and stylish scrunchies. So what are you waiting for? Grab your crochet hook and some colorful yarn, and start creating your very own collection of scrunchies! Trust me, once you start making them, you won’t be able to stop.
Don’t forget to share your creations with us by using #crochetandscrunchies on social media. Let’s spread the love for crocheting and scrunchies together! Keep calm and crochet on!
Expertise:
Crafting expert with a focus on innovative techniques and diverse materials.
Specialization:
- Textile arts (weaving, embroidery, and fabric dyeing)
- Woodworking and furniture design
- Mixed media and upcycling projects
Recognition:
- Featured in local art exhibits showcasing innovative craft projects
- Collaborated with community organizations to promote crafting workshops
- Received accolades for contributions to sustainable crafting initiatives
Mission:
- To inspire and empower crafters of all levels to discover their creative potential
- Encourages experimentation and self-expression through hands-on projects

