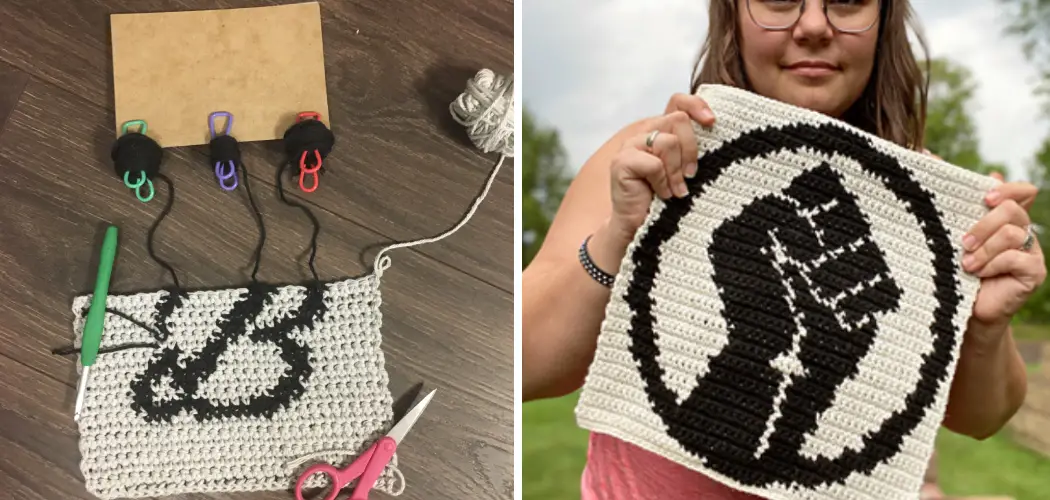
Crocheting a grid is one of a beginner’s most versatile skills. It can be used to create blankets, bags, hats, and garments and is a fundamental technique for many advanced projects. While it may seem intimidating at first, with patience and practice, you can master this essential skill. In this blog post, we explore the step-by-step instructions on how to crochet a grid, including tips and tricks for beginners and some free patterns to try.
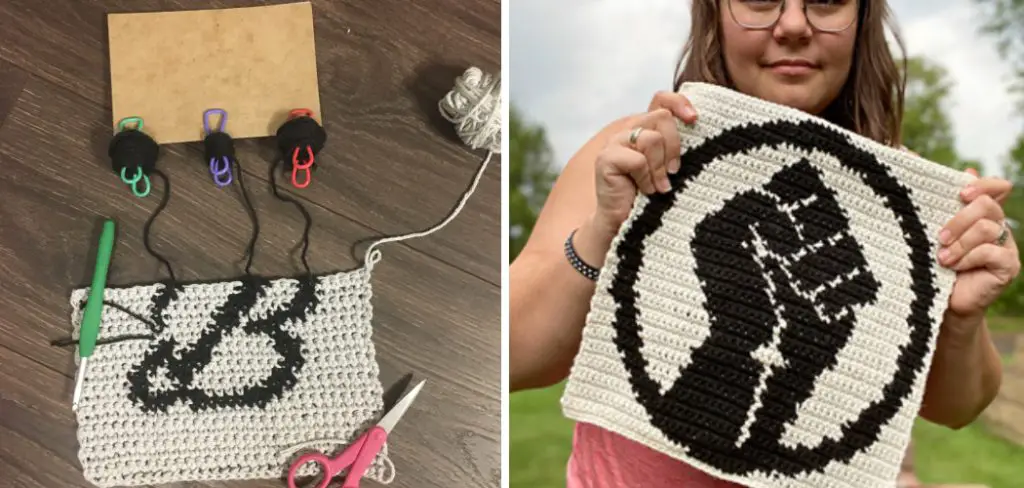
Can You Crochet a Grid?
Crocheting is a beautiful art form that many people have enjoyed for centuries. If you are a big fan of crocheting, you might wonder whether it is possible to crochet a grid. Well, the good news is that you absolutely can! Crocheting a grid is a really fun and satisfying project that can help you master some new skills.
The great thing about crocheting a grid is that it can be as big or as small as you want it to be. You can make a small grid to act as a pot holder or create a big one to use as a cozy blanket. Whatever your intention, crocheting a grid is a great way to add some texture and dimension to your crochet projects.
Why Should You Crochet a Grid?
Crocheting a grid is a wonderful way to add some order to your crafting. But it offers more than just a pleasing visual. For one, crocheting a grid is an excellent way to practice more advanced stitches. It also lends itself well to creating beautiful, intricate designs that might be difficult to achieve otherwise. Moreover, a crocheted grid is incredibly versatile.
You can use it to make anything from washcloths to blankets to scarves and beyond. But perhaps the best reason to crochet a grid is simply the joy of creating something with your own two hands. When you crochet a grid, you get to watch a beautiful creation take shape right before your very eyes.
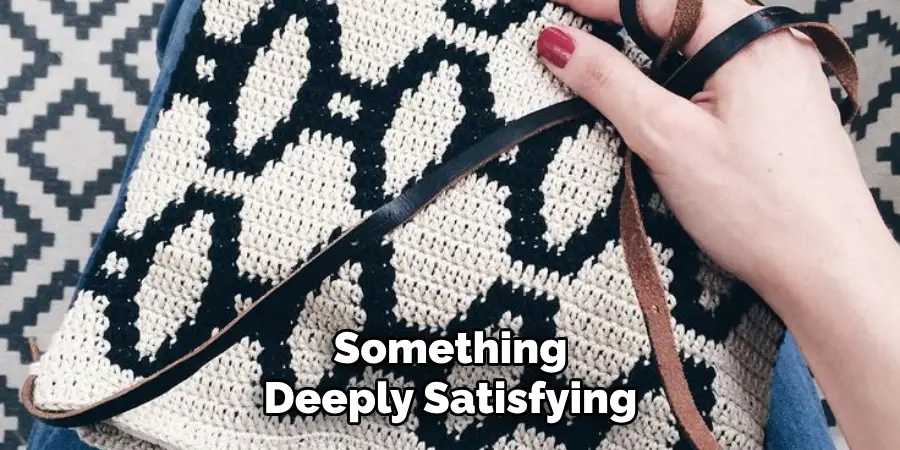
There’s something deeply satisfying about that kind of creativity, and it’s an experience that anyone can enjoy, even if they’re not an expert crocheter. So why not give it a try? You might be surprised at how much you enjoy it!
A Beginner’s Guide on How to Crochet a Grid: Tips, Tricks, and Patterns
Step 1: Choose Your Yarn and Hook
The first step in crocheting a grid is to choose your yarn and hook. The yarn weight will determine the size of your finished project, while the hook size will dictate the grid’s tension. We recommend using a medium-weight yarn (worsted or aran) and a hook appropriate for that yarn.
If you are a beginner, choose a hook with a larger number so it is easier to see your stitches. Once you get comfortable with the technique, you can move down to a smaller hook.
Step 2: Make a Slip Knot and Chain
Next, you will need to make a slip knot on the yarn and then create a foundation chain of the desired length. The foundation chain is the first row of your grid, and it should be made up of a number of chains that are multiples of your pattern stitch. For example, if your pattern stitch is a double crochet, you should chain a multiple of three chains plus two. This ensures that the pattern is symmetrical.
Step 3: Make the Foundation Row
Now, you can start crocheting your grid. The foundation row is where you will start the pattern stitch. To do this, you will insert your hook into the second chain from the hook, yarn over, and pull up a loop. Yarn over again and pull through two loops on the hook. Repeat this process until the end of the row.
Step 4: Repeat the Pattern
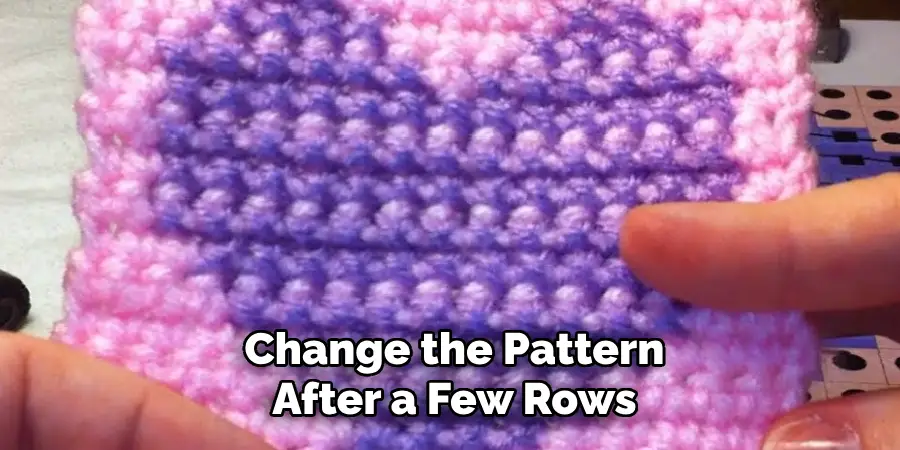
To continue your grid, you need to repeat the same pattern stitch as in the foundation row. This will create a uniform pattern throughout your work. You can change the pattern after a few rows if you wish to create a textured effect. Remember to work in the top of the previous row’s stitches, not the chain space. This will keep your grid straight.
Step 5: Change Colors
If you want to add some color to your grid, you can change colors after a few rows. To do this, simply complete the last stitch of the previous row with the new color’s yarn. You can then continue your pattern with the new color. When changing back to the original color, make sure to secure the ends of both colors by crocheting over them as you work.
Step 6: Finish the Grid
Continue repeating your pattern until your grid reaches the desired size. Keep in mind that your project might shrink a bit when washed, so make sure to leave enough room for that. Once you have reached your desired size, finish off by crocheting a slip stitch into the top of the last stitch and cutting the yarn, leaving a tail to weave in.
Step 7: Weave in Ends and Block
Finally, you can weave in any loose ends with a yarn needle. This will ensure that your grid looks neat and tidy. You may also choose to block your project by using pins and steam or a spray bottle to shape and smooth out the fabric. This step is optional, but it can make a big difference in the overall appearance of your grid.
Now that you’ve mastered how to crochet a grid, you can use this technique to create various projects such as blankets, scarves, and even clothing. Experiment with different yarn weights, hook sizes, and pattern stitches to create unique designs. The possibilities are endless when it comes to crocheting a grid. So have fun and get creative! So go ahead, grab your yarn and hook, and start creating your own beautiful grids today.
5 Considerations Things When You Need to Crochet a Grid
1. Yarn Choice
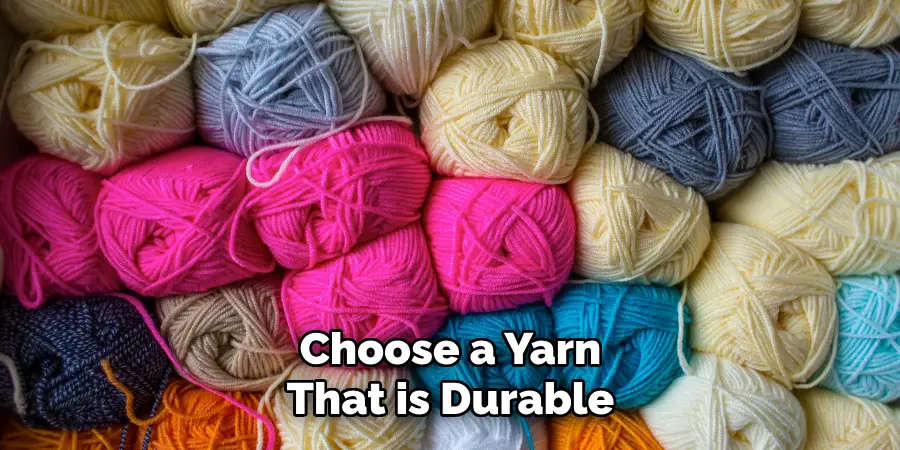
Choosing the right yarn is essential when crocheting a grid. It’s important to choose a yarn that is durable and will hold its shape well, as the grid pattern requires tight stitches. A worsted-weight cotton or acrylic yarn is often recommended for this type of project.
2. Hook Size
The size of your crochet hook will also play a crucial role in creating a clean and even grid pattern. A smaller hook size, such as 3.5mm or 4mm, is typically recommended for tighter stitches and more defined lines. However, it’s important to adjust your hook size based on your own tension and the type of yarn you are using.
3. Pattern Selection
There are many different patterns available for crocheting a grid, so it’s important to choose one that suits your skill level and desired outcome. Some patterns may require more advanced techniques or stitches, while others may be simpler and easier to follow.
4. Blocking Techniques
Block shapes and stretch your crochet work to achieve a desired shape or size. Blocking can help create straighter lines and ensure that all squares are evenly sized for grids. Various blocking techniques can be used depending on the material of your project, such as steam blocking for acrylic yarns or wet blocking for natural fibers like cotton or wool.
5. Attention to Detail
Crocheting a grid requires precision and attention to detail to achieve a clean and symmetrical pattern. It’s important to count your stitches carefully and ensure each square is the same size throughout the project. Any mistakes or inconsistencies can throw off the entire grid pattern, so taking the time to double-check your work as you go along is crucial for success.
Benefits of Crochet a Grid
Few things are more satisfying than creating something beautiful and useful with your two hands. If you’re looking for a rewarding craft that lets you flex your creative muscles and produces functional items that you can use for years to come, look no further than crocheting a grid.
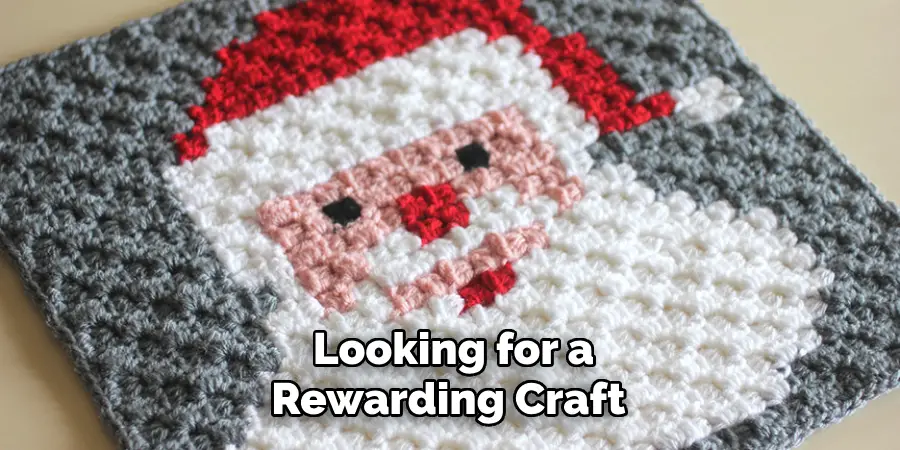
This technique involves creating a mesh-like fabric with evenly spaced holes that can be used as the foundation for various projects, from cozy blankets to sturdy tote bags. But the benefits of crochet grids go beyond the finished product. The repetitive motion of crocheting has been shown to reduce stress and improve focus, making it an excellent way to unwind and get into a state of flow.
So, whether you’re looking for a new hobby or a way to switch off after a long day, consider picking up a crochet hook and trying the grid technique. Who knows? You may just discover a new lifelong passion.
Some Common Mistakes People Make When Trying to Crochet a Grid
Crocheting a grid can be a fun and rewarding experience, but for beginners learning how to crochet, common mistakes can be made. One of the biggest mistakes people make is incorrectly counting their stitches, leading to uneven spacing and a wonky shape.
Another mistake is not using the right gauge, resulting in a grid that is too small or too big. Not knowing how to properly read a crochet pattern can also be a stumbling block. It’s important to take the time to learn and understand the basics of crocheting before diving into a grid project, and don’t be afraid to ask for help if you need it!
Conclusion
Congratulations! You have learned how to crochet a grid. Now that you have the basics down, you can play around with different stitches, yarns, and patterns to create your unique and beautiful pieces. Whether you are making a simple blanket or an intricate garment, the grid is a versatile foundation that will help you achieve your desired results. So pick up your hooks and start crocheting!

