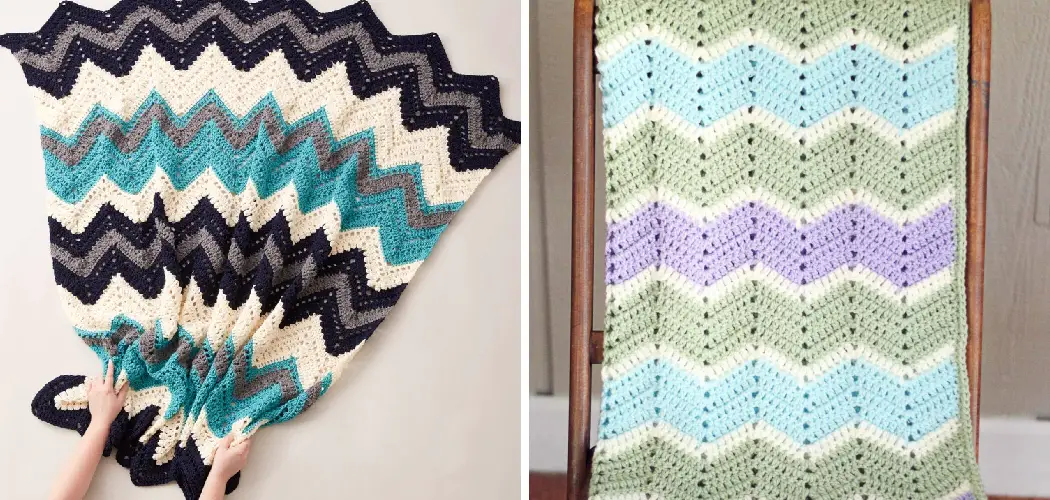
The ancient chevron pattern has intrigued artists and designers for centuries. From the jagged zigzags of medieval war shields to modern geometric textiles, the repeating V-shape design holds an appealing, simple, and striking symmetry.
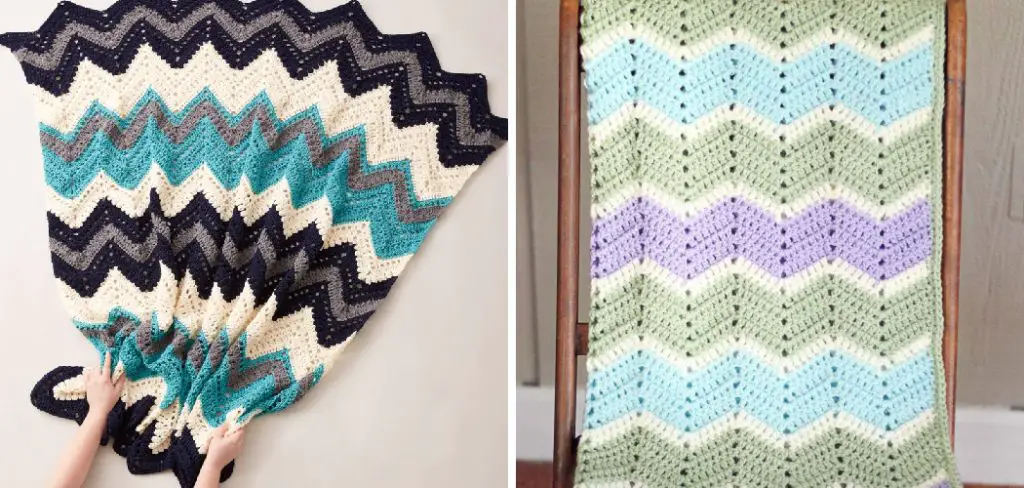
However, beyond its aesthetic appeal, calculating the precise angles and proportions of a proper chevron can seem daunting without the right guidance. In this article, I will walk through the step-by-step process of how to calculate chevron pattern, from basic templates that can be scaled up or down as desired.
Whether you have ambitions to embellish a craft project or bring a chevron-themed interior space to life, understanding the elementary principles of calculating this enduring motif is essential for achieving balanced, professional results. Strap in, and let’s get started!
What Will You Need?
Before diving into calculations, let’s briefly review what you will need to get started. As with any design project, a few basic materials and tools will make your life easier.
- A Ruler: preferably one that measures in millimeters for precise angles
- A Protractor: as it sounds, this handy tool helps measure angles accurately
- Pencil and Paper: for sketching out your design or jotting down calculations
- Cutting Tools: for trimming and shaping materials as needed (e.g., scissors, craft knife, etc.)
- Materials for the Chevron Pattern: this can include anything from fabric and paper to wood and tile, depending on your project
With these items at your disposal, you’re ready to begin calculating the chevron pattern.
10 Easy Steps on How to Calculate Chevron Pattern
Step 1. Draw a Base Line:
Start by drawing a horizontal line on your paper. This line represents the bottom edge of your Chevron pattern and will serve as a reference for the subsequent steps. The length of this line depends on how wide you want your chevron pattern to be. Remember to use your ruler for precision.
Step 2. Determine the Chevron’s Height:
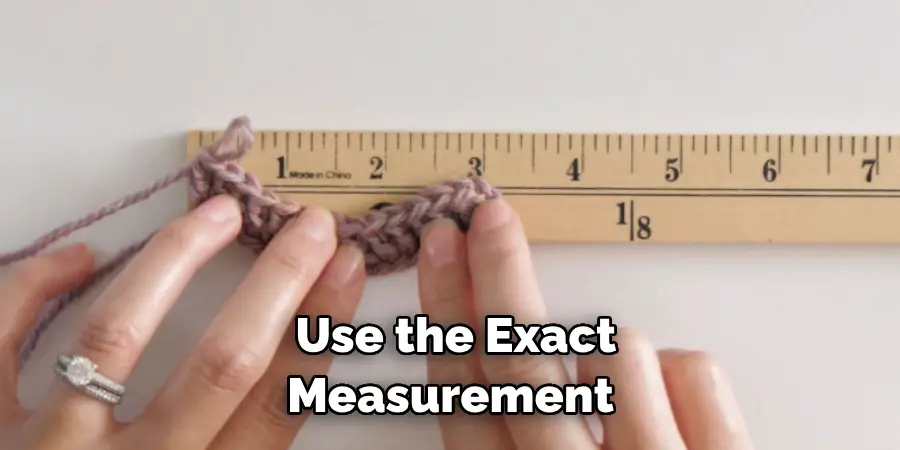
Next, decide how tall you want each chevron to be. This is essentially a matter of personal preference and will depend on the size of your project. Once you’ve settled on a height, measure vertically from the baseline and make a small mark. This point serves as the peak of your chevron. Remember to use the exact measurement for all future chevrons to ensure uniformity in your pattern.
Step 3. Draw the First Chevron:
Using your ruler, connect the chevron’s peak to the base line’s two ends, creating two lines that meet at a point. These lines form the sides of your first chevron. Use your protractor to ensure the lines meet at the same angle on each side, creating a symmetrical V-shape. This is your basic chevron pattern. Once you’re pleased with the shape, you can move to the next step of the process.
Step 4. Repeat the Chevron Pattern:
The next step is to repeat the V-shape to create a continuous chevron pattern. Starting from the baseline, measure the same height as the first chevron and make another mark. Connect this new point with the ends of the baseline using your ruler. Remember to check your angles with the protractor to ensure symmetry. Repeat this process until you’ve filled your designated area with the chevron pattern.
Step 5. Measure and Mark the Next Chevron:
To ensure an even chevron pattern, the next step involves careful measurement. Measure the width of your first chevron at the baseline and make a mark at this distance along the line. This mark represents the base of your next chevron.
Repeat the process as you did with your first chevron: measure the same height from the baseline, make a mark, and then draw lines to connect the peak to the two ends of the base. Remember to check your angles with the protractor to maintain a consistent chevron pattern. Keep repeating this process until you’ve covered your entire surface with the chevron pattern.
Step 6. Refine Your Chevron Pattern:
Once you’ve drawn your entire pattern, it’s time to refine it. Go over each chevron to ensure that the angles and measurements remain consistent. Adjust any lines or points that veer from your desired pattern if necessary. This step is crucial for achieving a balanced and proportional chevron pattern.
When refining, pay special attention to the intersections of the chevrons; these areas should be neat and precise to maintain the integrity of your design. Once you’re satisfied with the look of your chevron pattern, you’re ready to move on to the final steps.
Step 7. Transfer Your Chevron Pattern:
With the pattern sketched out to your satisfaction, it’s time to transfer the design onto your chosen material. This process will vary depending on the material you have chosen. If you’re working with fabric or paper, consider using a tracing wheel or chalk marker for a non-permanent mark.
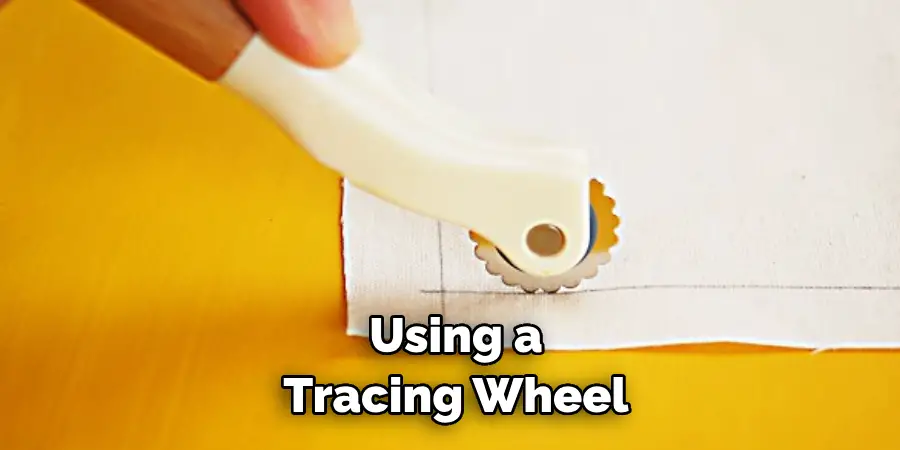
A more permanent marking tool such as a pencil or feature might be more appropriate if you’re working with a hard surface like wood or tile. Carefully trace along the lines of your chevron pattern, ensuring that all angles and measurements are accurately reproduced on your material.
Step 8. Cut or Shape Your Chevron Pattern:
This step depends on your chosen material. Use your marked lines as a guide to cut out your chevrons with a pair of sharp scissors or a craft knife for fabrics and papers. If you’re working with more rigid materials like wood or tile, you may need to use a saw or other appropriate tools.
Remember to take safety precautions during this step. Follow your marked lines carefully to maintain the integrity of the chevron pattern you calculated and drew in the previous steps. Once you’ve cut or shaped your chevrons, arrange them on your project surface to ensure they fit together appropriately.
Step 9. Affix Your Chevron Pieces:
The next step is to affix your chevron pieces to your project surface. If you’re working with a fabric or paper project, you might use adhesive or sewing techniques to secure your details. For hard surfaces like wood or tile, appropriate tools like nails, screws, or adhesive might be required.
Apply your pieces starting from one end of your surface, aligning each piece accurately with the next to maintain the continuity of your chevron pattern. As you proceed, ensure that each part fits snugly against its neighbor, with no gaps or overlaps that could disrupt your pattern’s consistency.
Step 10. Final Check and Finishing:
The final step is to thoroughly check your chevron pattern and apply any finishing touches as needed. Scrutinize each chevron to ensure the design is consistent, with no anomalies or misalignments. If you’re working with a fabric or paper project, consider finishing edges with a border or binding for a clean, polished look.
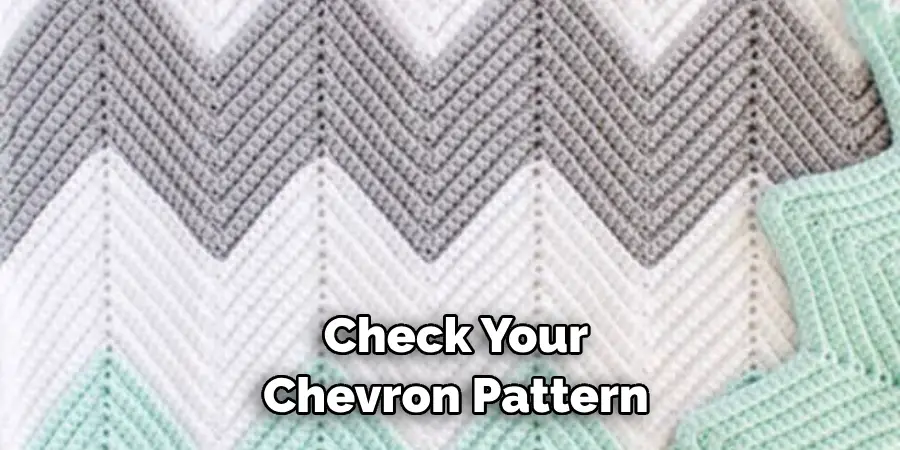
For hard surfaces, sand, paint or varnish to achieve your desired finish. Always ensure the final look is neat and professional. Once satisfied with your work, celebrate your accomplishment in successfully calculating and creating a chevron pattern!
Following these steps, you can easily calculate and create a chevron pattern for your next project.
5 Additional Tips and Tricks
- Measure Twice, Cut Once: Always ensure your measurements are accurate before you cut your fabric. This can save unnecessary waste and ensure a clean, even pattern.
- Use a Template: A template can be invaluable when creating a chevron pattern. It ensures consistency in your pattern, making the final result much more cohesive.
- Mind the Seams: Pay close attention to your seams, as a small error in alignment can throw off the entire pattern. Aim for precision to keep your chevrons straight and even.
- Choose Complementary Colors: A chevron pattern is highly visible, so choosing colors that complement each other is essential. Experiment with different color combinations to find what works best for your project.
- Practice Makes Perfect: Lastly, be encouraged if your first attempt isn’t perfect. Like any skill, creating a flawless chevron pattern takes approach. Keep trying, and with each effort, you’ll get better.
With these tips in mind, you can now create beautiful chevron patterns on all your sewing projects.
5 Things You Should Avoid
- Avoid Misaligned Rows: An essential aspect of creating a chevron pattern is maintaining alignment from row to row. Avoiding misaligned rows is crucial to achieving a proper chevron pattern. Ensure each row aligns perfectly with the next to maintain the pattern’s continuity.
- Avoid Neglecting to Press Seams: Pressing your seams is an often overlooked yet critical step in creating a chevron pattern. This step must be revised to avoid a more challenging alignment process and a less crisp final design.
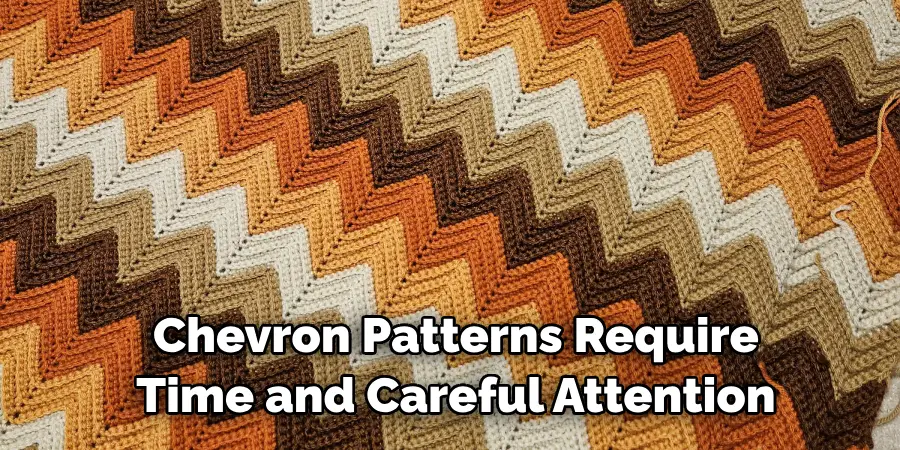
- Avoid Rushing the Process: Chevron patterns require time and careful attention to detail. Avoid rushing through the process, and instead, take your time to ensure each piece aligns appropriately and the design comes out as planned.
- Avoid Uncalculated Fabric Usage: Chevron patterns often require more fabric than straightforward patterns due to the need for alignment and the wastage from cutting zigzag shapes. Avoid uncalculated fabric usage by measuring and calculating the fabric you need beforehand.
- Avoid Disregarding Quality: When learning how to calculate a chevron pattern, always avoid disregarding the quality of your materials. Using lower quality fabric or thread can lead to unsatisfactory results, even if your calculations and technique are correct.
By avoiding these common mistakes, you can ensure a more prosperous and enjoyable experience when creating your chevron pattern projects.
Conclusion
In conclusion, calculating a chevron pattern may seem daunting at first glance, but it can become a fun and creative activity with the right tools and techniques. We have covered all the steps to achieve this intricate design, from choosing the right color combination to mastering the basic calculation formula. By now, you should feel confident in creating a stunning chevron pattern that will make a lasting impression on any project or room.
Whether you’re looking to spruce up your home decor or add some pizzazz to your craft projects, this versatile pattern has endless possibilities. So go ahead and let your imagination run wild with different variations and styles of chevron patterns – who knows, you may even come up with your unique twist!
Furthermore, learning how to calculate chevron patterns also opens doors to exploring other types of geometric shapes and designs. So keep practicing and perfecting your skills – before you know it, you’ll create jaw-dropping patterns effortlessly.
You Can Check It Out To Calculate Crochet Pattern Multiples

