
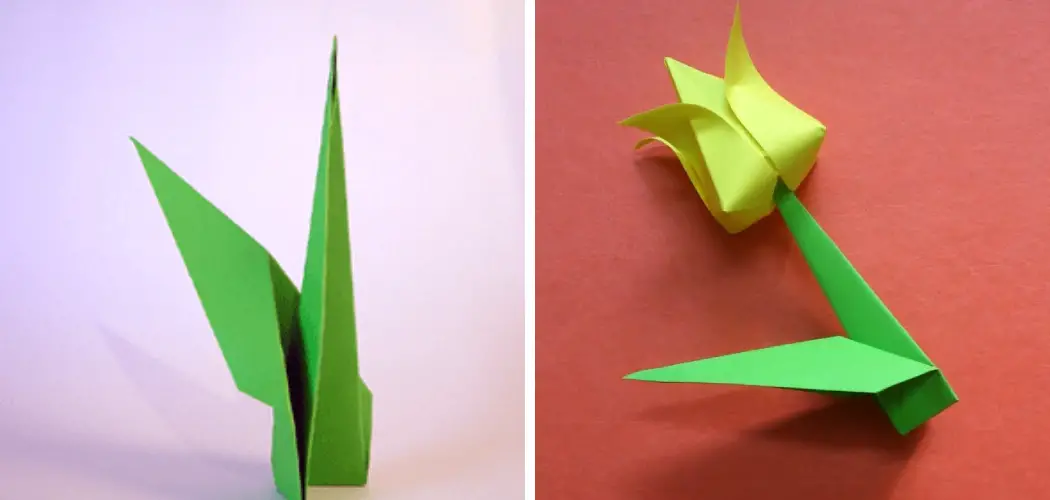
If you’re looking for a way to spruce up your room or impress friends and family with impressive origami skills, making an origami stem is the perfect place to start! Origami stems are incredibly easy to make and look absolutely stunning when complete!
Not only do they add some beautiful flair to any decor, but folding these intricate designs can also help reduce stress while teaching important skills like manual dexterity. Ready to learn how it’s done? Keep reading – this blog post will guide you how to make origami stem so that you can learn how to craft a marvelous origami stem in no time at all!

What Can I Use as a Stem for Paper Flowers?
When it comes to origami, you can use any type of paper that’s lightweight and thin. You don’t need anything special; regular printer paper will work fine! For the stem, you’ll need some kind of thin object that is flexible enough to bend into loops and spirals.
Common Materials for Origami Stems Include
- Thread or string
- Beading wire
- Floral tape
- Floral pipe cleaners
- Bendable metal wire
- Drinking straws.
10 Methods How to Make Origami Stem
1. Traditional Method
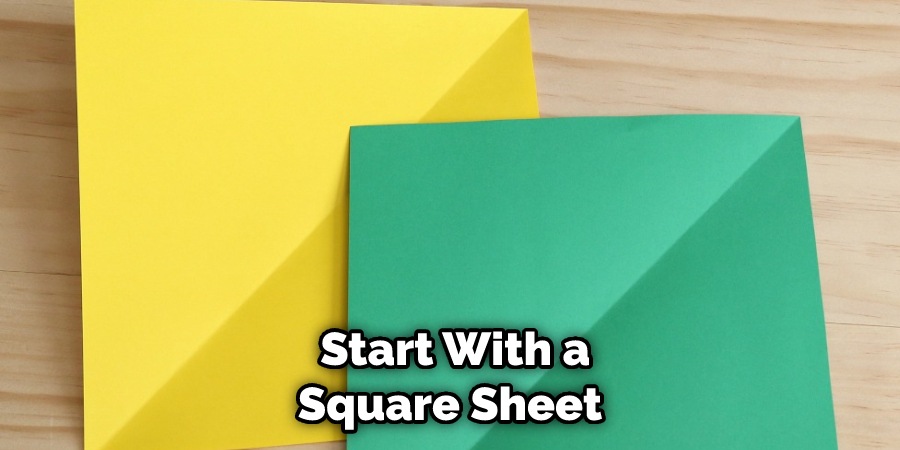
The traditional method of making an origami stem is to start with a square sheet of paper. Fold the paper in half to create a crease, then open it back up. Fold the top two corners down to the crease, then fold the bottom two corners up to the crease. Turn the paper over and repeat on the other side. Once you have completed both sides, your paper should be in the shape of a triangle.
2. Modular Method
The modular method of making an origami stem is similar to the traditional method, but with a few additional steps. Start with a square sheet of paper and fold it in half to create a crease.
Open it back up and fold the top two corners down to the crease, then fold the bottom two corners up to the crease. Next, fold the top and bottom edges of the paper towards the center, creating two more creases. Finally, turn the paper over and repeat on the other side.
3. Square Grid Method
The square grid method is another way to make an origami stem using a square sheet of paper. First, draw a square grid on one side of the paper using a pen or pencil. Next, fold each corner of the paper towards the center point of the square, creating four triangular folds. Finally, turn the paper over and repeat on the other side. Although it is not as strong or compact as the windmill base, this method is still useful for simpler origami models.
4. Triangle Grid Method
The triangle grid method is similar to the square grid method but with a few minor variations. In this method, objects are arranged on a triangular grid instead of a square one. This can be helpful in creating more aesthetically pleasing.
Compositions and emphasizing certain elements within a design. It also allows for more flexibility when arranging objects, as there are more triangular shapes to work with than squares.
5. Circle Grid Method
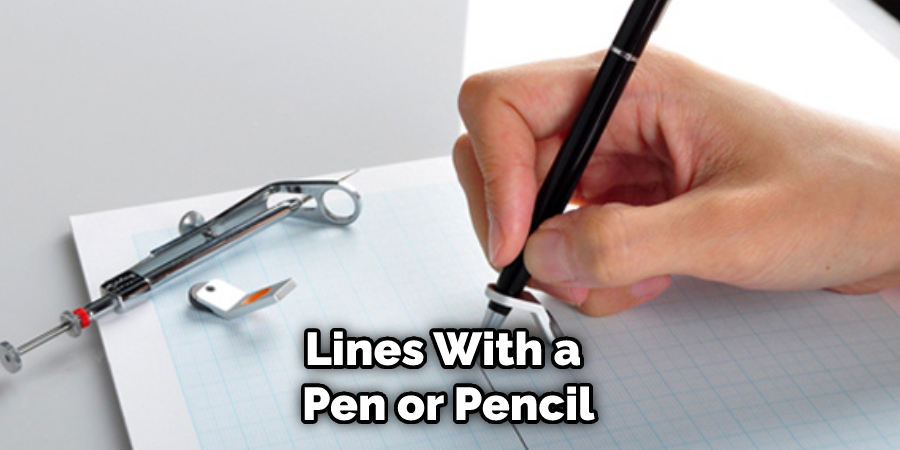
The circle grid method is another way to make an origami stem from a square sheet of paper. To make the stem, you need to first score a circle grid onto the square sheet of paper.
To do this, draw two concentric circles on the paper and then draw four evenly spaced lines connecting the two circles in a cross shape. Then, score each of the small boxes created by the lines with a pen or pencil. Finally, fold each box inwards towards the center of the circle to create the stem.
6. Windmill Base Method
The windmill base method is a more complex origami stem technique that requires some additional folding steps. Start by folding a traditional triangular base, then rotate it 90 degrees before folding two adjacent corners inwards to form an ‘X’ shape.
Then, unfold the corners and pinch them together in the center of the paper before refolding them again to form an ‘X.’ Finally, turn the paper over and repeat on the other side. This will give you a compact and sturdy windmill-shaped base which can then be used as your origami stem!
7. Horse-Ear Base Method
The horse-ear base method is a more traditional origami stem technique that requires less folding and can be used to make more intricate designs. Start by folding the paper in half lengthwise, then rotate it 90 degrees before horizontal folds are made at each end of the paper.
Finally, fold the two resulting corners towards each other to create an ‘X’ shape, and your horse-ear base is complete. Make sure to flatten out any folds and adjust the shape before moving on to your next steps. You can then use the horse-ear base to create more complex models, such as a traditional Japanese crane or even origami flowers. With practice and patience, you will be creating amazing works of art in no time!
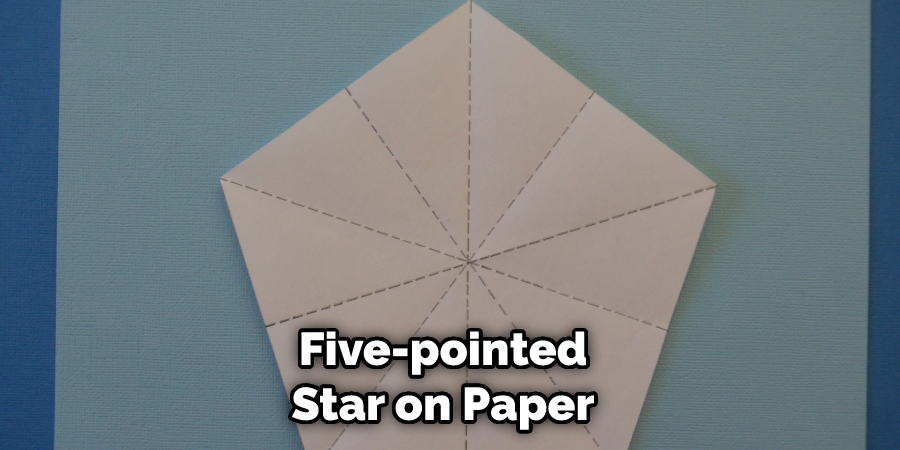
8. Star Base Method
The star base method is another way to make an origami stem with a square sheet of paper. Begin by drawing a five-pointed star on paper with a pen or pencil.
Then, fold each point inward towards the center of the star, creating five triangular folds. Finally, turn the paper over and repeat on the other side to complete your starbase. However, the starbase is much more flexible than the horse-ear base, as it allows you to add in more details and adjust the shape of your origami to create unique and intricate designs. Once you have mastered the starbase, you will be able to use it in a variety of origami projects.
9. Fish Base Method
The fish base method is a simple but effective origami stem technique that can be used to create more dynamic designs. Start by folding the paper in half horizontally, then fold each of the four corners towards the center crease one at a time.
Afterward, unfold them and pinch them together in the middle before refolding them again to form an ‘X.’ Finally, turn the paper over and repeat on the other side for a sturdy fish base perfect for origami stems!
10. Waterbomb Base Method
The waterbomb base method is a great way to start making advanced origami designs. To begin, fold the paper in half lengthwise, then rotate it 90 degrees so that the horizontal crease is at the top of the paper before folding each side up towards the center crease again.
Flip the paper over and repeat this same step with your new center line until you have created an 8-pointed star. To complete the waterbomb base, take each corner and fold it towards the center to form a diamond shape. You can create some amazing origami designs with the waterbomb base with practice and patience!
By following these steps, you can learn how to use a variety of origami stem techniques and create unique works of art. With patience and practice, you will be able to create amazing origami designs that will impress your friends and family alike. Get creative and have fun!
You Can Check It Out to Add Pockets to Crochet Cardigan
Things to Consider When Making Origami Stem
1. Start Simple:
Begin with origami models that have fewer steps and simpler instructions to get used to the folding process. This will help develop an understanding of the basics before attempting more complicated designs.
2. Use Quality Paper:
Whether using store-bought origami paper or making paper from scrap, use a type that is of good quality and easy to fold. Consider the size and weight of the paper as well as its color, pattern, or texture when selecting the right one for your project.
3. Follow Very Precise Instructions:
When following instructions for making an origami figure, read through them several times before beginning and follow each instruction very precisely to achieve an accurate outcome. Many Origami models require precise folding techniques so make sure to take your time and study diagrams carefully.
4. Practice Patience:
Making origami takes patience and practice. Don’t be discouraged if something doesn’t work out the first time; practice makes perfect! Allow yourself to make mistakes and use them as an opportunity to refine your skills. It can take several tries before achieving the desired result.
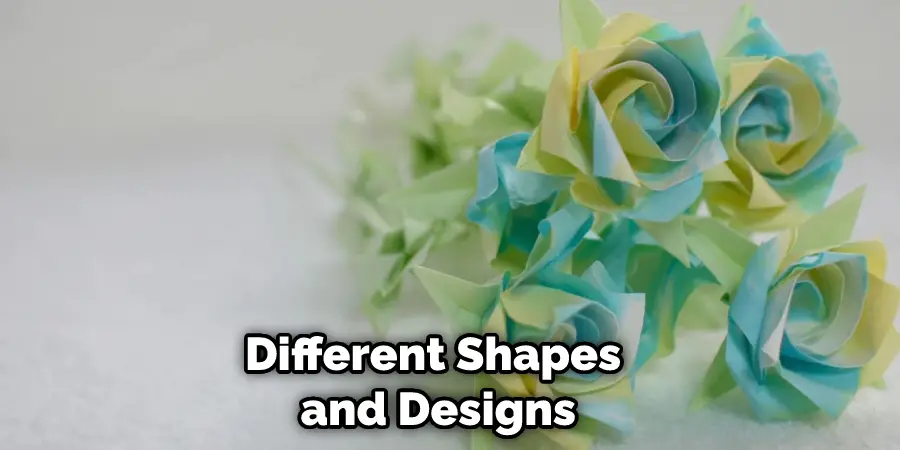
5. Experiment With Different Shapes:
Once you’ve mastered some basic techniques, experiment with different shapes and designs. There are limitless possibilities when it comes to origami so have fun with it and don’t be afraid to try something new. You may find that you enjoy creating something entirely unique!
Conclusion
Now that you know how to make origami stem try it out for yourself! This is a simple way to add some dimension and interest to your paper flowers. If you’re looking for more origami tutorials, be sure to check out our website. We have a wide selection of origami diagrams and instructions available for free.
You Can Checkek it Out Make an Origami Crown